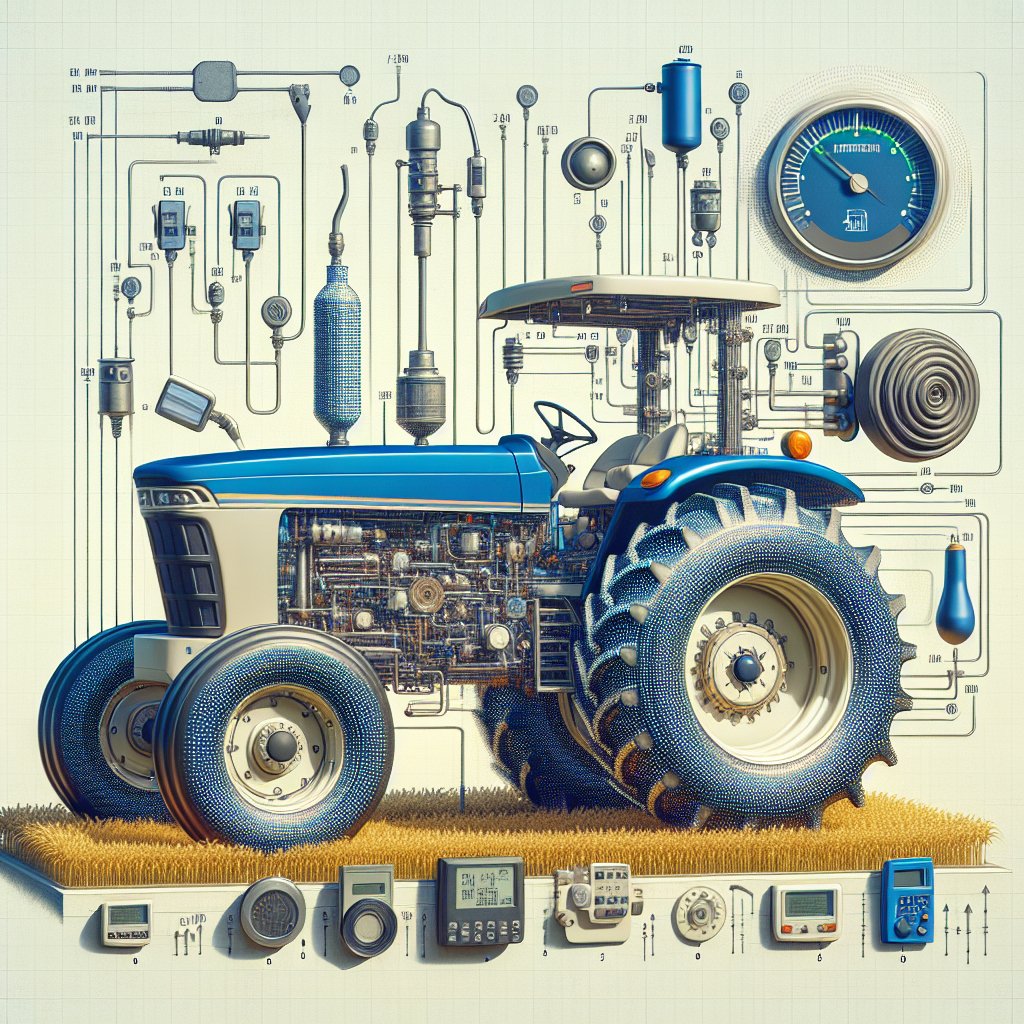
Regular maintenance of agricultural machinery is essential to ensure reliable performance and to protect both the operator and the equipment. Tractor brakes represent one of the most critical safety systems on any farm vehicle. A thorough inspection helps identify wear, leaks or misalignment before they result in costly downtime or accidents. The following guide outlines step-by-step procedures and professional tips on how to inspect tractor brakes effectively, focusing on tools, safety measures, component checks and advanced diagnostics.
Preparation and Safety Measures
Before starting the inspection, park the tractor on a flat, stable surface and engage the parking brake. Lower any attached implements to the ground to eliminate unexpected movement. Remove the ignition key and shut off the engine. chock the wheels to prevent rolling, and wear appropriate personal protective equipment (PPE), including gloves, safety glasses and steel-toed boots.
- Tools Needed:
- Torque wrench
- Brake pad thickness gauge
- Hydraulic pressure gauge
- Clean rags and brake cleaner
- Flashlight or inspection mirror
- Safety Checks:
- Verify wheel chocks are secure.
- Ensure hydraulic pressure is fully relieved.
- Do not work under raised implements unless properly supported by stands.
- Documentation:
- Review the manufacturer’s service manual.
- Log previous brake inspections and any repairs.
Always maintain a clean workspace around the brake assembly. Spilled hydraulic oil or brake fluid can create slipping hazards and contaminate hydraulic systems. Use drip trays or absorbent mats to catch any fluid leaks during inspection.
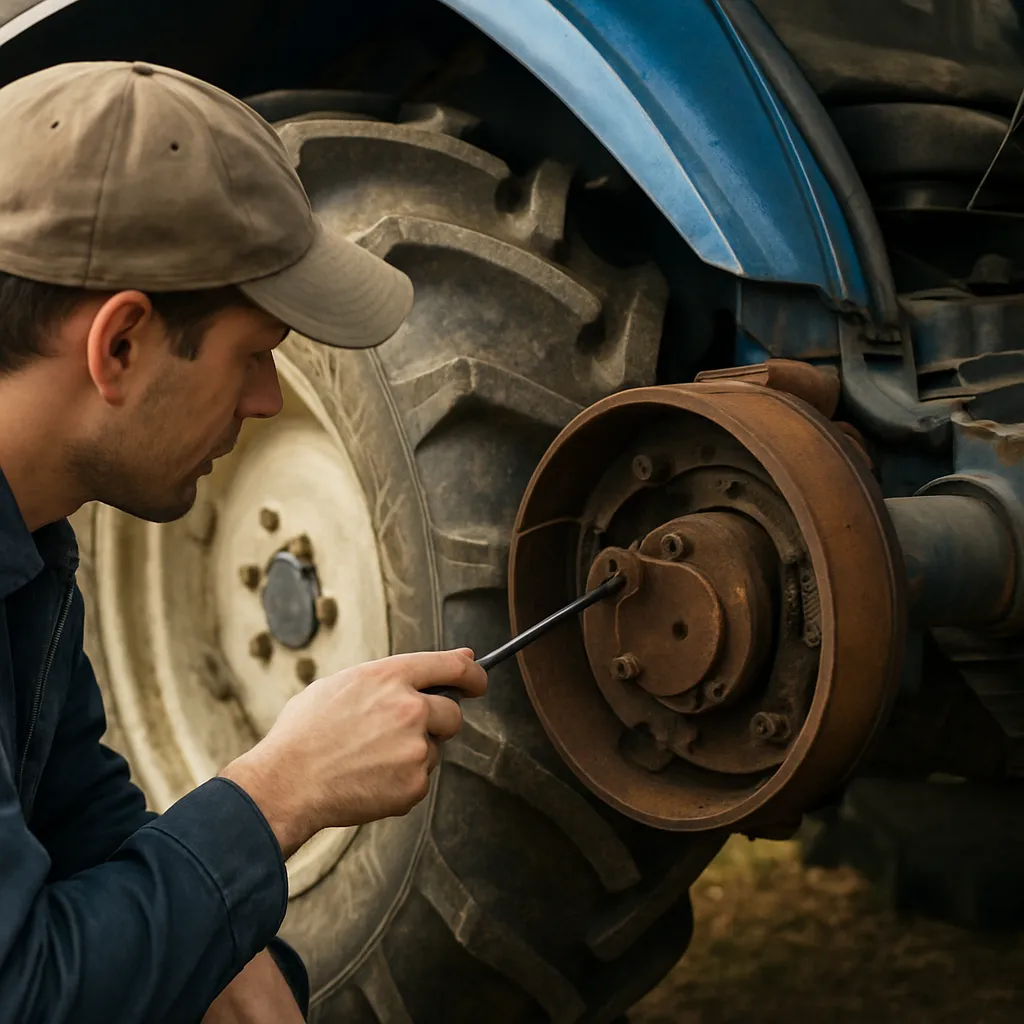
Visual Inspection of Brake Components
Visual checks are the first line of defense in detecting early signs of brake failure. Carefully examine each element of the brake system for damage, wear or leak points.
Brake Discs and Drums
- Inspect the surface for scoring, grooves or uneven wear on discs.
- Measure disc thickness and compare it against the minimum specification.
- Examine drum interiors for glazing or hot spots that indicate overheating.
Brake Pads and Shoes
- Check pad lining thickness using a brake pad thickness gauge.
- Look for contamination by oil or grease that could reduce friction.
- Inspect for cracking, delamination or excessive glazing on shoe surfaces.
Hydraulic Lines, Hoses and Fittings
- Trace hydraulic hoses from the master cylinder to the brake calipers or wheel cylinders.
- Look for abrasion, bulging, cracks or kinks along the hose length.
- Verify all fittings are tight and free of corrosion or fluid seepage.
Brake Fluid Reservoir
- Check fluid level against the fluid reservoir marks.
- Examine the fluid color and clarity—dark, murky fluid suggests contamination.
- Confirm the cap seal is intact to prevent moisture ingress.
If any component shows signs of rust, wear beyond limits or leakage, plan for immediate repair or replacement. Proper visual inspection prevents catastrophic failure during heavy field work.
Functional Tests and Adjustment
Once the visual assessment is complete, perform operational tests to evaluate brake performance under controlled conditions. These functional checks ensure that the system responds correctly and that any play in the pedal or lever is within allowable tolerances.
Brake Pedal Travel and Force
- Start the tractor and allow hydraulic pressure to build.
- Press the brake pedal firmly and observe travel distance; compare with manufacturer specs.
- Measure actuation force using a pedal force gauge if available.
Engagement and Response
- With the tractor stationary, engage the brake and attempt to move forward at idle speed.
- Note any delay between pedal application and brake engagement; a sluggish response may indicate air in lines or internal leaks.
- Repeat the test in reverse to check for consistency.
Parking Brake Inspection
- Apply the parking brake on a slight incline.
- Attempt to roll the tractor gently to ensure the brake holds solidly.
- Adjust the parking brake cable or lever as needed to achieve firm engagement.
Brake Balance and Release
- Test each wheel individually, if possible, to confirm equal braking force. Uneven braking can cause pulling or drifting.
- After engagement, release the brake and listen for dragging noises; residual drag signals misalignment or sticking caliper pistons.
- Inspect wheel temperatures after a short drive to detect overheated brakes.
Adjust brake linkages or caliper positioning according to the service manual guidelines. Proper adjustment is vital to ensure even pad wear and optimal stopping distances.
Advanced Diagnostics and Maintenance
For tractors equipped with complex hydraulic or air-over-hydraulic systems, advanced diagnostics are often necessary. Use specialized equipment and follow detailed procedures to maintain hydraulic integrity and component longevity.
Bleeding the Brake System
- Attach a hydraulic pressure gauge to the brake line bleeder valve.
- Open the valve and pump the pedal to expel trapped air.
- Close the valve when clear fluid appears, and top up the reservoir to the correct level.
Troubleshooting Common Faults
- If the brake pedal feels spongy, re-bleed and inspect for leaks in hoses or fittings.
- A hard pedal with little braking force may indicate internal caliper seal failure or collapsed hose.
- Brake grabbing or uneven pad wear suggests misaligned calipers or disc warping.
Replacement and Component Service
- Replace worn pads or shoes in matched sets to maintain balance.
- Recondition or replace discs and drums that exceed wear tolerances.
- Install new hoses at regular service intervals to avoid sudden failures.
Lubrication and Corrosion Prevention
- Apply high-temperature brake lubricant to sliding pins and caliper guide surfaces.
- Protect exposed metal with anti-corrosion spray, especially in humid or winter environments.
- Check dust boots and seals for cracks; replace to keep dirt and moisture out.
Regular inspection and diagnostic testing prolong the service life of brake components. Incorporate these procedures into your routine maintenance schedule to maximize uptime. Finally, pay attention to any abnormal noises or pedal sensations during daily operation and address them immediately with professional-grade tools.