Ensuring a smooth day in the field begins long before the engine roars to life. A comprehensive tractor inspection is the cornerstone of both productivity and operator safety. By investing time in a systematic review of critical components, you not only prolong the lifespan of your machinery but also minimize the risk of unexpected downtime. This guide will take you through a detailed, step-by-step process to prepare your tractor for the demands of fieldwork, highlighting the vital checkpoints every operator should master.
Pre-Operational Visual Inspection
A thorough walkaround is the first defense against mechanical failures. Visual cues often reveal early signs of wear or damage that could escalate under load. Focus on these key areas:
Exterior Examination
- Inspect all tires for proper inflation, tread depth, and any cuts or bulges.
- Check the frame for cracks, rust spots, or loose welds.
- Examine lighting assemblies—headlights, tail lights, and work lamps—to ensure full functionality.
- Verify that all safety decals and reflective markers are clean and visible.
- Scan under the engine hood for oil drips, coolant leaks, or signs of rodent nests.
Cabin and Controls
- Ensure the operator’s seat and controls are secure and adjust smoothly.
- Check the integrity of the seat belt and rollover protective structures (ROPS).
- Confirm that mirrors and windows are free of cracks and offer unobstructed views.
- Test horn, windshield wipers, and heater or air conditioning systems.
- Review all gauge clusters for clarity and proper lighting.
Fluid Levels and System Checks
Fluids keep major systems running efficiently. Neglecting their maintenance can lead to irreversible damage and costly repairs. Prioritize these checks:
Engine Oil and Filters
- Pull the dipstick, wipe it clean, reinsert, then read the level to confirm it sits between the minimum and maximum marks.
- Assess the oil’s color and viscosity; dark, gritty oil indicates it’s time for a change.
- Replace oil filters according to the manufacturer’s maintenance schedule.
Hydraulic Fluids and Cooling System
- Check hydraulic reservoir levels and top up with the correct fluid grade.
- Inspect hydraulic hoses and connections for leaks or abrasions.
- Examine the radiator and cooling fan for debris buildup; clean fins with compressed air if necessary.
- Confirm coolant concentration and level; replace old coolant to maintain optimal engine temperature control.
- Test the water pump and belts for tension and wear.
Fuel System and Battery Health
- Ensure the fuel tank is free from water or contaminant buildup; consider a quick drain of the sediment bowl if equipped.
- Inspect fuel filters and replace if clogged or overdue for service.
- Check battery terminals for corrosion and secure mountings to avoid vibration damage.
- Measure battery voltage and specific gravity to verify full charge capacity.
Functional Tests Before Fieldwork
With fluids topped off and systems clear, proceed to functional verifications that simulate real-world conditions:
Starting Procedures
- Engage the starter and listen for abnormal cranking noises—grinding or hesitation may signal starter motor issues or low battery charge.
- Allow the engine to idle, observing oil pressure and temperature gauges for stable readings.
- Cycle through throttle settings to confirm smooth acceleration and response.
- Check for unusual vibrations or exhaust smoke that could indicate internal engine problems.
Attachments and PTO Verification
- Inspect the Power Take-Off (PTO) shaft for straightness and proper shielding.
- Engage the PTO at low RPM; listen and feel for smooth engagement without jerks or clunks.
- Connect any implements (e.g., mower, plow, planter) and ensure quick-release pins and hydraulics function correctly.
- Raise and lower attachments to test hydraulic lift capacity and monitor hose integrity under load.
Braking and Steering Response
- Test the brakes on a slight incline to confirm stopping power is effective on both service and parking brakes.
- Steer the front wheels through full lock positions to ensure no binding or excessive play in the steering linkage.
Documenting and Maintenance Schedule
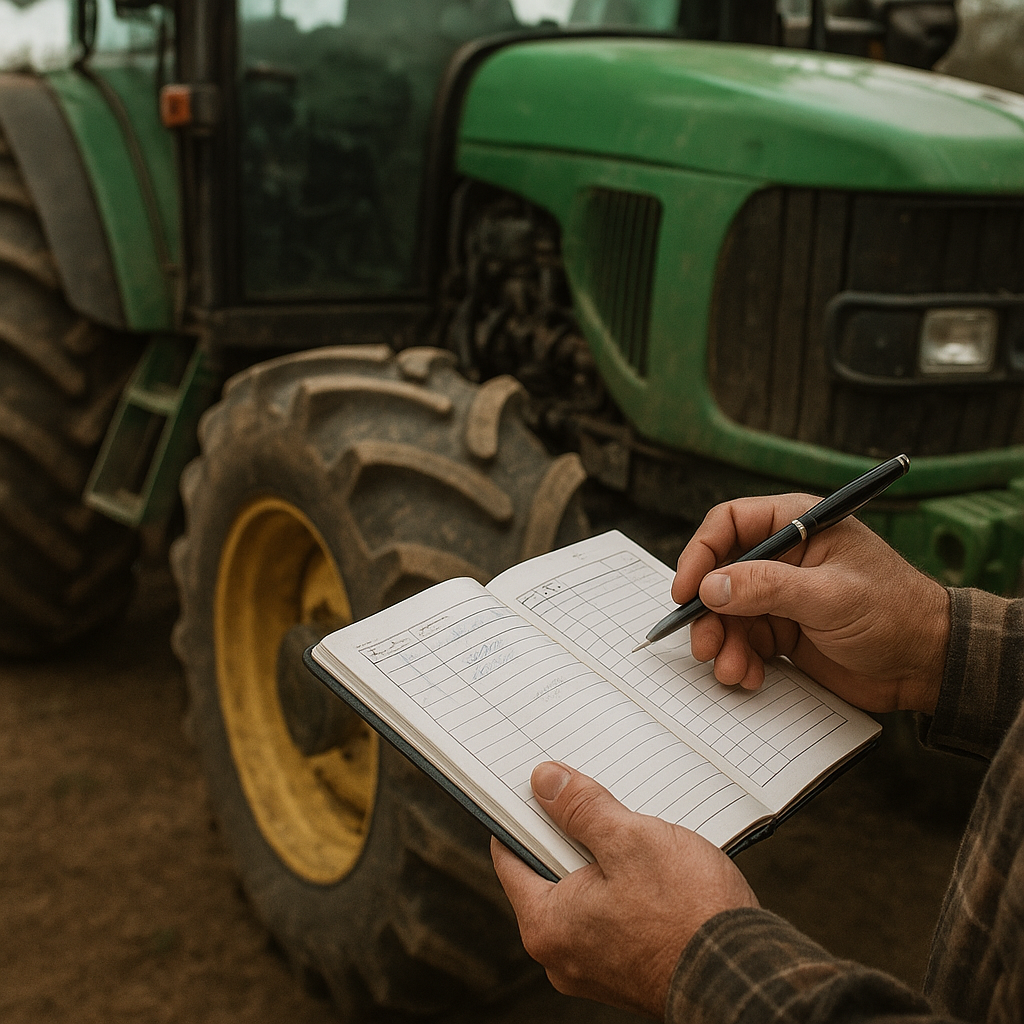
Accurate records are the backbone of a proactive upkeep program. Each inspection should be logged to track trends and anticipate future service needs. Consider the following best practices:
- Use a standardized checklist that covers all critical inspection points.
- Record dates, operating hours, and any irregular findings or corrective actions taken.
- Schedule routine oil changes, filter replacements, and belt inspections based on manufacturer recommendations and actual field conditions.
- Store maintenance logs digitally for easy retrieval and trend analysis—this documentation proves invaluable when diagnosing recurring issues.
- Train operators to perform daily inspections and report anomalies immediately.
By following this systematic inspection routine, you harness the full potential of your agricultural equipment. Regular attention to safety, fluid integrity, and operational checks not only reduces repair costs but also enhances overall productivity. Your tractor, after all, is the engine of the farm; treat it with diligence, and it will reward you with reliable performance season after season.