Using a reliable tractor to shape and maintain a smooth driveway surface offers both efficiency and longevity. When equipped with the right tools, your tractor can transform a rough, uneven path into a professional-grade road, saving time and money compared to manual labor or hiring outside contractors. This guide will explore the grading process in depth, highlight important attachments and adjustments, and provide step-by-step instructions to achieve a durable, well-draining driveway that stands up to heavy use and harsh weather.
Benefits of Using Your Tractor for Grading Driveways
Investing effort up front to grade a driveway properly with a tractor brings several advantages:
- Increased precision: Hydraulic controls allow for fine-tuning blade angles and depth, resulting in a consistent slope and smooth finish.
- Time savings: A single pass with a well-adjusted grader or blade attachment can replace hours of shoveling and raking.
- Cost efficiency: Once you own the tractor and attachments, ongoing grading maintenance is essentially a zero labor-cost task, aside from fuel and basic upkeep.
- Improved water management: Properly pitched driveways channel rain and meltwater away from structures, preventing pooling and erosion.
- Versatility: Beyond grading, attachments can be swapped for snow removal, landscaping, or soil preparation.
Whether you maintain a long rural lane or a short gravel approach to your garage, the comfort and control offered by modern tractors make rough terrain tasks far more manageable. Maximizing these benefits requires understanding the right tools and techniques for consistent grading results.
Essential Tractor Attachments and Setup
Key Attachments
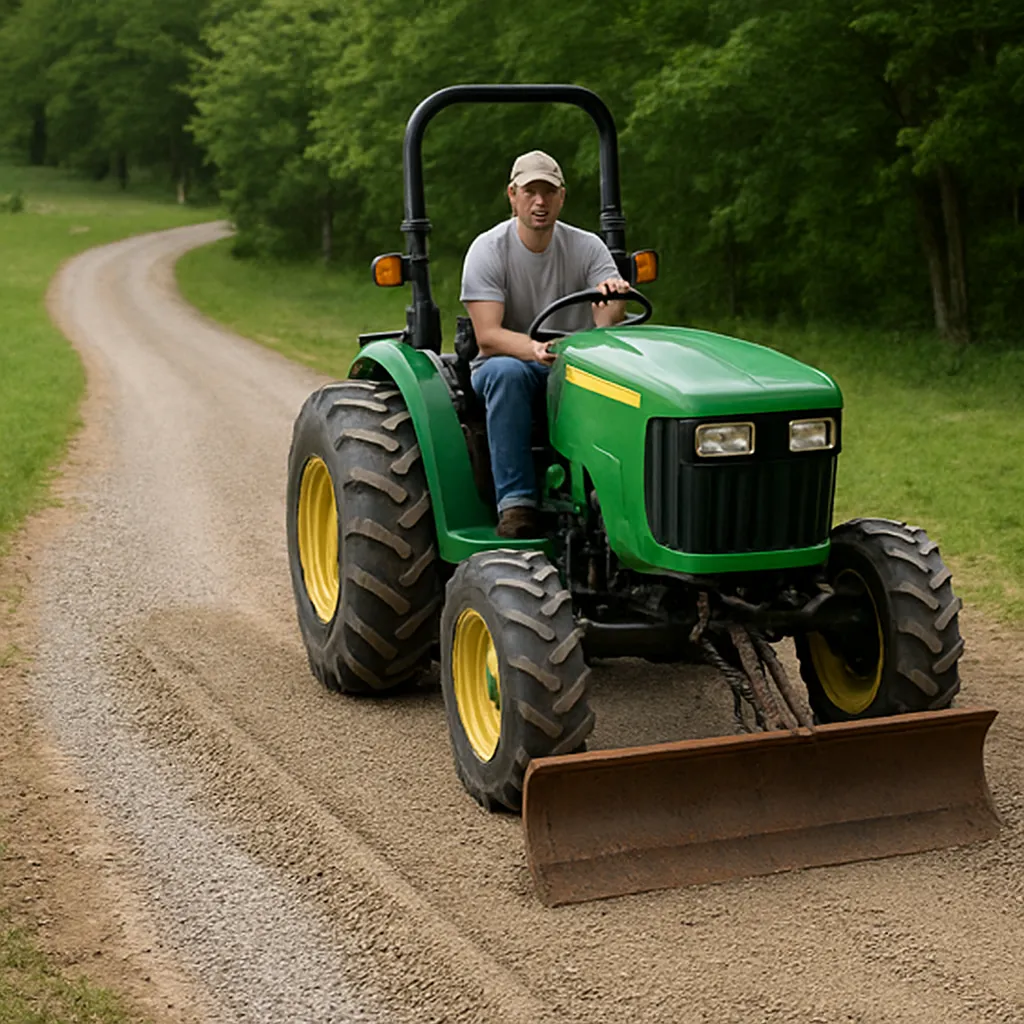
Rear Blade
The rear blade is the most common implement for driveway grading. It mounts on the three-point hitch and features adjustable wings that let you angle soil to one side or the other. Benefits include:
- Versatile angle adjustment for creating crown or one-way slopes.
- Ability to cut ruts and refill low spots in a single pass.
- Quick attachment and detachment thanks to standardized hitch pins.
Box Scraper
A box scraper combines a front cutting blade with rear scarifiers. This two-stage approach first loosens compacted material, then redistributes and levels it. Use this when gravel is very hard-packed or contains embedded rocks.
Land Plane
A land plane has a fixed blade in a frame and usually mounted behind the tractor. It is ideal for finishing touches, spreading material uniformly without digging deep, and producing a smooth, even surface.
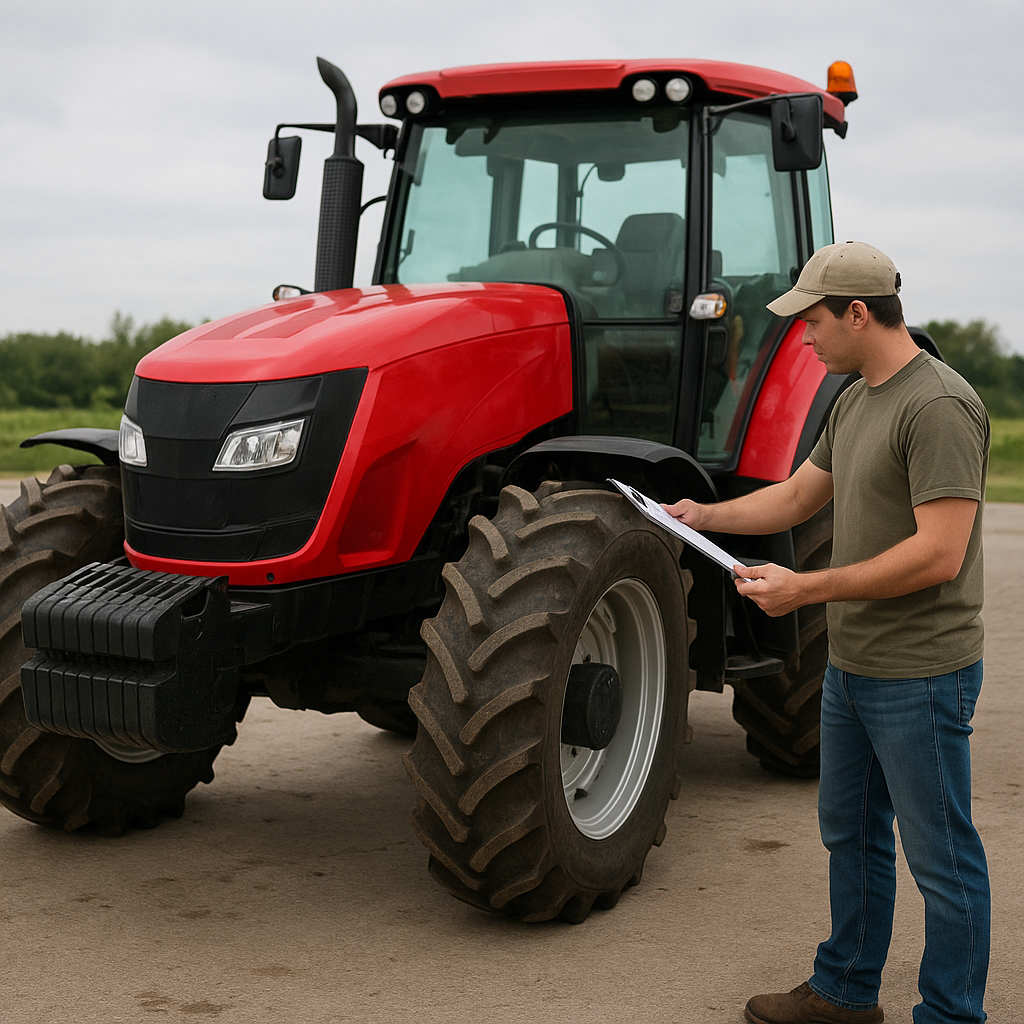
Before heading out, ensure your tractor’s tires are properly inflated to balance traction and flotation. Check hydraulic hoses and connectors, clean any debris from the hitch points, and verify the blade’s cutting edge is sharp and free of dings. Secure any loose bolts or pins, and consider adding wheel weights or ballast if your tractor feels unbalanced when the implement is mounted.
Step-by-Step Guide to Grading Your Driveway
Follow these steps to achieve a durable, well-draining surface:
- Survey the route: Walk the length of the driveway, marking high spots, low spots, and potential water collection areas. Use wooden stakes and colored ribbon to outline the desired centerline and edge points.
- Initial rough cut: With the blade flat, drive slowly along the centerline to remove the most pronounced high points. Keep the tractor in low gear (typically first or second) for maximum torque and control.
- Angle for slope: Tilt the blade by adjusting hydraulic controls. Aim for a slight crown—around 1/8 to 1/4 inch per foot—from the center toward each edge. This encourages water to run off rather than collecting in the middle.
- Multiple passes: Each pass should overlap the previous by about 6 inches. On steep ramps, work from the bottom upward, pulling material downhill rather than pushing uphill.
- Fill low spots: Lower the blade edge slightly to scoop material from adjacent high areas, then back up and deposit it into depressions. Compact the new material by driving over it with the tractor or using a roller attachment if available.
- Final smooth pass: Switch to a land plane or set the rear blade very shallow. Drive at a consistent speed to feather out minor ridges and divots, producing a uniform texture.
- Water and compact: Lightly mist the surface with a garden hose or small water truck. Follow immediately with a tractor wheel or roller to press fines into voids, locking the surface into a firm, dust-reduced finish.
Optimal grading conditions occur on a moderately damp driveway. If it’s too dry, dust will blow and fines won’t bind; if it’s too wet, ruts will form. Aim for soil that crumbles when squeezed but doesn’t release free water.
Maintenance Tips and Best Practices
Regular upkeep of both your tractor and driveway preserves appearance and functionality:
- Inspect and grease all pivot points on the attachment at least once a month.
- Sharpen or replace cutting edges annually to maintain precision and reduce fuel consumption.
- Rotate tires or switch position to equalize wear and maintain even traction.
- Check for hydraulic fluid leaks and replace worn hoses before they rupture.
- Store attachments indoors or under cover to prevent rust and deformation.
In colder climates, grading before winter and then removing loose aggregate after snowmelt helps avoid deep potholes and washboards. A well-maintained driveway extends the life of your investment, while a properly configured tractor attachment ensures each grading session is faster and more effective. With the right skills and equipment, mastering driveway grading becomes a straightforward routine that enhances property value and convenience.