Using a tractor for fencing projects can transform a demanding task into a streamlined operation, saving both time and labor while ensuring professional-grade results. Proper equipment selection, careful site preparation, and adherence to safety guidelines all contribute to a successful fence installation. Whether erecting perimeter fencing around a pasture or constructing a boundary for a garden, mastering these techniques will help you achieve durable, straight, and secure fences that stand the test of time.
Choosing the Right Tractor and Attachments
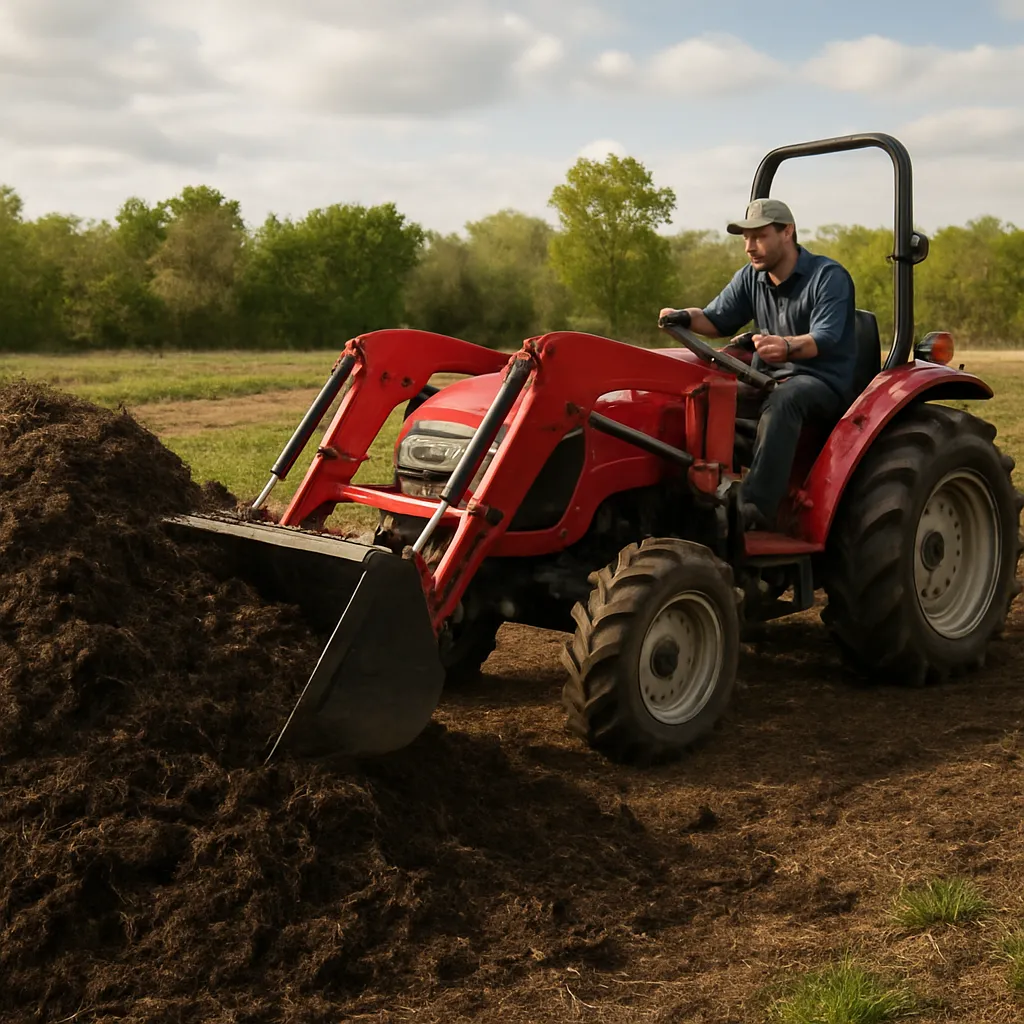
Selecting an appropriate machine is the foundation of an efficient fencing workflow. Tractors vary widely in power, hydraulic capacity, and maneuverability. Matching these features to your project scope can enhance efficiency and prevent costly downtime.
Engine Power and Hydraulic Capacity
- Tractor Horsepower: A 40–70 HP tractor typically handles most residential and small farm fencing projects.
- Hydraulics: Ensure your tractor’s hydraulic system can power a post driver or auger attachment without strain.
Essential Fencing Attachments
- Post Driver: A hydraulic or pneumatic unit that drives posts quickly and consistently.
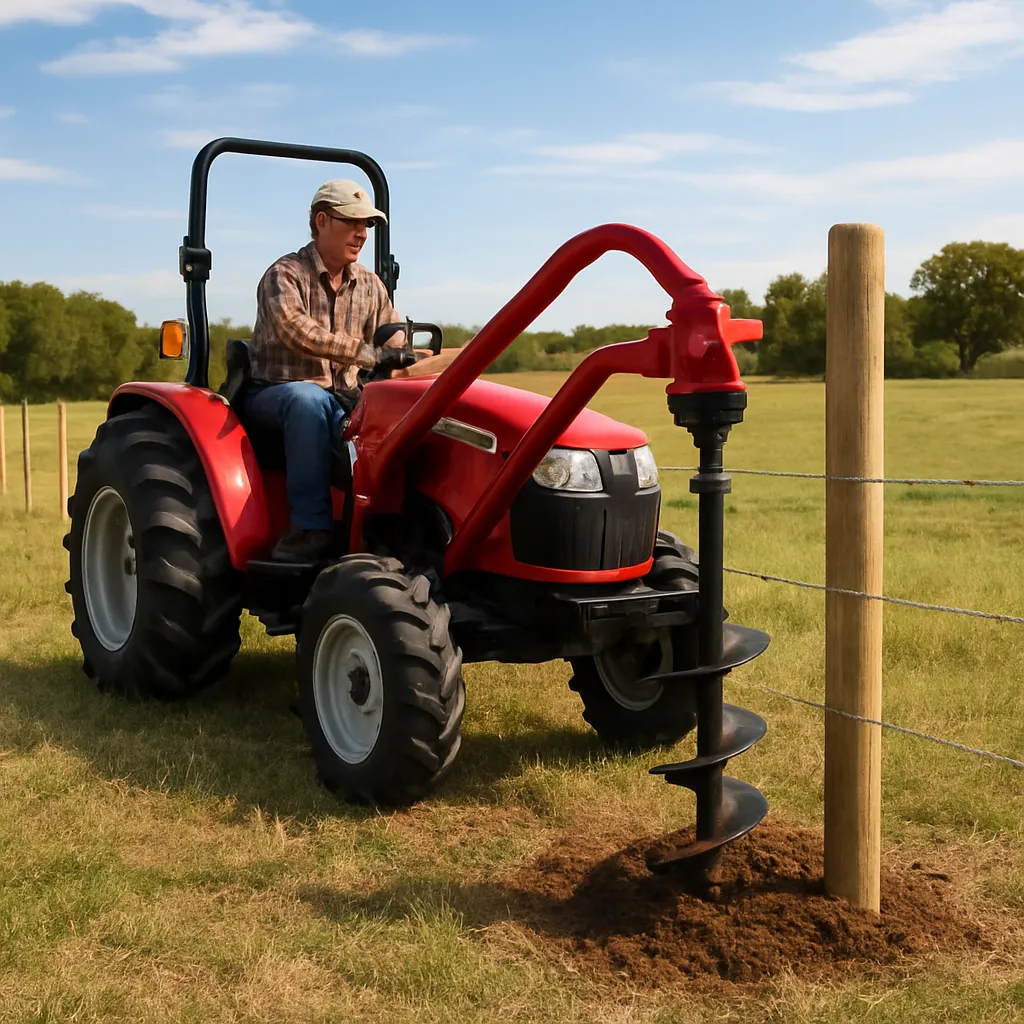
- Auger: For drilling holes when posts need concrete footings.
- Wire Tensioner: Keeps fencing wire taut and straight during installation.
Attachment Mounting Systems
Three-point hitches are the most common mounting system. Verify that your tractor’s Category I or II hitch matches the attachment’s requirements. Some manufacturers offer quick-attach adapters for even faster changeovers.
Site Preparation and Marking the Fencing Layout
Before any digging or driving, thorough site preparation is critical. Clear debris, assess the terrain, and mark your fence line to guide the tractor and ensure a straight, uniform installation.
Clearing and Leveling
- Remove rocks, logs, and vegetation that could obstruct the tractor or damage the attachments.
- Level high spots or fill low areas to maintain a consistent grade along the fence line.
Layout and Staking
- Use string lines between end posts to define the alignment.
- Mark post locations with stakes at standard intervals (usually 8 to 12 feet).
- Check for underground utilities before drilling or driving posts.
Soil and Terrain Considerations
Soil type influences tractor traction and auger performance. Sandy soils require deeper footings, while clay soils can be compacted for added durability. Rocky terrain may need pre-drilling or manual assistance to set posts.
Fence Post Installation with a Hydraulic Post Driver
Using a post driver attachment dramatically speeds up fence post installation and ensures consistent depth and alignment.
Mounting the Post Driver
- Position the driver on the tractor’s three-point hitch and secure all pins.
- Connect the hydraulic hoses, ensuring no leaks or kinks.
- Test the driver at low pressure to confirm proper operation.
Driving Posts Safely and Accurately
- Align the tractor squarely with the post location to avoid bending or breaking posts.
- Set the driver head onto the post top and engage hydraulics until the desired depth is reached.
- Monitor the pressure gauge to prevent overdriving or equipment strain.
Handling Challenging Conditions
- Hard or compacted soils may require partial augering before driving.
- Wet or muddy ground demands careful traction management to avoid tractor slippage.
- Obstructions like old concrete footings may necessitate spot removal by hand.
Running Wire, Tensioning, and Final Touches
Once your posts are firmly in place, the next steps involve attaching and tensioning wire or panels, followed by finishing details to maximize fence strength and longevity.
Choosing the Right Wire or Panel
- High-tensile wire offers superior strength and minimal sagging.
- Woven wire panels are ideal for livestock containment.
- Barbed wire adds a layer of security for perimeter enforcement.
Wire Tensioning Techniques
- Use a wire tensioner or ratchet to achieve uniform tension along the span.
- Start tensioning from one corner, working your way in 10–20 foot increments.
- Check the distance between posts and adjust to prevent bulging or sagging.
Securing Gates and Corners
- Install reinforced corner posts to handle extra tension loads.
- Select heavy-duty gate hardware and weld anchors or bolt plates to posts.
- Test gate swing and align latch hardware for smooth operation.
Maintenance and Inspection
- Regularly inspect for loose wires, damaged posts, or bent panels.
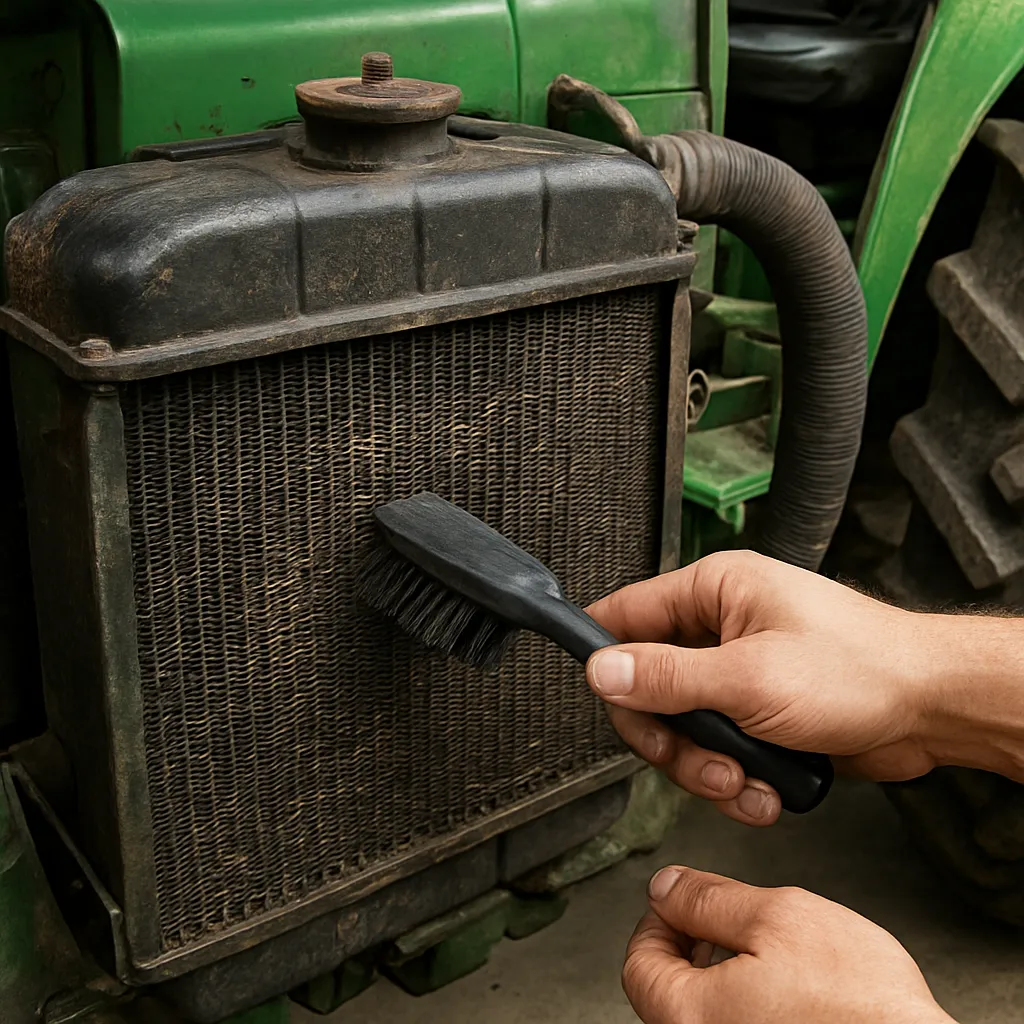
- Keep the tractor and attachments in good working order by greasing pivot points and checking hydraulic fluid levels.
- Trim vegetation along the fence line to reduce moisture buildup and corrosion.