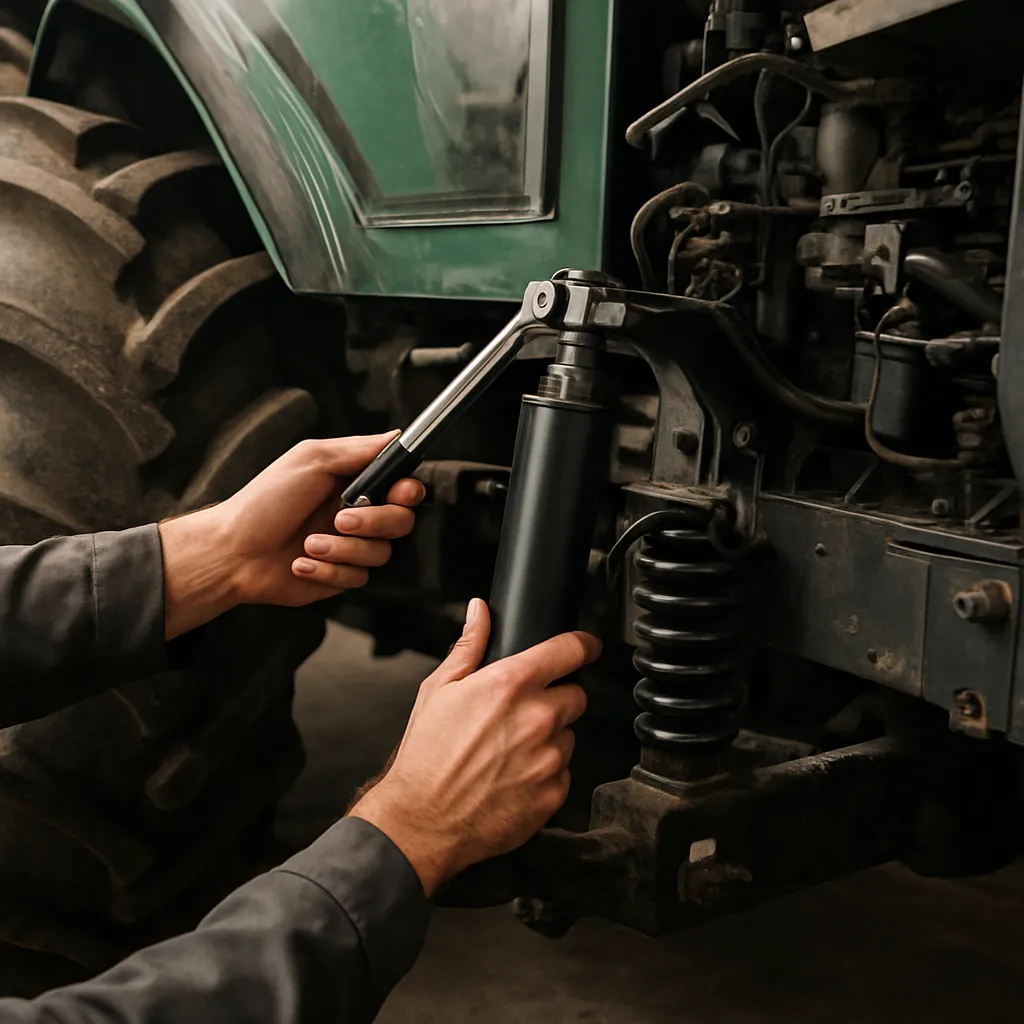
Upgrading your tractor’s suspension can transform its performance on rough fields, improve operator comfort, and extend the life of your machinery. A well-tuned suspension system ensures better stability, precise traction, and reliable load-bearing capacity, especially when tackling heavy implements or uneven terrain. Whether you drive a compact utility tractor or a heavy-duty farm machine, this guide provides step-by-step advice on selecting components, performing a proper installation, and maintaining your upgraded suspension.
Choosing High-Quality Suspension Components
The first step in any suspension upgrade is selecting components that match your tractor’s weight, intended use, and operating conditions. Factors such as tire size, implement weight, and field roughness all influence your choice. Look for products tested under field conditions and backed by a solid warranty.
Key components to consider include:
- Shock absorbers or struts designed for agricultural applications
- Leaf springs reinforced with heavy-duty steel for added strength
- Bump stops to prevent over-compression during severe jolts
- Adjustable linkages and control arms for precise alignment
When selecting shocks, choose units with adjustable damping. This feature lets you fine-tune the suspension for different loads. Reinforced leaf springs or multi-leaf packs offer superior durability under heavy implements. Finally, consider upgrading bushings to synthetic or polyurethane materials for reduced wear and greater longevity.
Preparing Your Tractor for Installation
Proper preparation is crucial to a smooth installation process. Begin by parking your tractor on a level surface and engaging the parking brake. Block the wheels to prevent movement. Gather all necessary tools before lifting the machine:
- Heavy-duty jack and jack stands rated for your tractor’s weight
- Socket set and torque wrench
- Hydraulic fluid and brake fluid (if needed)
- Measuring tape or laser level
- Anti-seize lubricant and thread locker
Inspect existing suspension components for wear, corrosion, and damage. Document mounting points and take photos if needed. This record will help ensure the new system aligns correctly. Clean all connection surfaces thoroughly, removing dirt, debris, and old grease. Finally, review the manufacturer’s instructions for each new component, noting any special requirements.
Step-by-Step Installation Guide
Removing Old Suspension Parts
Begin by raising the tractor off the ground using the jack and placing it securely on jack stands. Start on one side and work methodically to the other. Remove wheels first to access shocks, springs, and linkages easily. Use penetrating oil on any rusted bolts before loosening them.
Carefully unbolt the existing shock absorbers and leaf springs. Support the axle to prevent sudden drops. Keep track of all hardware and mounting brackets; some parts may be reusable or required for spacer kits.
Installing New Components
Position the new leaf springs or spring packs into their mounting brackets. Apply anti-seize lubricant to all bolts to ease future maintenance. Hand-tighten mounting bolts initially, then torque to specifications once all components are in place.
Attach the new shock absorbers. For adjustable models, set damping controls to a midpoint before final adjustments. Connect hydraulic leveling valves if included. Make sure hoses are routed away from hot pipes and sharp edges, and secure them with clamps.
Fine-Tuning and Alignment
With the tractor lowered back onto its wheels, measure ride height on both sides. Use a laser level or tape measure to confirm symmetry. Adjust linkages and leveling valves until the tractor sits evenly under no-load conditions. Test the suspension travel by applying weight at various points.
If your tractor includes sway bars or stabilizer links, adjust them to limit excessive roll during cornering. A properly aligned suspension reduces tire wear and enhances field performance.
Testing Performance and Adjustments
Never take your freshly upgraded suspension straight to the field without testing. Drive on a smooth road first to check for unusual noises, leaks, or binding. Listen for clunks that may indicate loose hardware. Check fluid levels in hydraulic shocks or leveling systems.
Next, test on uneven terrain at low speed. Notice how the suspension reacts to bumps and ruts. Are impacts absorbed smoothly, or is there excessive bouncing? Use the damping adjustment on your shocks to dial in the ideal firmness:
- Turn damping up for heavy loads or stiff implements
- Soften for lighter loads or maximum operator comfort
For tractors with front-end attachments, ensure the new suspension maintains proper alignment under added weight. Make incremental changes and document settings for future reference.
Maintenance and Troubleshooting Tips
A top-tier suspension upgrade demands regular inspection to sustain peak performance. Check all mounting hardware after the first 50 operating hours, then at 250-hour intervals. Re-torque bolts as needed. Inspect bushings and pivot points for signs of wear or cracking.
If you encounter any of the following issues, address them promptly:
- Uneven ride height: Recheck leveling valves and linkages.
- Loss of damping: Inspect shock absorbers for leaks or air ingress.
- Metal-on-metal noise: Replace worn bushings and apply fresh lubricant.
- Excessive sway: Tighten sway bar end links or install heavier stabilizer springs.
Seasonal maintenance may include flushing hydraulic systems, replacing brake lines that share mounting points, and cleaning debris from spring assemblies. Proper care ensures your upgraded suspension continues to deliver superior comfort and performance across many years of demanding farm work.