Keeping your tractors in top working order means paying close attention to the heart of their power system: the diesel injectors. Clogged or malfunctioning injectors can lead to poor engine performance, increased fuel consumption, and costly downtime. This article will guide you through the essential steps of cleaning tractor injectors safely and effectively, helping you restore optimum performance and extend the life of your equipment.
Understanding Diesel Injector Function in Tractors
Diesel injectors play a critical role in delivering atomized fuel into the combustion chamber at precise intervals and under high pressure. Unlike gasoline engines that rely on spark plugs, diesel engines depend on compression to ignite the fuel. Proper injector operation ensures optimal spray pattern, combustion quality, and overall efficiency. Over time, varnish, carbon deposits, and water contamination can cause clogging, resulting in misfires, rough idling, and power loss.
Key Components of an Injector
- Nozzle: The tip through which fuel is sprayed.
- Needle Valve: Controls the opening and closing of the nozzle.
- O-rings and Seals: Prevent leaks under high pressure.
- Spring Mechanism: Regulates injection timing and pressure.
Signs of Injector Problems
- Uneven idling or stalling.
- Visible smoke (black or white) from the exhaust.
- Sharp drop in fuel efficiency.
- Excessive vibrations or knocking noises.
Essential Tools and Safety Precautions
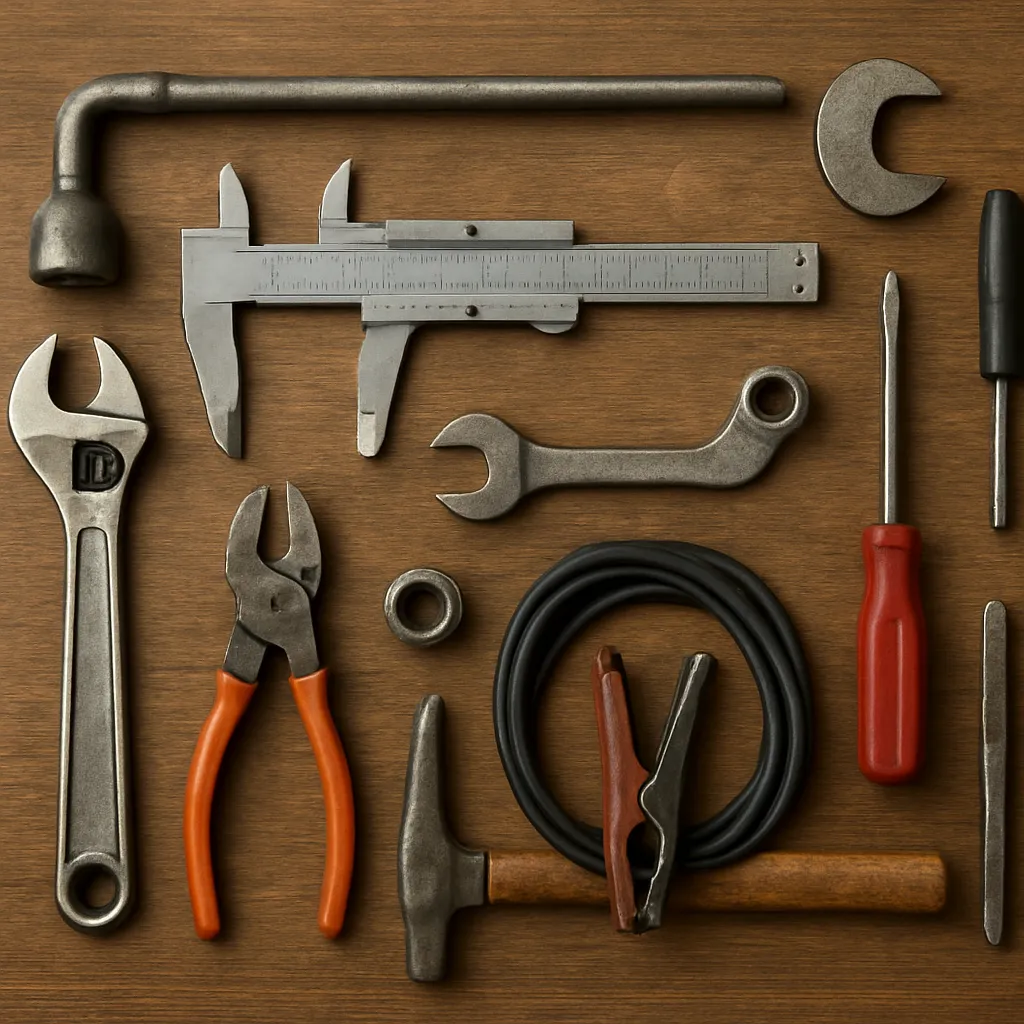
Before beginning any maintenance operation on a tractor’s injector system, it’s crucial to gather the right tools and follow safety protocols. Working with pressurized fuel lines and chemical cleaners carries inherent risks.
Required Tools and Materials
- Injector cleaning kit (includes adapters and pressurized canister)
- Quality diesel-compatible cleaning solvent
- Protective gloves and safety glasses
- Torque wrench for proper reassembly
- Lint-free rags and small brushes
- Fuel line disconnect tools
Safety Guidelines
- Perform work in a well-ventilated area to avoid inhaling fumes.
- Depressurize fuel system before disconnecting any lines.
- Wear chemical-resistant gloves to protect your skin.
- Keep a fire extinguisher nearby; diesel is combustible under certain conditions.
Step-by-Step Cleaning Procedure
Follow these detailed steps to achieve a thorough injector cleaning without damaging delicate components.
1. Preparation
- Park the tractor on a flat surface and shut off the engine.
- Allow the engine to cool to avoid burns from hot parts.
- Disconnect the tractor battery to eliminate electrical hazards.
2. Depressurize and Remove Injectors
- Locate the fuel rail and relieve pressure by loosening the bleed screw or using a designated valve.
- Use a fuel line disconnect tool to carefully remove the high-pressure lines.
- Unscrew the injectors with a torque wrench set to the manufacturer’s specifications.
3. Pre-Clean Inspection
- Examine each injector for cracks, damaged seals, or excessive wear.
- Discard any injector that shows signs of mechanical failure—cleaning won’t restore severely damaged units.
4. Ultrasonic Cleaning (Optional but Recommended)
- Fill an ultrasonic cleaner with diesel-compatible solvent.
- Submerge injectors and run the cleaning cycle for 15–20 minutes to break down stubborn carbon deposits.
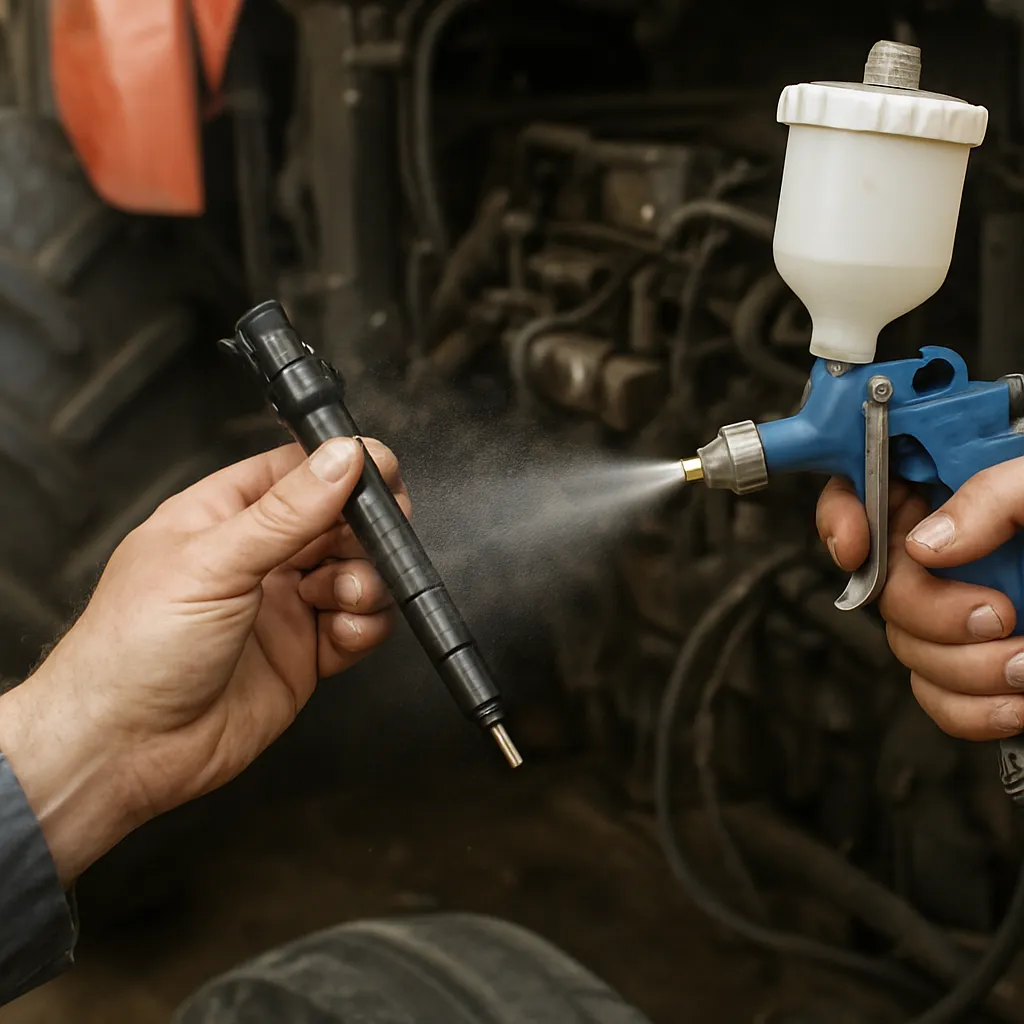
5. DIY Pressurized Cleaning
- Attach the cleaning solvent canister to the injector cleaning adapter.
- Pressurize the canister and spray solvent through each injector nozzle to flush out debris.
- Repeat the process until the exhaust spray appears clear and even.
6. Leak and Spray Pattern Test
- Reconnect injectors to the test bench or use a bench-mounted fuel pump.
- Activate each injector briefly to inspect the spray pattern—should be symmetrical and fine.
- Check for leaks around the injector body and seals.
7. Reinstallation
- Replace all O-rings and seals with new components.
- Insert injectors into the cylinder head and tighten bolts to specified torque settings.
- Reconnect fuel lines, sensors, and the battery.
Preventive Maintenance Tips
Regular upkeep can help avoid frequent cleaning and prolong injector life. Follow these best practices to reduce the risk of future clogging and maintain peak operation.
Fuel Quality Management
- Use high-grade diesel with built-in detergents to minimize deposits.
- Store fuel in clean, sealed containers to prevent water and particulate contamination.
- Install a high-quality water-separator filter in the fuel line.
Scheduled Service Intervals
- Inspect fuel filters every 250 hours of operation.
- Perform injector checks and cleaning every 1,000 hours or annually.
- Record service dates and findings in a maintenance log.
Operational Best Practices
- Avoid prolonged idling; run the engine at working temperatures to burn off carbon regularly.
- Use recommended engine oils and change them at specified intervals.
- Monitor engine diagnostics for early warning signs of injector issues.