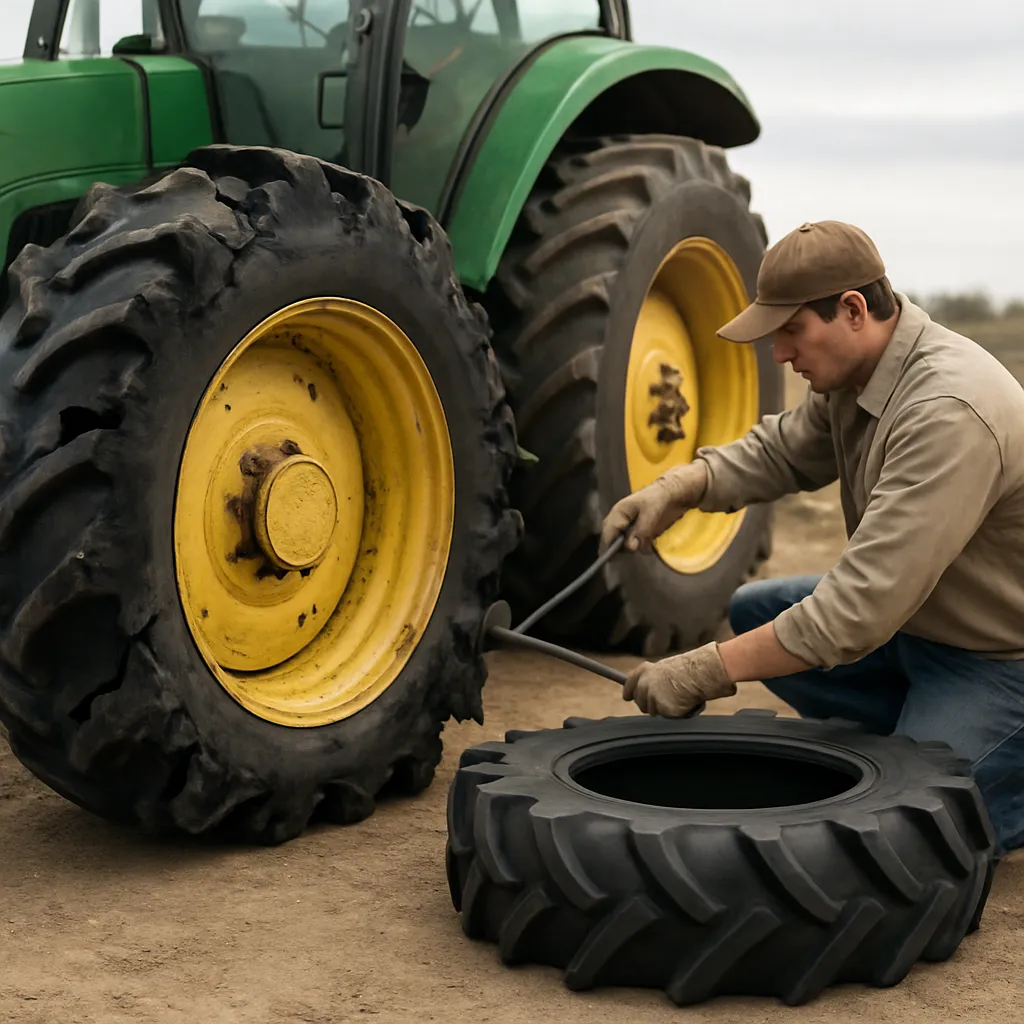
Maintaining the integrity of your tractor’s tires is crucial for both performance and safety. When a tire becomes damaged, timely and correct replacement can prevent downtime and further harm to the machine. The following guide walks you through the entire process—from preparation to post-installation checks—using practical advice and professional tips.
Preparation and Safety Precautions
Before you begin replacing a tractor tire, thorough preparation and awareness of safety protocols are essential. Ignoring these steps may result in harm to you or damage to your equipment.
Essential Tools and Equipment
- Hydraulic or mechanical jack rated for tractor weight
- Quality torque wrench
- Breaker bar or impact wrench for lug nuts
- Replacement tire and inner tube (if applicable)
- Air compressor with pressure gauge
- Protective gloves and safety glasses
- Wheel chocks and blocks
- Lug nut socket set
- Pry bar or tire spoon (for rim removal)
- Lubricant or soapy water spray
Site Preparation
Choose a level, stable surface to work on. Engage the parking brake and place wheel chocks on both sides of the opposite wheel to prevent any unintended movement. Ensure adequate lighting and keep bystanders at a safe distance.
Personal Safety Measures
- Wear heavy-duty gloves to protect hands from sharp edges.
- Use safety glasses to guard against flying debris.
- If working alone, inform someone of your activity or have a communication device nearby.
- Never position any part of your body under the tractor when it is only supported by a jack.
Removing the Damaged Tire
Systematic removal of the damaged tire helps avoid unnecessary strain on the tractor’s axle and wheel assembly.
Loosening the Lug Nuts
Before lifting the tractor, slightly loosen the lug nuts using your breaker bar or impact wrench. Turning them counterclockwise while the wheel remains on the ground prevents the wheel from spinning. Do not fully remove the nuts at this stage; just break their initial torque.
Raising the Tractor
- Position the jack under a designated jacking point near the wheel hub (consult the operator’s manual for the exact location).
- Slowly pump or crank the jack until the damaged tire is clear off the ground by at least a few inches.
- Place heavy-duty jack stands underneath the axle or frame to secure the tractor. Never rely solely on the jack for support.
Wheel and Tire Removal
With the tractor safely lifted and supported, fully remove the lug nuts and store them in a secure spot. Gently pull the wheel straight off the axle. If it’s stuck due to corrosion or debris, apply penetrating lubricant around the hub, wait a few minutes, and try again. Use a rubber mallet to tap around the rim edge if necessary.
Installing the Replacement Tire
Proper installation ensures the new tire performs optimally under load and extends its operational life.
Inspecting the Wheel Assembly
- Clean the hub surface to remove rust, dirt, or old sealant.
- Check for any cracks or bends in the rim that could compromise seating.
- Ensure the axle flange is free of gouges or burrs.
Mounting the New Tire
Align the new tire’s valve stem to the designated notch or hole in the rim. Slide the wheel onto the axle, smoothing it on by hand. If resistance occurs, avoid forcing it; instead, verify alignment and clear any obstructions.
Torquing the Lug Nuts
Install the lug nuts by hand to prevent cross-threading. Lower the tractor just enough to seat the tire on the ground lightly, keeping jack stands in place. Using the torque wrench, tighten the lug nuts in a crisscross pattern to the manufacturer’s specified torque value. This ensures even pressure distribution and prevents rotor warping.
Post-Installation Checks and Maintenance
After replacing the tire, a series of checks and adjustments will optimize performance and safety.
Inflation and Pressure Adjustment
- Attach the air compressor and inflate to the recommended pressure found in the tractor manual or on the tire sidewall.
- Use a calibrated gauge to ensure accuracy.
- Recheck pressure after driving a short distance, as seating the bead can alter PSI slightly.
Safety Re-Evaluation
- Ensure all lug nuts remain torqued to specification after the initial test run of 5–10 miles or a full day of operation.
- Inspect the tire for uniform bead seating and look for minor air leaks using soapy water.
- Verify that the tread depth and overall tire condition meet operational standards.
Routine Tire Care Tips
Regular maintenance extends the life of your tractor tires:
- Check tire pressure weekly to avoid underinflation or overinflation.
- Rotate tires according to the manufacturer’s recommendations for even wear.
- Avoid sharp turns or sudden stops on hard surfaces to reduce sidewall stress.
- Clean rims and remove debris from tread after each heavy use.
- Store spare tires indoors or under cover to prevent UV damage and dry rot.