Maintaining a tractor’s radiator is crucial for ensuring optimal performance and avoiding costly downtime. A clean radiator supports efficient heat exchange, prevents overheating, and extends the life of your engine. In this comprehensive guide, you’ll learn how to safely clean, flush, and maintain a tractor radiator, along with expert tips to keep your machine operating at peak efficiency.
Understanding Radiator System Components
Before diving into cleaning procedures, it’s important to identify the key components of the radiator system. A typical tractor radiator assembly consists of:
- Radiator core: the network of tubes and fins where coolant releases heat into the air
- Coolant reservoir: holds extra coolant and compensates for expansion
- Water pump: circulates coolant through the engine and radiator
- Thermostat: regulates coolant flow based on temperature
- Radiator cap: maintains system pressure and prevents leaks
- Hoses and clamps: direct coolant between components without leakage
Understanding each piece’s role helps you diagnose issues such as reduced flow, internal corrosion, or external debris buildup. Over time, minerals in water and additives in antifreeze can form deposits inside the radiator core, decreasing its capacity to transfer heat. Meanwhile, mud, dust, insects, and plant material can clog the fins from the outside.
Step-by-Step Cleaning Procedure
Follow these steps to perform a thorough radiator cleaning. Always wear protective gloves and eye protection when dealing with pressurized coolant and chemical agents.
1. Safety Precautions
- Allow the engine to cool completely before starting.
- Park on level ground and engage the parking brake.
- Use jack stands or wheel chocks to stabilize the tractor.
- Disconnect the battery ground cable to avoid electrical hazards.
2. Drain Coolant
Locate the drain valve or petcock at the bottom of the radiator. Place a drain pan underneath and open the valve. Once the coolant has fully drained, close the valve securely. Properly dispose of used coolant according to local regulations—it can be toxic to humans and animals.
3. External Cleaning
- Use compressed air to blow away loose dirt and plant matter from the fins.
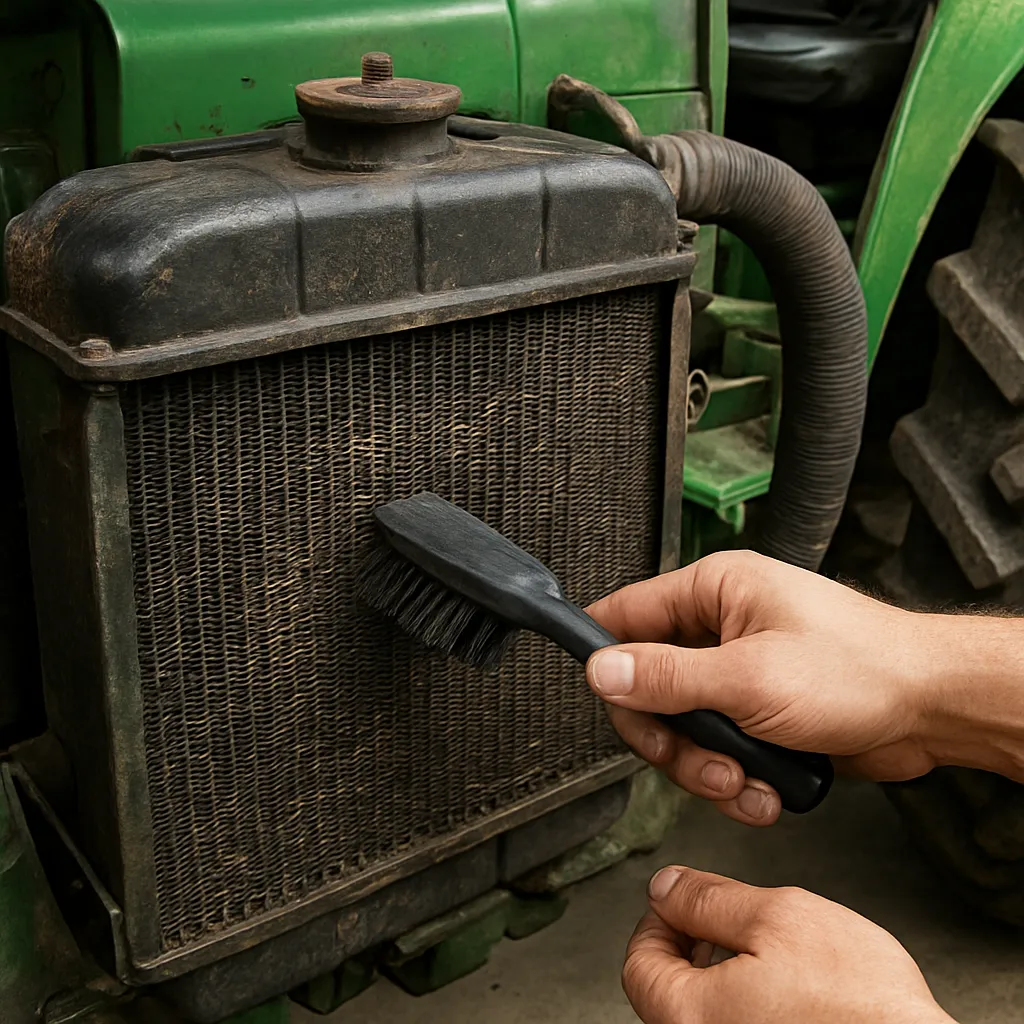
- Apply a mild detergent solution with a soft brush, gently scrubbing the fins.
- Rinse thoroughly with low-pressure water to avoid bending the fins.
- Straighten any bent fins using a fin comb or thin flat tool.
4. Internal Flushing
Fill the radiator with a commercial radiator flush solution mixed with water, following the product instructions. Run the engine at idle with the heater on high for 10–15 minutes to circulate the cleaner. Turn off the engine, allow it to cool, and drain the solution.
- Repeat the flush cycle with clean water until the discharge runs clear and free of debris.
- Inspect the drained liquid for rust particles, scale, or oil contamination, which may signal engine issues.
5. Refill with Fresh Coolant
After ensuring the system is clean, close all valves and fill the radiator with a 50/50 mix of high-quality antifreeze and distilled water. Gradually add fluid to avoid air pockets. Open bleed valves, if equipped, to release trapped air. Once filled, tighten the radiator cap to the manufacturer’s recommended pressure rating.
Regular Maintenance Tips and Best Practices
Routine inspections and simple maintenance steps can significantly extend the life of your tractor’s cooling system.
- Inspect Hoses and Clamps: Check for cracks, bulges, or leaks. Replace any leaking hose and tighten loose clamps.
- Test Coolant Quality: Use test strips or a refractometer to assess antifreeze concentration and pH balance. Replace coolant every two years or as specified by the tractor manufacturer.
- Monitor Temperature Gauges: Keep an eye on engine temperature during operation. Sudden spikes may indicate blockages or thermostat failures.
- Clean Air Intake Screens: Remove screens and sieves on front-end attachments to maintain proper airflow through the radiator.
- Track Operating Hours: Log each cleaning and flush to stay on schedule. High-load tasks or dusty environments may require more frequent service.
- Check Radiator Cap: A faulty cap can let coolant escape and admit air, leading to reduced heat transfer.
Troubleshooting Common Radiator Issues
Even with regular care, problems can arise. Here’s how to identify and address the most frequent concerns:
- Persistent Overheating: Verify coolant level and mixture. Inspect for air locks, malfunctioning fan clutch, or a broken water pump.
- Visible Leaks: Look for wet spots around hose connections, tank seams, and the radiator core. Seal minor leaks with approved epoxy patches or replace damaged parts.
- Rust or Scale Buildup: Flush the system immediately and consider a corrosion inhibitor additive to prevent recurrence.
- Oil Contamination: A milky appearance in coolant indicates a head gasket leak or cracked cylinder head—seek professional engine repair.
- Restricted Airflow: Clean nearby debris screens and verify that auxiliary fans are operational and correctly aligned.
Enhancing Radiator Longevity Through Smart Practices
Implementing a few advanced strategies can further protect your radiator against premature wear:
- Install a coolant filter inline to trap fine particles before they enter the radiator.
- Use distilled or deionized water to minimize mineral deposit formation.
- Apply an eco-friendly anti-corrosion treatment periodically to internal surfaces.
- Store tractors under cover or use grille guards to limit exposure to insects and large debris.
- Follow manufacturer-recommended intervals for belt replacements, since a slipping drive belt reduces fan speed and cooling capacity.
By mastering these cleaning methods and adhering to a disciplined maintenance schedule, you’ll safeguard your tractor against unexpected breakdowns, boost its operational efficiency, and ensure reliable performance season after season.