Efficient haymaking hinges on selecting and configuring the right machinery, mastering field techniques, and adhering to safety and maintenance protocols. A reliable tractor serves as the backbone of modern hay production, seamlessly connecting with various implements to mow, tedd, rake, and bale forage crops. This article explores the step-by-step process of using a tractor for haymaking, from choosing attachments to troubleshooting in the field.
Choosing the Right Equipment
Before embarking on haymaking, it’s crucial to understand the role of each tractor attachment. The performance of your operation depends heavily on matching tractor power with implement requirements. Key factors include acreage, terrain, crop type, and climate.
Tractor Selection
- Engine Power: Select a unit that delivers adequate horsepower. Mowing and baling often demand between 70 to 150 HP depending on baler size.
- Hydraulics and PTO: Ensure the tractor’s hydraulic flow rate and PTO speed (usually 540 or 1000 rpm) align with implement specifications.
- Weight and Traction: Consider rear ballast or dual wheels for extra traction on wet ground or slopes.
Essential Haymaking Implements
- Mower Conditioner: Cuts grass and crimps stems for faster drying.
- Tedder: Fluffs and turns the crop to improve air circulation and speed up moisture evaporation.
- Rake: Gathers cured hay into windrows for easy pickup by the baler.
- Baler: Compresses dried forage into round or square bales, simplifying storage and transport.
Field Preparation and Initial Passes
Effective haymaking begins long before the first cut. Soil fertility, weed control, and mower calibration all play a role in final bale quality.
Assessing Field Conditions
Walk or drive through fields to check for hidden obstacles such as rocks, fence posts, or low-lying wire. Identify areas prone to waterlogging or uneven terrain. Mark zones that may require slower speeds or additional passes.
Mowing Techniques
- Adjust Mower Height: Set the cutting height to optimize regrowth and minimize contamination from soil and debris.
- Speed Management: Maintain a consistent ground speed (typically 6–8 km/h) to ensure even cutting and reduce fuel consumption.
- Overlap Passes: A 10–15% overlap between swaths prevents missed strips of crop.
Drying and Conditioning
Proper drying is essential to prevent mold and preserve the nutritional value of hay. Tractor-driven conditioners and tedders accelerate moisture reduction by speeding up air flow through the crop.
Using a Tedder
- Rotors and Fingers: Inspect tines for wear and ensure rotors spin freely.
- Working Width: Adjust rotor angle to match field width for optimal coverage.
- Timing: Begin tedding when moisture is around 50% and repeat every 2–3 hours until moisture drops below 30%.
Raking for Uniform Windrows
Windrow formation influences baler efficiency and bale shape. Wide, shallow windrows minimize internal moisture retention, while narrow, deep windrows suit high-capacity balers.
- Rake Height: Keep tines just above ground level to avoid soil pickup.
- Windrow Spacing: Maintain consistent spacing to match baler pickup width.
- Speed Control: Operate at 8–10 km/h, depending on crop density.
Baling Operations
The baling stage transforms loose hay into manageable units for storage and transport. Proper tractor setup and technique can reduce downtime and increase bale quality.
Selecting Baler Type
- Round Balers: Offer rapid cycle times and weather resistance due to their uniform bale shape.
- Square Balers: Produce bales that stack neatly in barns but require more frequent stops for knotter checks.
Optimizing Baler Performance
- PTO Engagement: Engage the baler PTO smoothly to avoid peak torque spikes that stress the drivetrain.
- Net Wrap vs. Twine: Choose net wrap for weather exposure and higher bale density; twine is cost-effective for sheltered storage.
- Monitoring Bale Density: Adjust chamber tension settings to achieve target bale weight (typically 400–600 kg for round bales).
Maintenance and Troubleshooting
Regular upkeep ensures reliable tractor performance and prolongs implement lifespan. A proactive maintenance schedule reduces the risk of breakdowns during peak haymaking windows.
Daily Checks
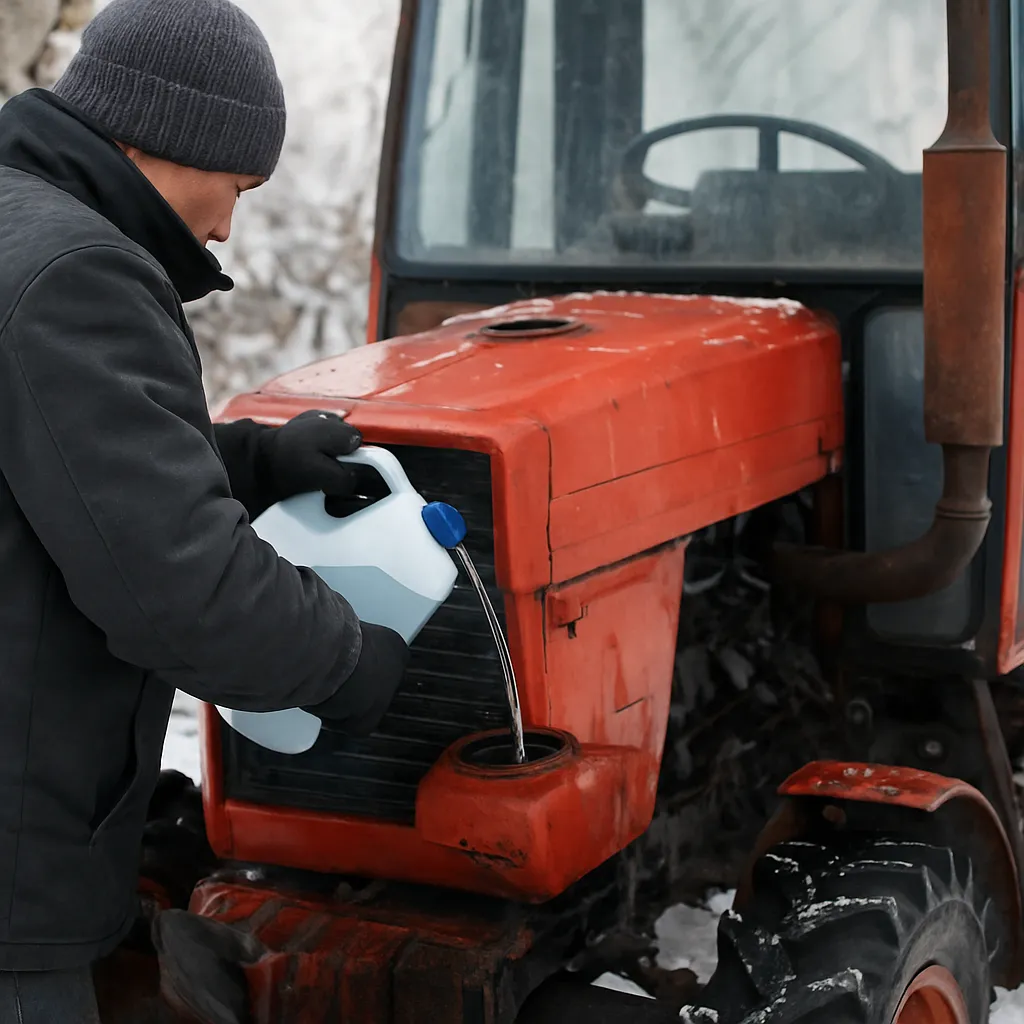
- Fluids: Inspect engine oil, hydraulic oil, and coolant levels.
- Tire Pressure: Maintain correct PSI to ensure traction and even weight distribution.
- Greasing Points: Lubricate universal joints, PTO shafts, and implement bearings.
Common Field Issues
Troubleshooting on the go can mean the difference between profit and wasted opportunity.
- Clogged Pickup Teeth: Stop and clear debris immediately to avoid damaging the baler mechanisms.
- PTO Slippage: Check clutch adjustment if the PTO repeatedly slips under load.
- Overheating: Ensure radiator fins are free of chaff and set the fan belt tension properly.
Safety Considerations
Safe operation protects both operator and equipment. Follow manufacturer guidelines and employ sound judgment in all haymaking tasks.
Operator Practices
- Seat Belt and ROPS: Always fasten the seat belt and ensure the rollover protection system is locked in place.
- PPE Usage: Wear gloves, safety glasses, and sturdy footwear when attaching or adjusting implements.
- Shutdown Protocol: Lower implements to the ground and engage parking brake before leaving the cab.
Implement Safety
- Shielding: Never operate PTO without all protective shields in place.
- Lockout/Tagout: Disconnect power and wait for moving parts to stop before performing maintenance.
- Communication: Use hand signals or two-way radios when multiple operators work in the same field.