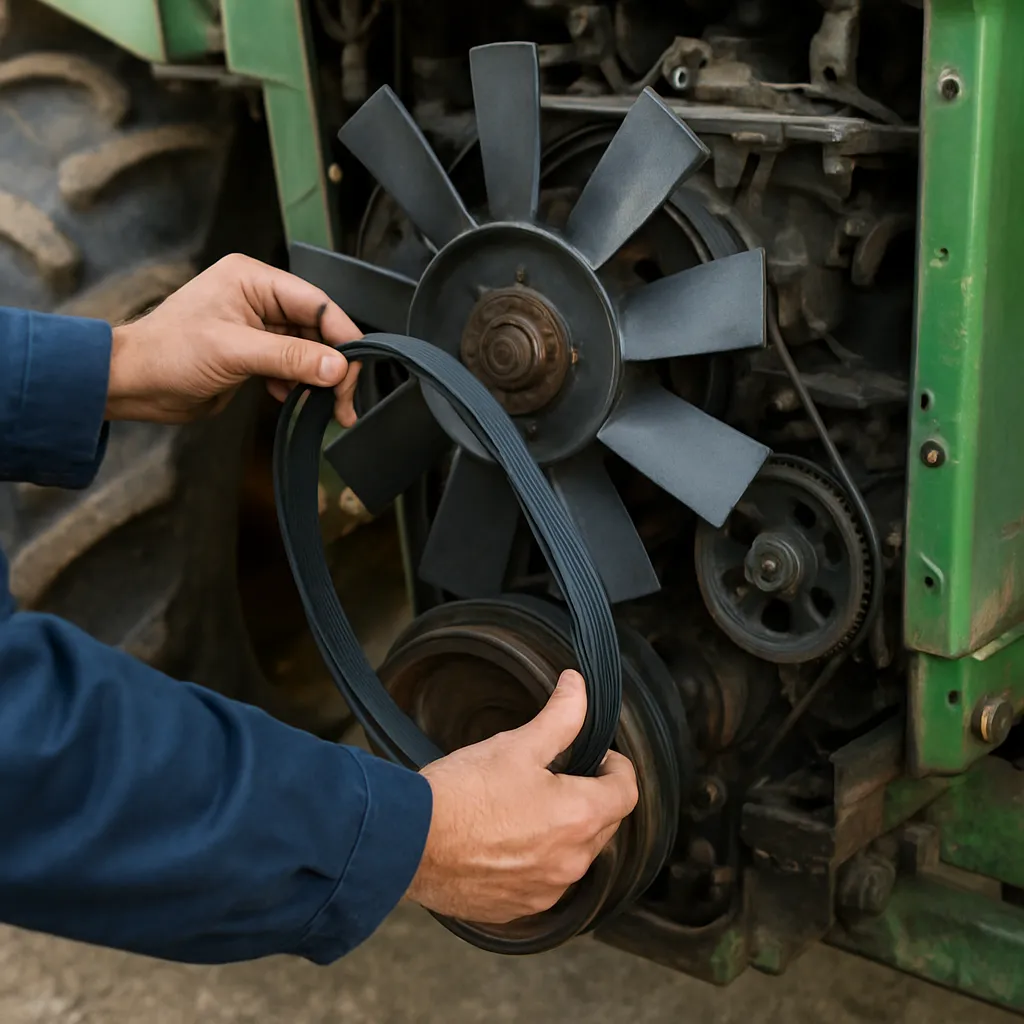
Replacing a tractor’s fan belt may seem intimidating at first, but with the right guidance and careful attention to detail, you can perform this crucial maintenance task yourself. Whether you’re a seasoned farmer or a hobbyist with a small garden tractor, understanding the process of belt replacement enhances equipment longevity and ensures optimal engine cooling. Follow these detailed steps to achieve a reliable, safe, and efficient outcome.
Tools and Preparations
Required Tools
- Socket set with ratchet and extensions
- Wrenches (adjustable and fixed sizes)
- Screwdrivers (flathead and Phillips)
- Floor jack or engine hoist (for larger models)
- Torque wrench (to meet manufacturer specs)
- Replacement belt matching original measurements
- Protective gloves and safety glasses
Safety Precautions
Before you begin, ensure the tractor is parked on level ground with the parking brake engaged. Disconnect the battery’s negative terminal to prevent accidental engine starts. Wear sturdy work gloves and eye protection to avoid injuries from sharp components, and keep loose clothing and jewelry away from moving parts. Having an emergency fire extinguisher nearby is also wise when working on engine areas.
Inspection and Belt Specifications
Study your tractor’s service manual to identify the correct belt length, width, and groove profile. A mismatched belt can slip or wear rapidly, compromising cooling and overall performance. Before removing the old belt, inspect pulleys, the water pump, alternator, and fan assembly for signs of wear, corrosion, or misalignment. Address any issues to achieve a smooth replacement process and to maximize durability.
Removing the Old Belt
Accessing the Fan and Pulley System
Begin by removing any protective shrouds or guards that obstruct access to the fan belt. On many tractor models, you’ll need to detach the front grill or side panel using basic hand tools. Keep track of hardware in a magnetic tray or labeled container to simplify reassembly. With full visibility of the belt path, you can plan the removal sequence effectively.
Releasing Belt Tension
Locate the belt tensioner, often spring-loaded or adjustable via a bolt. For spring-loaded tensioners, use a long-handled wrench to rotate the tensioner arm and relieve pressure on the belt. If your tractor uses an adjustable bracket, loosen the mounting bolts, then shift the alternator or pump away from the engine until the belt slackens. Always support heavy components, such as the alternator, to prevent sudden drops.
Extracting the Worn Belt
With tension released, slide the belt off the outermost pulley first. Work it free from other pulleys, noting the exact routing to follow later. If the old belt is cracked, glazed, or frayed, use this opportunity to examine the pulleys for hardened rubber or embedded debris. A quick cleaning or light sanding of pulley grooves can improve grip and reduce chatter when the new belt is installed.
Installing the New Belt
Confirming Correct Alignment
Before slipping on the new belt, lay it next to the old one to verify identical length and rib count. Mismatches lead to accelerated wear. Inspect pulley faces for nicks that could damage the belt margin. Proper alignment prevents undue stress—use a straightedge or laser pointer to ensure pulleys are co-planar.
Routing the New Belt
Following the manufacturer’s belt routing diagram, guide the belt onto the smallest pulley first, then continue through alternator, water pump, and crankshaft pulleys. Keep tension on the back side to avoid twisting the belt. A correctly routed belt should sit snugly in all grooves without binding.
Applying Tension and Adjustments
Reapply tension by reversing the removal process. For spring-loaded tensioners, ensure the tensioner arm is correctly engaged with the belt, then release the wrench slowly. For manual adjustments, use a belt tension gauge or follow manufacturer specs (typically a deflection of 10–15 mm at mid-span under moderate finger pressure). Tighten all mounting hardware to the recommended torque values, confirming that components remain aligned as you secure them.
Post-Installation Inspection and Final Adjustments
Initial Start-Up
Reconnect the battery and start the tractor. Observe the new belt at low engine speed, checking for proper seating in each pulley groove and smooth rotation. Listen for unusual noises such as squeaks or chirps, which may indicate misalignment or insufficient tension.
Monitoring Performance
Allow the engine to warm up to operating temperature, then shift through light load conditions (engage PTO briefly or raise the loader). Recheck belt tension once components heat up—thermal expansion can alter tension slightly. Readjust if necessary to maintain the prescribed deflection.
Routine Maintenance Tips
- Inspect belt condition every 100 operating hours.
- Clean pulleys and remove debris to maintain efficiency.
- Replace tensioner springs or dampers periodically to ensure consistent safety and performance.
- Keep detailed service records for proactive maintenance planning.
With proper tool selection, careful attention to alignment, and routine inspection, replacing the fan belt on your tractor becomes a straightforward task that protects your investment and keeps your engine running cool under pressure.