Maintaining a tractor’s paint and finish is crucial for both aesthetic appeal and long-term protection against the elements. A well-preserved exterior not only enhances resale value but also prevents rust and corrosion that can compromise structural integrity. This guide outlines proven strategies, from initial inspection to seasonal care, ensuring your tractor remains in top condition year-round.
Essential Inspection and Preparation
Identify Areas Prone to Damage
Begin by thoroughly examining the entire tractor body. Look for chipped, cracked, or peeling paint, especially along weld seams, hinge points, and wheel wells. These vulnerable spots often collect moisture and debris, accelerating rust formation.
- Remove dirt and grease with a mild solvent to reveal hidden blemishes.
- Inspect under fenders and behind attachments where water may accumulate.
- Mark all areas requiring touch-up with removable tape or chalk.
Surface Preparation
Proper preparation is the foundation of lasting finish work. Follow these steps:
- Sand down rough edges and flaking paint to create a smooth base.
- Feather the edges of existing paint with fine-grit sandpaper (320–400 grit).
- Clean the sanded areas using a lint-free cloth and a blend of isopropyl alcohol and water.
- Apply a high-quality rust converter on any exposed metal to neutralize oxidation.
Effective Cleaning and Washing Techniques
Pressure Washing Best Practices
Using a pressure washer can be highly effective, but caution is key to avoid surface damage:
- Maintain a distance of at least 12–18 inches from the paintwork.
- Use a wide-angle nozzle to disperse water pressure evenly.
- Avoid direct blasts on seams and decals to prevent peeling.
Hand Washing with Tractor-Safe Soaps
For delicate spots or smaller tractors, hand washing offers greater control:
- Choose a pH-neutral, biodegradable soap formulated for agricultural equipment.
- Work in sections, rinsing thoroughly to remove all residues.
- Use a soft-bristled brush on stubborn mud or oil stains, then rinse again.
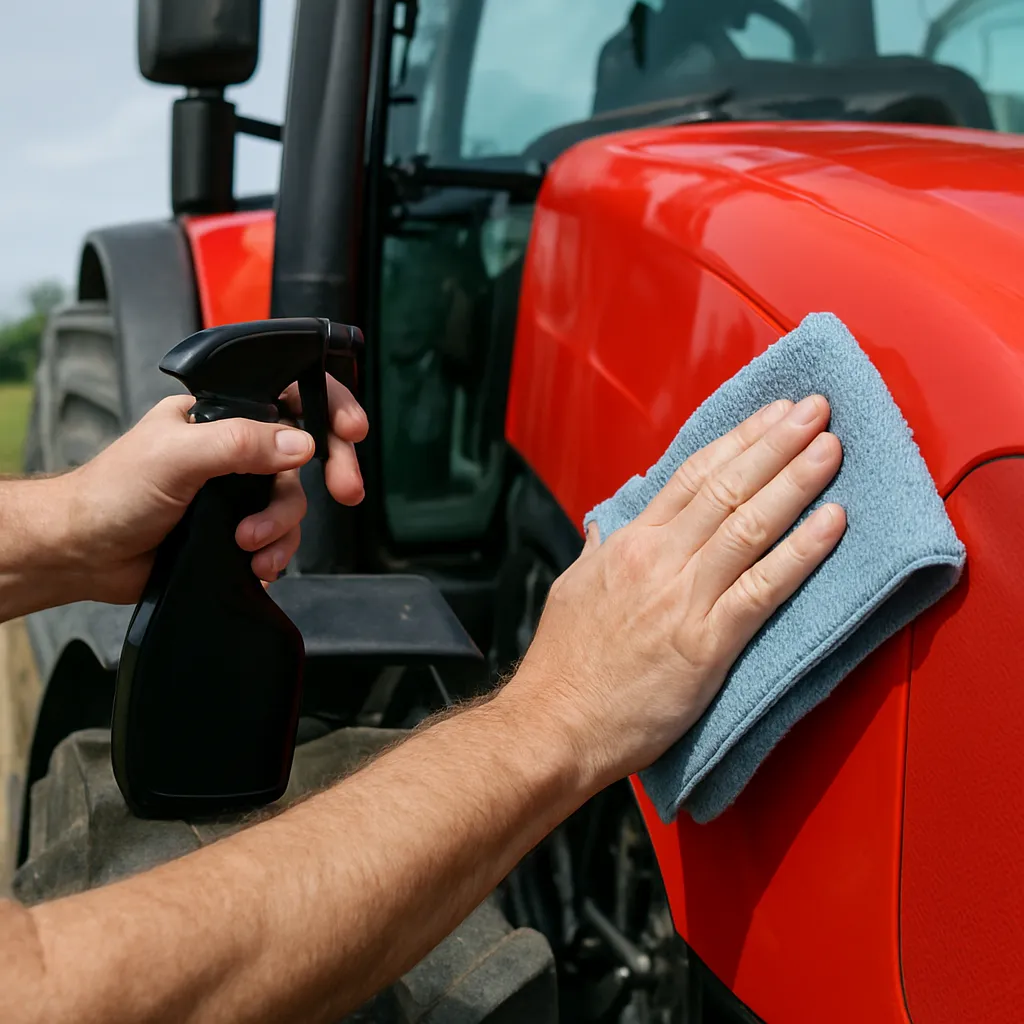
- Dry the surface immediately with microfiber towels to prevent water spots.
Detailing Hard-to-Reach Areas
Sequence your cleaning to include:
- Hinges, joints, and undercarriage components—use narrow brushes or compressed air.
- Engine bay vents and grilles—apply light degreaser followed by a gentle rinse.
- Wheel rims—scrub with specialized rim cleaner to remove brake dust and grime.
Protective Treatments and Paint Restoration
Applying Primer and Touch-Up Paint
For minor chips and scratches, touch-up work can restore uniformity and durability:
- Use a self-etching primer on bare metal to ensure proper adhesion.
- Allow primer to dry per manufacturer’s instructions (usually 20–30 minutes).
- Shake the touch-up paint vigorously for at least 2 minutes before application.
- Apply thin, even coats, allowing each layer to flash off before adding the next.
Use of Sealants and Waxes
After painting, locking in the surface with a quality sealant or wax maximizes protection:
- Polymer-based sealants offer longer-lasting coverage than traditional waxes.
- Apply with a foam applicator pad, working in circular motions.
- Allow the product to cure for the specified time, then buff with a microfiber cloth.
- Consider a paste wax for high-gloss finish on visible body panels.
Clear Coat Restoration
If the tractor has a factory clear coat layer, maintain it by:
- Using non-abrasive polish to remove fine swirl marks.
- Applying a ceramic-infused coating for enhanced UV and chemical resistance.
- Re-polishing annually to maintain a reflective shine and extend clear coat life.
Seasonal Maintenance Tips
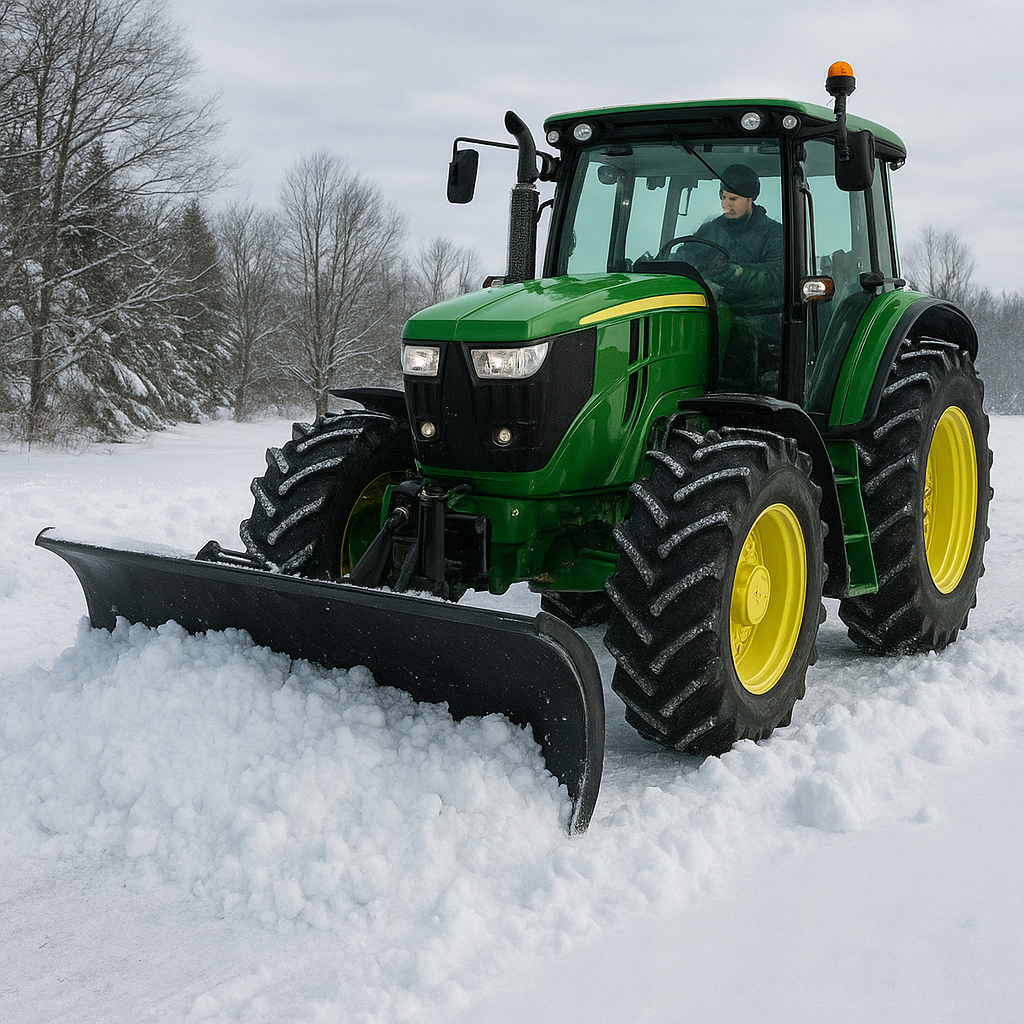
Winter Preparations
Cold months can be especially harsh on exposed surfaces:
- Apply a heavy-duty protectant or UV inhibitor before expected frost.
- Store the tractor under cover or use a breathable cover to keep moisture out.
- Clean and dry thoroughly after each use to prevent salt or de-icing chemical damage.
Summer Protections
Intense sunlight and heat require focused care:
- Use a water-based ceramic coating to repel dust and heat-accelerated oxidation.
- Park in shaded areas when idle to reduce UV exposure.
- Inspect mid-season and apply a fresh layer of wax or sealant to maintain gloss.
Post-Season Deep Clean
At the end of each busy season, commit to a full detail:
- Conduct a comprehensive rinse, focusing on hidden and underbody areas.
- Touch up any new chips or scratches before storing.
- Apply a final protective layer of wax or synthetic sealant.
Safety and Best Practices
Protective Gear and Ventilation
Always wear gloves, eye protection, and a respirator when handling solvents or spray paints. Work in a well-ventilated area or outdoors to avoid inhaling fumes.
Product Selection
Invest in high-quality, tractor-specific coatings that withstand exposure to diesel, hydraulic fluids, and UV rays. Review manufacturer specs to confirm compatibility with existing finishes.
Regular Monitoring
Schedule inspections every 3–6 months to catch emerging issues early. Document your maintenance activities to spot trends and adjust your care routine over time.