Ensuring optimal performance of agricultural machinery requires regular attention to every component, and the tractor’s power source is one of the most crucial elements. A reliable battery guarantees smooth starting, consistent electrical supply, and dependable operation in the field. Testing the voltage of your tractor battery is a straightforward process that can prevent unexpected downtime, costly repairs, and reduced productivity. This article will guide you through essential tools, precise steps, and valuable maintenance tips to keep your unit performing at its best.
Importance of Testing Tractor Battery Voltage
Neglecting the condition of your battery risks sudden failure, which can halt work during critical moments. Regular voltage checks help you identify issues early, ensuring that your machine remains ready for multifaceted tasks such as plowing, hauling, and seeding. A healthy battery supports the performance of electrical systems, from headlights to fuel injection controls, and maintains optimal charge levels to operate attachments like hydraulic pumps and air compressors.
Assessing voltage also aids in early diagnosis of problems related to the alternator or parasitic electrical drains. By comparing measured data with manufacturer specifications, you can determine if the battery needs replacement or if there is an underlying fault in the charging system. In agricultural settings where downtime equates to financial loss, accurate testing of tractor battery voltage is a proactive measure that safeguards reliability and boosts overall efficiency.
Tools Needed for Accurate Voltage Measurement
Before you begin, gather the following essential items to ensure precise readings and safety during testing:
- Digital multimeter with DC voltage measurement capability
- Protective gloves and safety glasses
- Cable brushes or terminal cleaners
- Battery terminal protectors or grease
- Owner’s manual for reference on voltage specifications
- Clean rag or towel
A high-quality multimeter is indispensable for assessing both open-circuit and under-load voltage. Make sure the leads are in good condition and the device is calibrated. Cleaning terminals and cables beforehand prevents erroneous readings caused by corrosion or loose connections. Always wear protective gear to shield yourself from sparks, acid splatter, or other hazards associated with battery handling.
Step-by-Step Guide to Testing Voltage
Initial Safety Precautions
Prioritize safe practices before interacting with the power system. Park the tractor on level ground, engage the parking brake, and switch off the engine. Disconnect any heavy electrical loads such as lights or accessories. Wear your gloves and eye protection, and ensure the area is well-ventilated to avoid accumulation of gas emissions.
Preparing the Battery Terminals
Corroded or loose terminals can distort your measurement. Use cable brushes to scrub away rust and residue until the metal surface is clean. Wipe the area with a dry cloth and apply a thin coat of terminal protector to inhibit future corrosion. This step helps maintain an accurate electrical path between the multimeter and the battery posts.
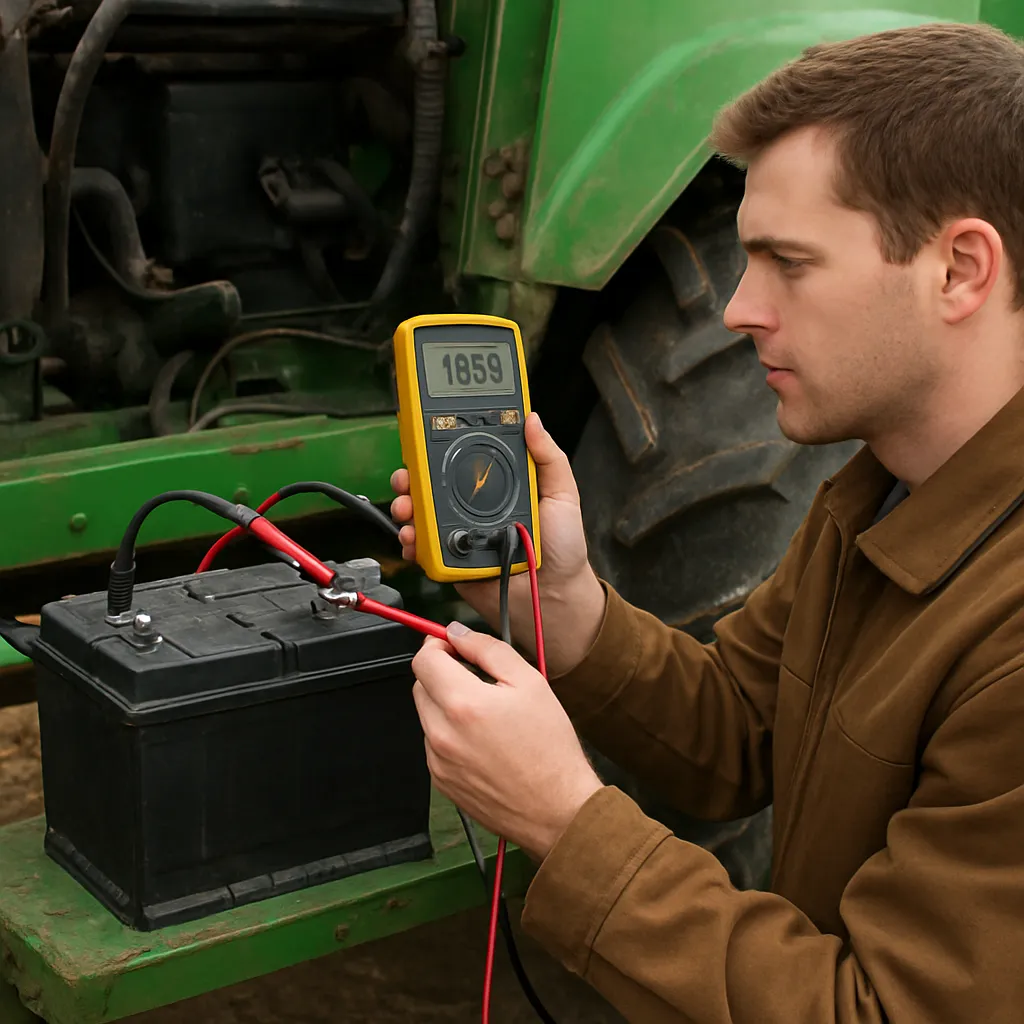
Measuring Open-Circuit Voltage
Set your multimeter to the DC voltage range that covers 0–20 volts. Place the red lead on the positive (+) terminal and the black lead on the negative (–) terminal. A fully charged 12-volt tractor battery should read between 12.6 and 12.8 volts when the engine is off. Values below 12.4 volts indicate partial discharge, while readings under 12.0 volts suggest a deeply discharged or failing battery that may not start the machine reliably.
Checking Voltage Under Load
To evaluate how the battery performs during starting, have an assistant crank the engine while you observe the multimeter. The voltage should not drop below 9.6 volts. A steeper decline signals reduced cranking capacity and warrants further testing or replacement. Always record the voltage drop duration and magnitude to track performance trends over time.
Interpreting the Results
Once you’ve collected voltage data, match the numbers against the manufacturer’s thresholds. If open-circuit voltage remains above 12.6 volts and under-load readings stay within acceptable limits, your battery is in good shape. Should you observe persistent low-voltage conditions, consider the following possibilities:
- Battery aging or sulfation reducing capacity
- Faulty alternator failing to recharge the system during operation
- Excessive parasitic drains from aftermarket electronics
- Poor connections or damaged cables leading to voltage drop
Diagnosis of these issues may require additional testing, such as alternator output checks or parasitic draw measurements, to isolate the root cause. Early identification prevents secondary damage to sensitive onboard electronics and avoids being stranded in remote fields.
Maintenance Tips to Prolong Battery Life
Consistent care extends the service life of your battery and upholds performance throughout demanding seasons. Adhere to the following practices:
- Inspect fluid levels regularly in serviceable batteries and top up with distilled water as needed.
- Keep terminals clean and connections tight to minimize resistance and prevent overheating.
- Use a smart charger when storing your tractor for extended periods to maintain optimal state-of-charge.
- Avoid deep discharges by starting the engine periodically and allowing the alternator to recharge the battery.
- Protect the battery from extreme temperatures with insulated covers or a controlled storage environment.
Implementing these tips will reduce the risk of unexpected failure and ensure your equipment remains ready for every demanding task.