Maintaining a tractor’s cooling system is essential for ensuring reliable performance and preventing costly breakdowns. A well-tuned cooling circuit helps avoid overheating, preserves engine integrity and extends the life of critical components. This guide outlines key practices—from understanding core components to troubleshooting common issues—so you can keep your tractor running at peak performance under all conditions.
Components of an Effective Cooling Circuit
Every tractor cooling circuit relies on a combination of parts working in harmony. By familiarizing yourself with these elements, you’ll know where to focus your inspection and care.
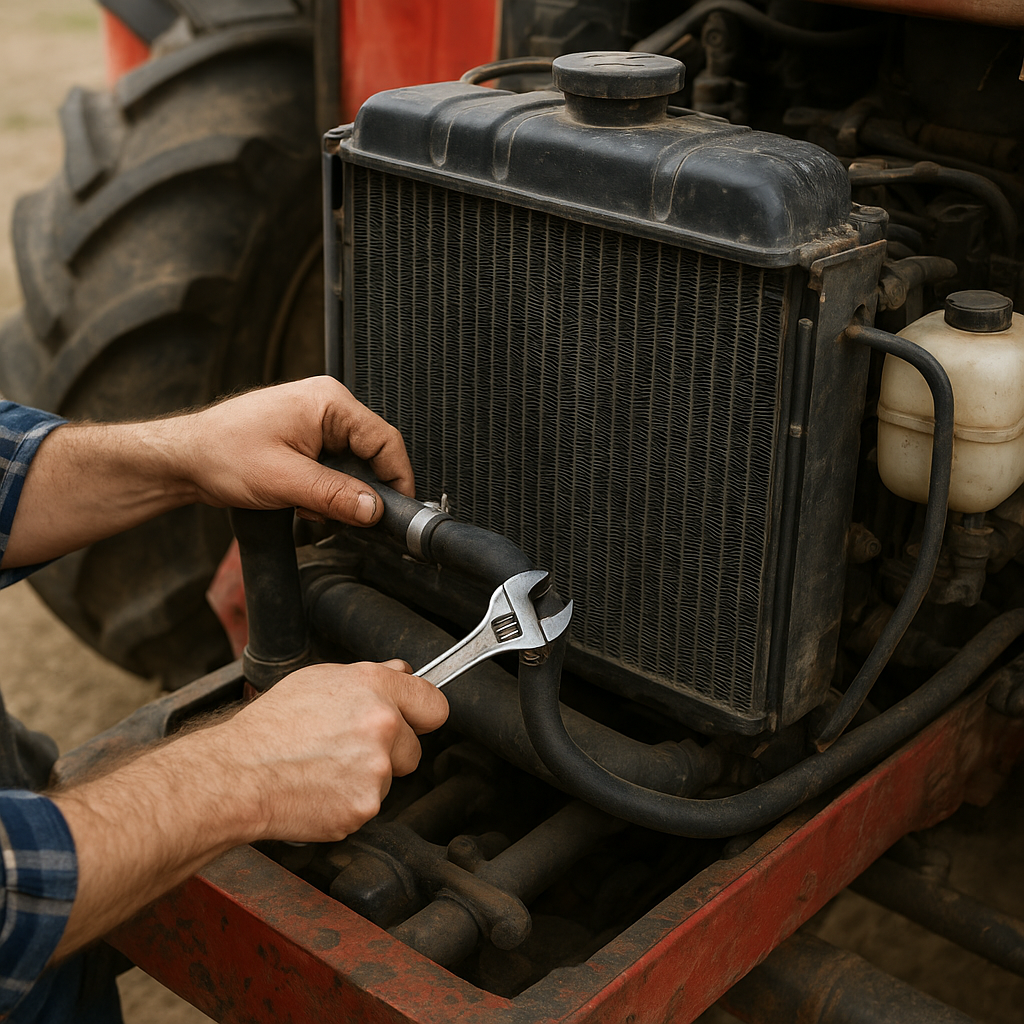
Radiator
The radiator dissipates heat by circulating hot coolant through thin tubes. Airflow—driven by a fan or vehicle motion—removes heat from the surface. Look for bent fins, corrosion or blockage that reduce thermal exchange.
Water Pump
A water pump forces coolant through the engine block and radiator. Worn seals or a damaged impeller can impair flow, leading to hot spots in the engine.
Thermostat
The thermostat opens at a set temperature to allow coolant circulation. If it sticks closed, the engine overheats; if it sticks open, the tractor runs too cool, reducing efficiency and increasing wear.
Hoses and Clamps
Flexible rubber hoses connect the cooling loop. Look for cracks, bulges or soft spots. Loose or corroded clamps can cause leaks, losing system pressure and triggering overheating.
Cooling Fan
Electric or belt-driven fans pull air through the radiator. Inspect blades for damage, ensure the clutch or motor works properly, and confirm the fan engages at the proper temperature.
Routine Inspection and Cleaning
Regular checks can catch minor issues before they turn into major repairs. Aim for a thorough inspection every 100 operating hours or as recommended by the manufacturer.
- Visually inspect radiator fins for debris, mud or vegetation. Use compressed air or low-pressure water to clear blockages without bending the fins.
- Examine hoses for soft spots, swelling or dry rot. Pay attention to bends where stress concentrates.
- Check clamps and fittings for tightness and corrosion. A simple screwdriver twist test can reveal loose connections.
- Monitor coolant level in the reservoir when the engine is cold. Top up with the correct mixture if levels drop.
- Look for visible leaks around the water pump housing, radiator seams or hose connections.
- Test the cooling fan activation. Confirm it turns on at or near the thermostat’s switch temperature.
Coolant Selection and Replacement
Choosing the proper coolant and changing it at recommended intervals preserves the chemical balance needed to prevent rust, foam and scale build-up.
Selecting the Right Coolant
Always follow the tractor manufacturer’s specifications for coolant type. Most tractors require a 50/50 mix of ethylene glycol and water, but some modern models call for extended-life or organic acid coolants. The correct blend ensures:
- Corrosion inhibition inside metal parts.
- Freezing protection in cold climates.
- Boiling point elevation under high loads.
Flushing and Refilling Procedure
A proper flush removes old coolant, deposits and scale. Follow these steps:
- Allow the engine to cool fully. Open the radiator drain valve or remove the lower hose to empty.
- Inject a cleaning solution or mild detergent designed for engine cooling systems.
- Refill with water, run the engine to operating temperature, then drain again to expel debris.
- Close all drains, fill with the correct coolant mixture, and bleed air by loosening the bleeder screw until fluid emerges steadily.
- Verify the pressure remains within the specified range using a hand-held tester on the radiator cap or reservoir cap.
Troubleshooting Overheating and Leaks
When a tractor shows signs of overheating or unexpected coolant loss, systematic diagnosis helps pinpoint the problem faster.
Common Overheating Causes
- Clogged radiator fins reducing heat exchange.
- Malfunctioning thermostat stuck in the closed position.
- Worn water pump seals causing inadequate coolant flow.
- Faulty fan clutch or electric fan relay preventing air movement.
- Low coolant level or air pockets trapped in the system.
Detecting and Repairing Leaks
Use a combination of visual checks and system pressure test to find leaks:
- Apply the pressure tester to the radiator neck or reservoir port and pressurize to the recommended psi.
- Listen for hissing and inspect hose connections, pump housing and radiator seams for dripping fluid.
- Replace damaged hoses, tighten clamps or install a new seal on the water pump.
- For minor radiator leaks, use a non-abrasive sealant recommended for cooling systems; for major damage, consider professional radiator repair or replacement.
By conducting regular inspection, selecting proper coolant and addressing issues promptly, you’ll maintain optimum tractor health. Well-maintained cooling systems prevent downtime, reduce repair costs and support consistent field productivity.