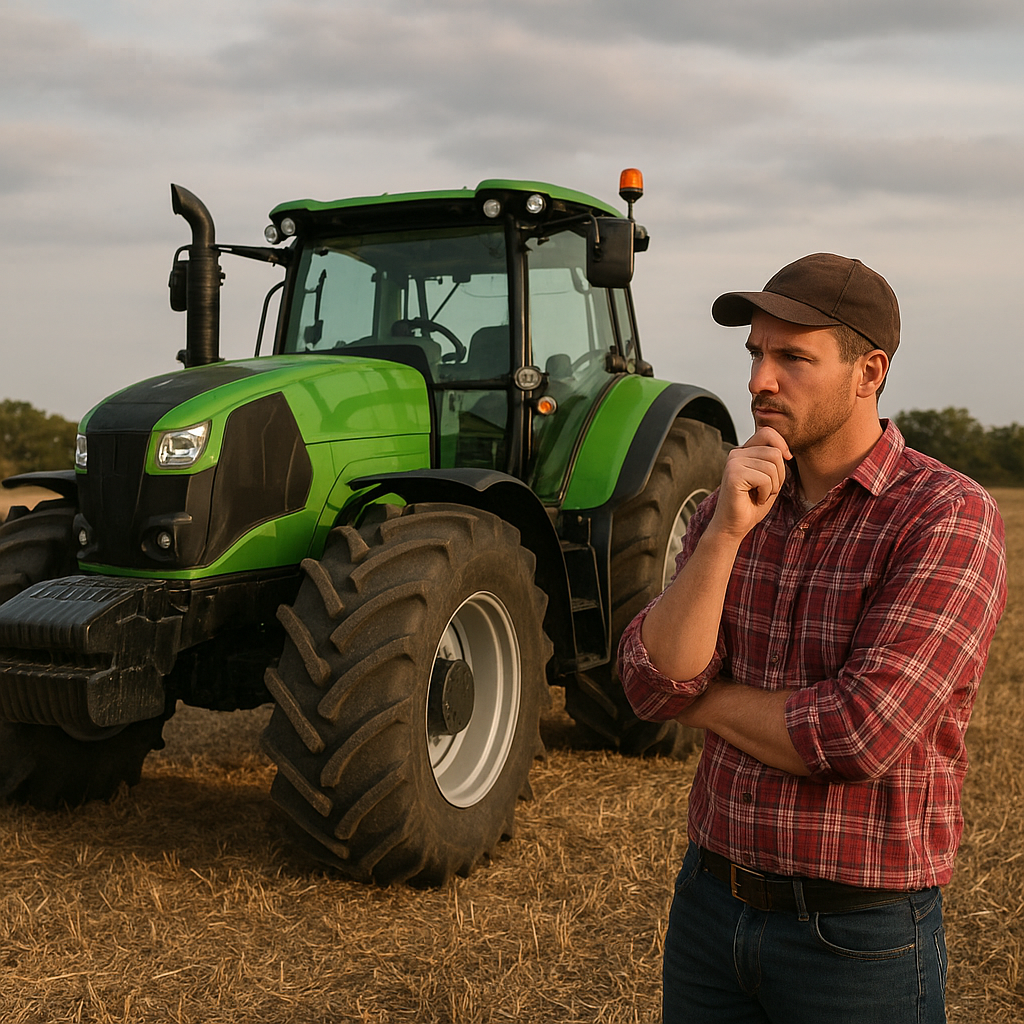
Achieving flawless integration between your tractor and its various attachments demands meticulous attention to detail and a solid grasp of mechanical fundamentals. Proper implement alignment not only enhances field performance but also extends the lifespan of your equipment. This guide unpacks essential concepts, practical steps, and maintenance tips to ensure your agricultural operations run with maximum efficiency and safety.
Understanding Hitch Types and Tractor Systems
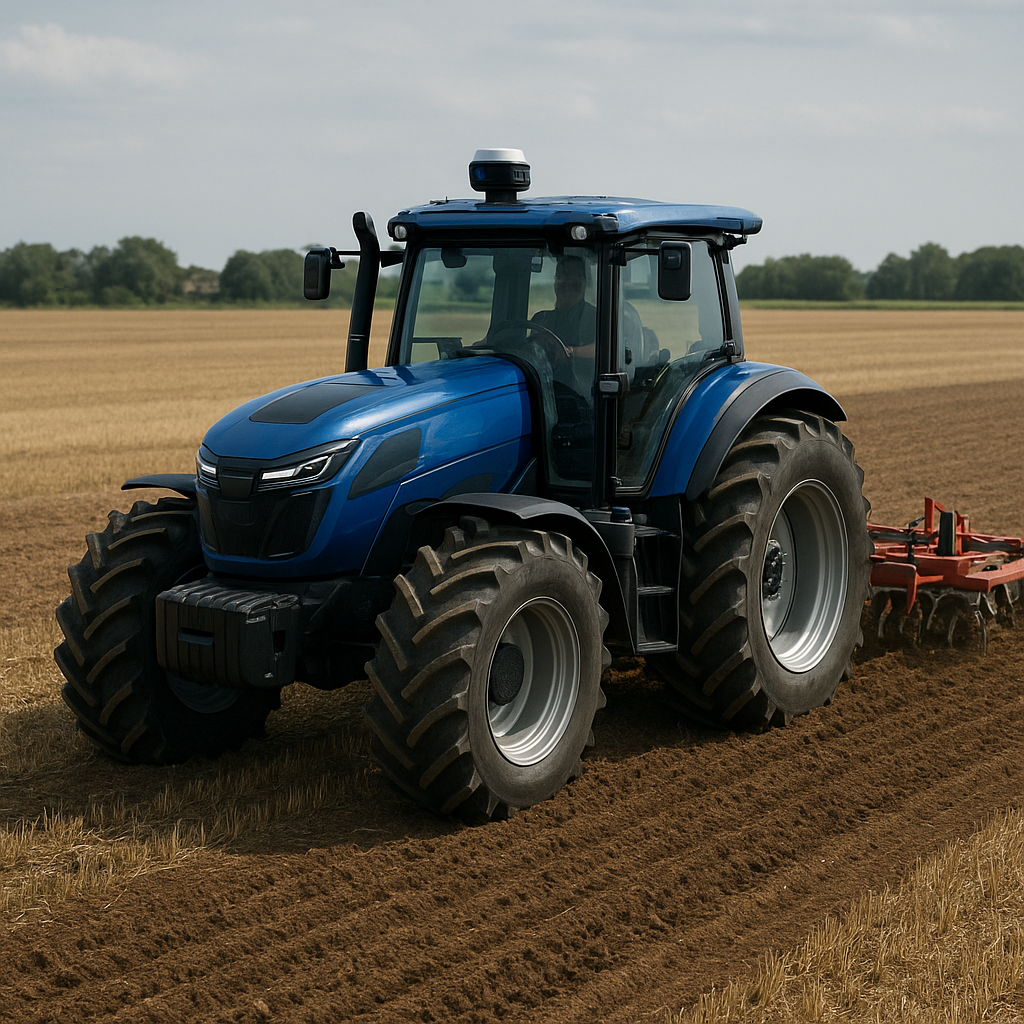
A clear understanding of the hitch categories and tractor design is the foundation for accurate implement alignment. Familiarize yourself with the most common three-point hitches and attachment mechanisms before attempting adjustments.
Category Classifications
- Category I: Suited for light-duty tasks; typically found on compact tractors.
- Category II: Medium-duty configuration used in versatile operations; balanced capacity.
- Category III & IV: Heavy-duty setups for large-scale tillage and specialized implements.
Key Components of the Three-Point Hitch
- Top link: Controls the pitch and angle of the implement.
- Lift arms: Bear the weight and allow vertical movement through the hydraulic system.
- Stabilizers and sway bars: Prevent lateral slippage, ensuring the attachment remains centered.
Understanding the interplay between hydraulic flow, mechanical leverage, and frame geometry helps you make smarter decisions, reduce unnecessary wear on bushings, pins, and linkages, and maintain optimal precision in field operations.
Step-by-Step Guide to Proper Implement Alignment
Accurate implement positioning revolves around systematic checks and incremental tweaks. Follow these steps to guarantee each piece of equipment sits correctly behind the tractor for uniform soil engagement and minimal drift.
1. Pre-Alignment Inspection
- Examine all hitch points for signs of wear or deformation.
- Verify hydraulic hoses and couplers are free from leaks and securely fastened.
- Confirm tire pressures and front axle settings are balanced to prevent unintended yaw.
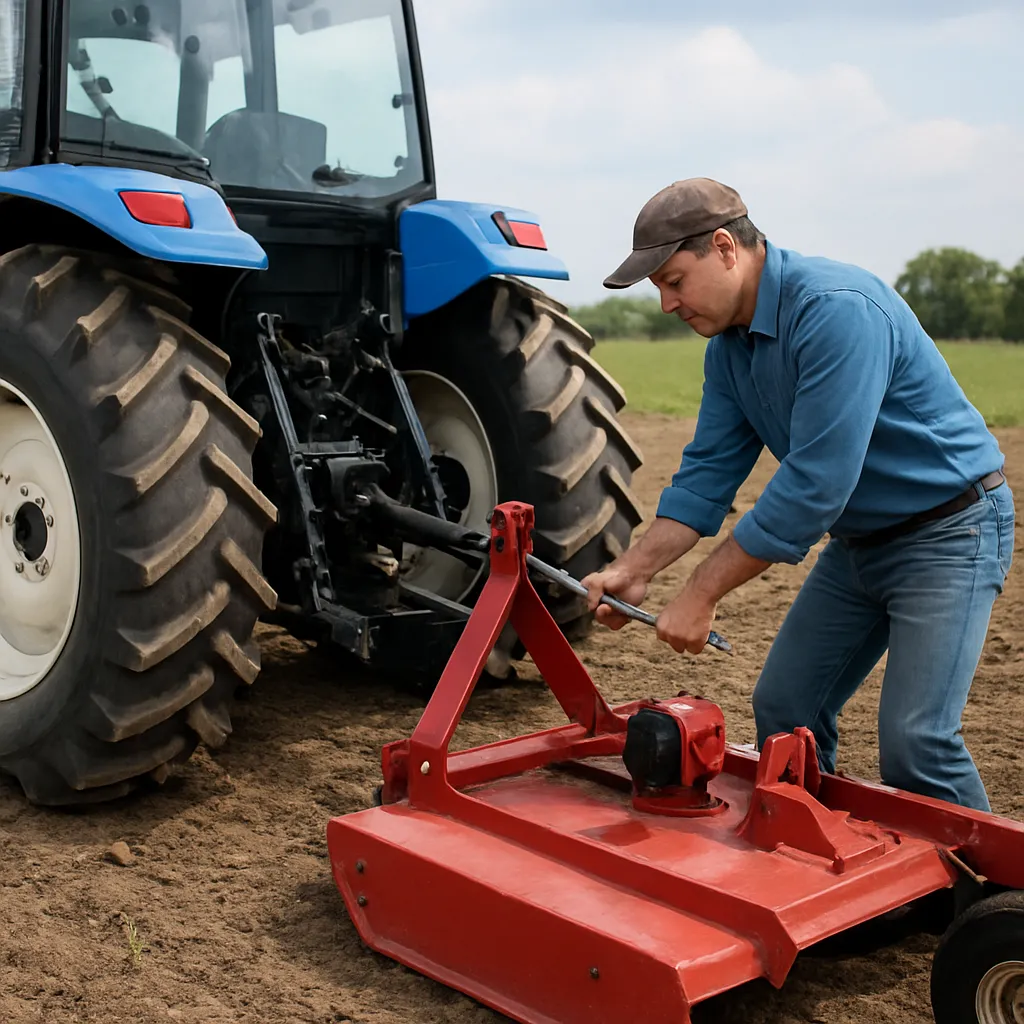
2. Initial Hitch-Up Procedure
- Center the tractor on a flat surface, such as a concrete pad or hard-packed level field.
- Back up slowly until the lower lift arms align with the implement’s hitch pins.
- Engage the top link and secure all lynch pins and clips before raising the implement.
3. Rough Adjustment and Leveling
- Raise the implement slightly using the tractor’s hydraulics and inspect the lateral alignment.
- Tweak stabilizer bars or turnbuckles to center the implement under the tractor’s drawbar.
- Ensure the implement frame remains parallel to the tractor chassis when lifted to working height.
4. Precision Calibration
For tools like plows, harrows, or seed drills, minor misalignments can lead to uneven furrows or seed spacing. To dial in the alignment:
- Use a straightedge or laser pointer to check the implement’s reference bars against the tractor’s rear axle hub.
- Adjust the top link length in 5–10 mm increments until the headstock or toolbar is level from side to side.
- Lock down the setting with a torque wrench if your top link has adjustable end fittings.
5. Field Verification
Conduct a short trial run in a sample plot:
- Observe the sowing or tillage depth uniformity across the full width of the implement.
- Check for any lateral drift—if present, revisit stabilizer settings.
- Inspect the implement after a few passes for scratch marks or uneven wear.
Maintenance and Calibration for Long-Term Performance
Routine care and precise calibration not only preserve implement integrity but also maintain consistent results from season to season. Incorporate these practices into your regular service schedule.
Regular Lubrication and Wear Monitoring
- Grease all pivot points and bearings at recommended intervals to prevent rust and abrasion.
- Inspect pins and bushings for excessive play; replace components before the gap exceeds tolerance specs.
- Use high-quality grease that resists sling-off under heavy loads.
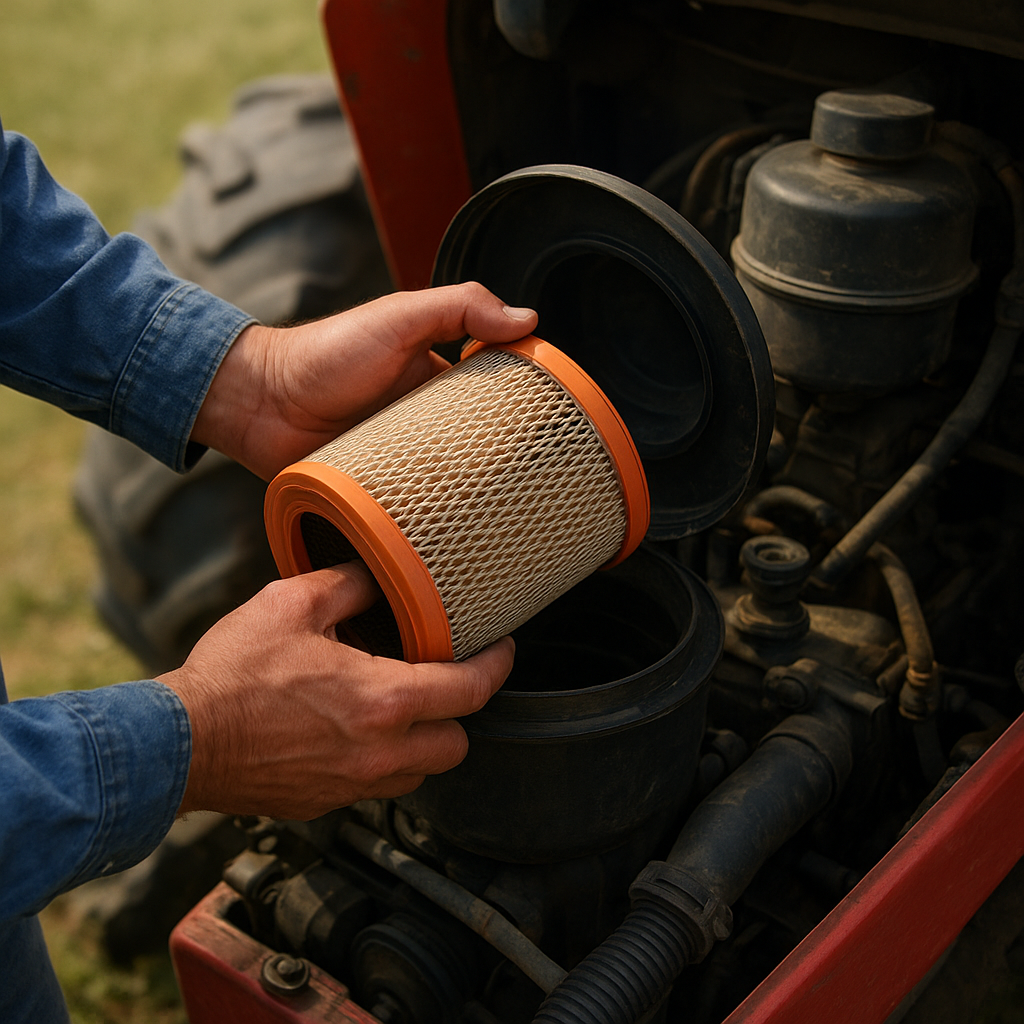
Hydraulic System Care
- Maintain proper fluid levels and replace filters per the manufacturer’s intervals.
- Check for hose bulges or cracks—compromised lines can lead to sudden pressure loss and misalignment risks.
- Bleed trapped air to ensure smooth lift movements and precise implement height control.
Seasonal Calibration Procedures
Whether preparing for planting or completing post-harvest tasks, calibration ensures the implement’s working parts mesh perfectly with soil conditions and tractor output.
- Plows: Adjust moldboard angle and furrow width based on soil type and moisture.
- Harrows: Set tine or disc spacing for even residue distribution and seedbed preparation.
- Seed drills: Calibrate seed meter settings and check row markers for accurate seed placement.
Advanced Alignment Technologies
Modern precision agriculture tools can simplify the alignment process:
- GPS-based guidance systems that steer the tractor automatically to maintain straight passes.
- Laser leveling modules to fine-tune grader blades and land planes.
- Sensors and cameras that provide real-time feedback on implement position relative to the tractor chassis.
Proactive Troubleshooting Tips
- If the implement consistently drifts left or right, investigate front axle caster angles and tire tread patterns.
- Uneven soil penetration can indicate a bent toolbar or worn linkage; conduct a visual inspection for misaligned welds or cracks.
- For hydraulic lag or sluggish response, test the relief valve settings and replace any inline flow control valves showing erratic behavior.
By following the steps above and emphasizing diligent upkeep, you’ll achieve reliable implement alignment that maximizes field productivity, reduces fuel consumption, and safeguards your valuable agricultural assets.