Regular examination of the belts and hoses in tractors is critical for ensuring reliable operation, preventing costly downtime, and extending the equipment’s service life. A systematic approach to inspection helps uncover early signs of wear, damage, or deterioration. This guide outlines clear steps, best practices, and expert tips for technicians, farmers, and anyone responsible for tractor care.
Understanding Tractor Belts and Hoses
Before diving into hands-on inspection, it’s important to understand the function and types of these components in a tractor’s powertrain and fluid systems.
Types of Belts
- V-Belts – Common in older tractors, transmit power between pulleys via angled sides.
- Serpentine Belts – Single long belt routing multiple pulleys, found on modern tractors.
- Timing Belts – Synch rotation between crankshaft and camshaft, critical in engine timing.
Types of Hoses
- Coolant Hoses – Transport engine coolant; must resist high temperature ratings and pressure.
- Hydraulic Hoses – Carry hydraulic fluid for implements; rated for high pressure and flexibility.
- Fuel Hoses – Deliver diesel or gasoline; require resistance to fuel chemicals and low permeability.
Key factors such as material composition, operating temperature, pressure resistance, and environmental exposure determine each component’s lifespan and performance.
Inspection Procedures
A thorough inspection is best performed at regular intervals—ideally before peak seasons or long pulls. Follow a systematic checklist to ensure consistency and safety.
Safety Precautions
- Shut off engine and allow it to cool to prevent burns.
- Engage parking brake and place wheel chocks.
- Wear gloves and safety glasses to guard against fluid sprays.
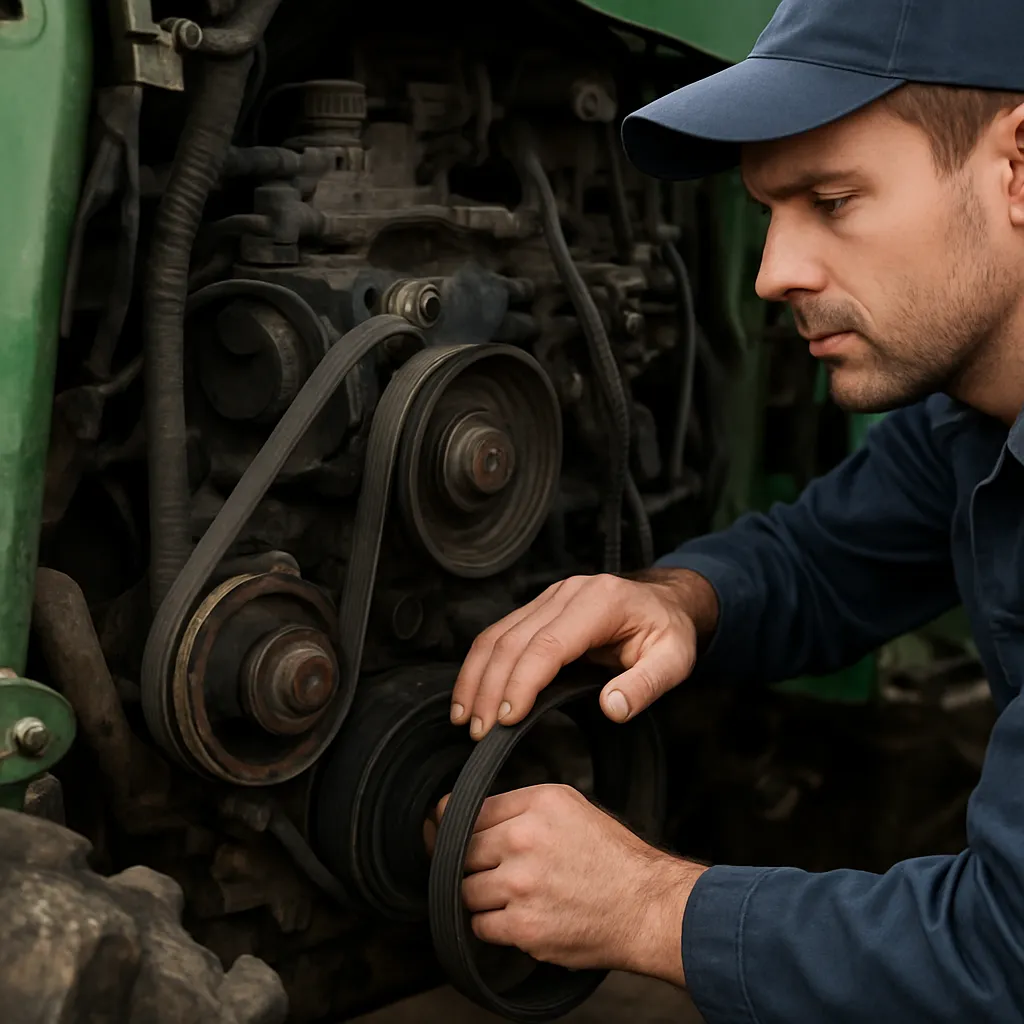
Inspecting Belts
- Visual Examination: Look for cracks, fraying, and glazing on the belt surface. Worn ribs or missing chunks indicate urgent replacement.
- Tension Check: Press the longest accessible span mid-length. A properly tensioned belt deflects roughly 1/64″ per inch of span. Consult manufacturer specs.
- Alignment: Use a straightedge or laser pointer. Misaligned pulleys cause premature abrasions and uneven wear.
- Noise and Vibration: Listen for squealing or chirping under load—signs of slippage or misalignment.
Inspecting Hoses
- Surface Check: Feel for soft spots, kinks, bulges, or cracks. A firm hose with consistent diameter is ideal.
- Leak Detection: Clean the hose, then run the engine to full temperature. Inspect connections, clamps, and hose ends for fluid weeps or sprays.
- Clamp Integrity: Ensure clamps are tight, rust-free, and correctly positioned over the hose’s barb.
- Flexibility Test: Bend the hose gently. Excessive stiffness or too much flexibility can signal internal deterioration.
Maintenance and Replacement Tips
After detecting wear or damage, prompt maintenance and replacement will minimize downtime and repair costs.
Choosing the Right Replacement Parts
- Verify OEM part numbers or approved aftermarket equivalents.
- Match hose diameter, pressure rating, and temperature rating exactly.
- Select belts with proper length, width, and tensile strength.
Proper Installation Steps
- Clean all pulleys, fittings, and connection surfaces before installing new parts.
- Use manufacturer-recommended tools, such as tension gauges or belt tools, to achieve precise tension.
- Replace clamps on hoses and use torque wrenches to avoid over-tightening.
- Prime hydraulic systems if hoses carry fluid—bleed air pockets to prevent cavitation.
Record-Keeping and Scheduled Maintenance
- Log installation date, operating hours, and environmental conditions.
- Establish a maintenance interval based on hours of operation or seasonal demands.
- Track performance data—vibration levels, noise complaints, and coolant temperatures.
Advanced Inspection Techniques
For larger operations and service shops, advanced tools and methods can catch hidden faults before they become critical.
Infrared Thermography
- Use IR cameras to detect hot spots on belts or hoses indicating misalignment or fluid flow issues.
- Scan pulleys and hose connections for abnormal temperature differentials.
Ultrasonic Testing
- Detect early-stage cracks in belts via high-frequency sound reflections.
- Identify leaks in hoses by listening for high-pitched whistles under pressure.
Fluid Analysis
- Examine hydraulic fluid for particulate contamination or water content that can degrade hoses.
- Perform coolant analysis to check for chemical breakdown affecting hose materials.
Common Issues and Troubleshooting
Even with regular checks, certain problems recur across many tractors. Awareness helps you address them swiftly.
Squealing Belts Under Load
- Possible Causes: slippage from low tension, glazed belt surfaces, or misaligned pulleys.
- Solution: Adjust tension per spec, clean pulleys, or replace the belt if glazing is severe.
Bulging or Collapsing Hoses
- Possible Causes: Internal delamination, over-pressurization, or heat damage.
- Solution: Replace with hoses rated above the maximum operating pressure; add protective wraps against heat sources.
Coolant Leaks at Hose Connections
- Possible Causes: Loose clamps, hose end erosion, or cracked fittings.
- Solution: Tighten clamps to proper torque, cut and replace eroded hose ends, inspect and replace cracked fittings.
Ensuring Long-Term Reliability
Regular inspection and timely maintenance of belts and hoses form the backbone of dependable tractor performance. Incorporating these practices into a holistic maintenance plan leads to fewer breakdowns, reduced repair costs, and safer operation. By understanding component types, employing systematic inspection, leveraging advanced diagnostics, and maintaining accurate records, you’ll maximize the lifetime of your tractor’s critical systems.