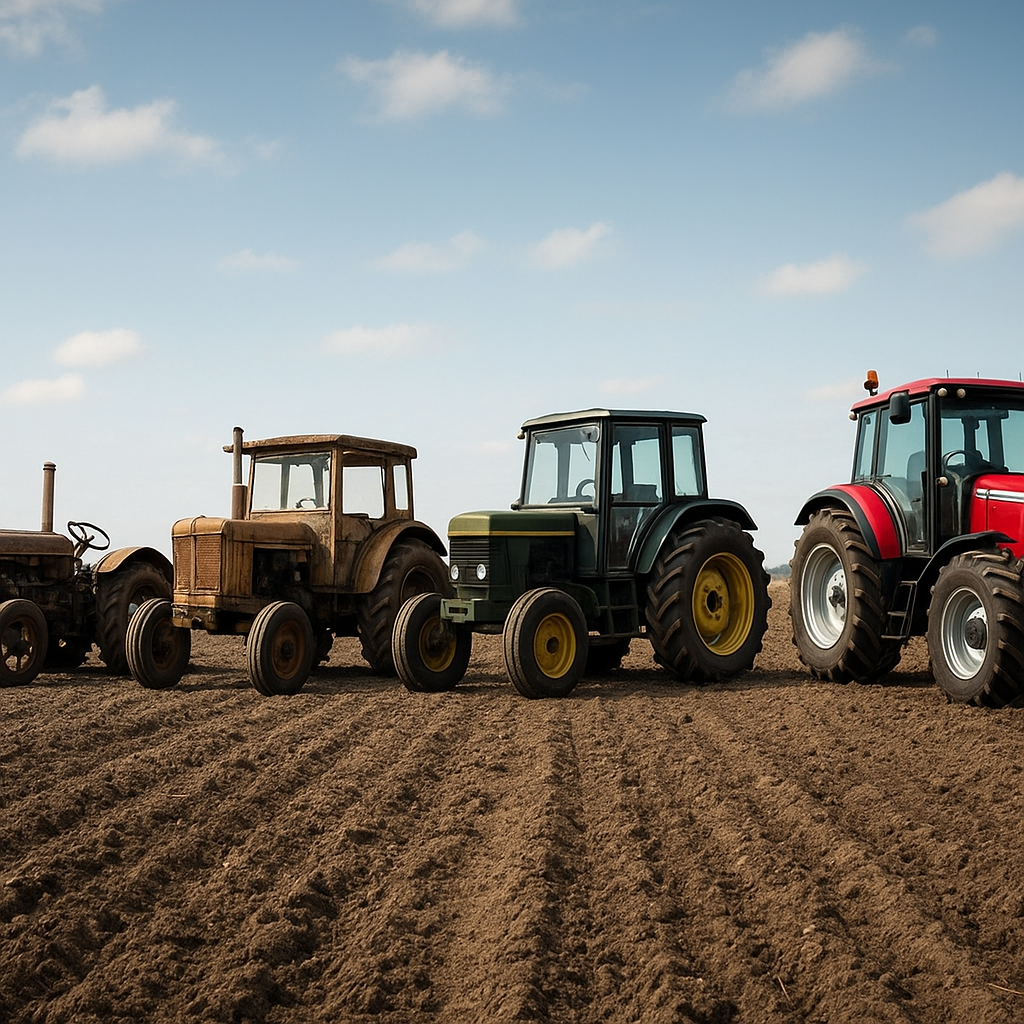
Using a reliable tractor to enhance your composting operations can dramatically improve efficiency, reduce labor costs, and produce organic fertilizer of superior quality. By leveraging specialized attachments and proper techniques, farmers and gardeners can convert yard waste, crop residues, and kitchen scraps into a nutrient-rich soil amendment. This article explores practical steps, attachment options, and best practices to maximize the performance of your tractor in creating high-quality compost.
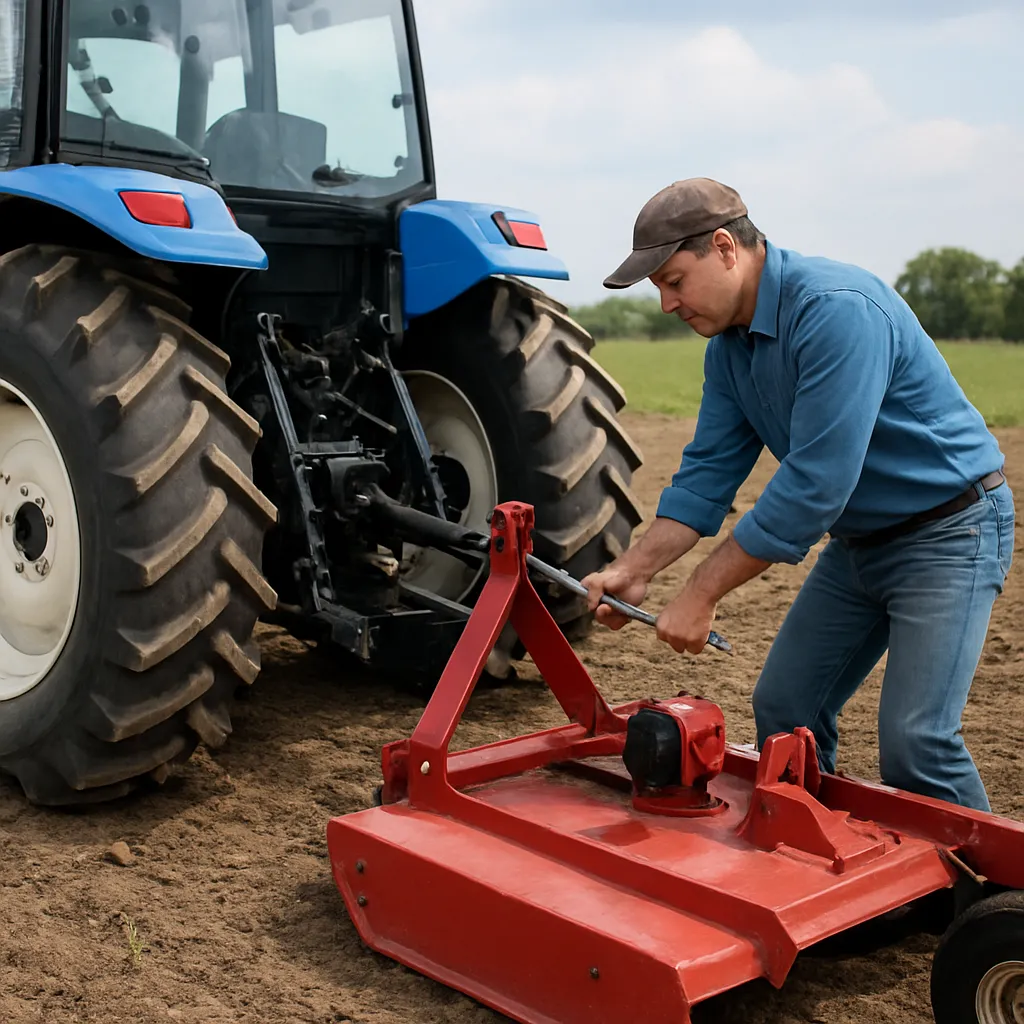
Choosing the Right Tractor Attachments
Selecting suitable implements is crucial for efficient compost management. Each attachment serves a specific role, from mixing and aeration to turning and loading.
- Rotary Compost Turners – Designed to pass through windrows, these units use rotating blades to thoroughly mix material, breaking up clumps and enhancing aeration.
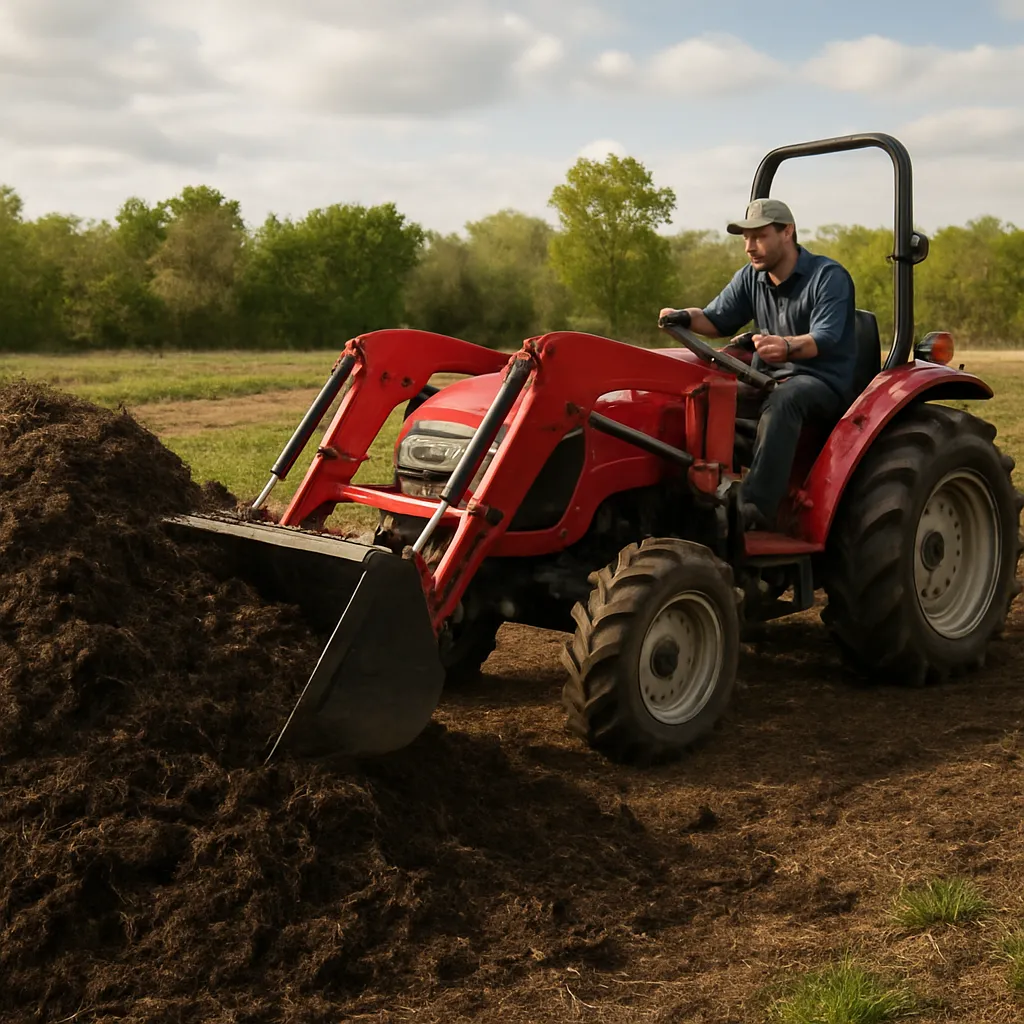
- Front-End Loaders – Versatile for moving bulky waste, loaders can quickly transfer organic matter into windrows, bins, or mixing areas.
- Box Scrapers – Ideal for leveling piles and creating uniform rows, ensuring even decomposition.
- Pallet Forks – Useful for handling packed bales of crop residue or carbon-rich materials like straw and wood chips.
- Tilling Attachments – For smaller operations, rotary tillers can incorporate compost into soil directly, speeding up integration.
Attachment Selection Tips
Consider your farm’s scale, terrain, and the type of feedstock you generate. For large-scale windrows, a tow-behind rotary turner may be more cost-effective. Smaller plots often benefit from a front-mounted mixing blade. Always check compatibility with your tractor’s horsepower and hydraulic capacity to avoid overloads.
Preparing the Compost Pile
Proper layering and material preparation set the stage for efficient decomposition. A well-structured pile balances carbon and nitrogen, moisture and air, promoting microbial activity.
Layering Feedstocks
- Base Layer: Coarse materials (branches, wood chips) for drainage and airflow.
- Green Layer: Fresh grass clippings, manure, or kitchen scraps for nitrogen.
- Brown Layer: Dried leaves, straw, or shredded paper for carbon.
- Repeat Layers: Alternate green and brown until the pile reaches 4–6 feet high.
Maintain a carbon-to-nitrogen ratio of roughly 25:1 to 30:1. Too much green material can lead to odors, while excessive brown slows down decomposition.
Initial Moisture Adjustment
Moisture content should be around 50–60%. Use a tractor-mounted sprayer or a simple garden hose to dampen dry materials as you build the pile. Squeeze a handful: it should feel like a damp sponge without dripping water.
Operating the Tractor for Aeration and Turning
Regular turning ensures uniform decomposition by redistributing heat and oxygen. The key is timing and proper technique.
Turning Frequency
- Initial Phase: Turn every 3–5 days during the first few weeks when microbial activity and heat generation are highest.
- Middle Phase: Reduce to once a week as temperatures stabilize.
- Final Phase: Turn every 10–14 days until the pile cools and compost is mature.
Track internal temperatures with a long-stem thermometer. Ideal ranges of 130°F to 160°F accelerate pathogen kill and seed destruction.
Tractor Operation Tips
Drive at a steady speed, ensuring the blades or tines fully penetrate the pile and lift material from bottom to top. Avoid skimming the surface; effective windrow mixing requires reaching the core. Adjust PTO speed for consistent rotational force, preventing clogging or stalling.
Managing Moisture and Temperature
Balancing water and heat is essential for sustaining microbial life and avoiding anaerobic conditions.
Monitoring Moisture
- Visual Checks: A well-hydrated pile emits minimal dust and clumps like a sponge.
- Touch Test: Squeeze samples from different depths.
- Moisture Meters: Provide precise readings; aim for 50–60% levels.
Temperature Control
High heat accelerates decomposition but can dry the pile too quickly. If temperatures exceed 160°F, turn the pile and add moisture. Below 120°F may indicate insufficient aeration; increase turning frequency or add structural carbon.
Harvesting and Applying the Compost
Once the pile cools to ambient temperature and the material turns dark and crumbly, it’s ready for use. The final product should resemble rich soil, free of recognizable feedstock particles.
Extraction Techniques
- Box Scraper or Loader: Scoop mature compost into storage bins or trailers.
- Conveyor Systems: For larger operations, belt conveyors can streamline loading.
- Screeners: Ensure uniform particle size by removing large debris.
Field Application
Spread compost with a manure spreader or a box blade on your tractor. Rates vary by crop and soil needs, typically 1–3 cubic yards per 1,000 square feet. Incorporate compost into the topsoil with a disc harrow or cultivator to maximize nutrient uptake and improve soil structure.
Environmental and Economic Benefits
Using your tractor for composting not only reduces waste and reliance on chemical fertilizers but also fosters sustainability. On-farm composting:
- Reduces landfill fees and methane emissions.
- Enhances soil health, boosting water retention and crop resilience.
- Creates a closed-loop system, lowering input costs.
Embracing these practices supports long-term farm viability and environmental stewardship.