Upgrading the lighting system on your tractor can transform the way you work after dusk, offering enhanced visibility and improved safety for every task in the field. By selecting the right components and following a systematic approach, you can achieve powerful illumination that stands up to rugged conditions and extended use. This guide walks you through choosing optimal lights, handling proper installation and wiring, and ensuring long-term durability while staying within local regulatory compliance requirements.
Understanding Tractor Lighting Fundamentals
Before diving into specific products, it’s crucial to grasp the core elements that define a top-quality lighting setup. Most modern upgrades rely on LED technology, prized for its energy-efficient nature and longevity. These lights outperform traditional halogen or incandescent units in terms of brightness, power consumption, and lifespan. Key factors to evaluate include:
- Luminosity rating (measured in lumens): determines the sheer output of the light source.
- Reflector design: focuses and directs the beam to the area you need illuminated.
- Beam pattern: spot, flood, or combi — each suited for different tasks from long-range visibility to wide-area coverage.
- Power draw and voltage compatibility: ensure your tractor’s electrical system can support the new lighting without overloading.
- Waterproof and dustproof ratings (IP65, IP67, etc.): critical for field environments where moisture and debris are constant threats.
By prioritizing these features, you gain a solid foundation for selecting lights that match both your operational demands and environmental challenges.
Selecting the Right Lighting Components
Choosing the ideal hardware involves balancing performance, cost, and ease of integration. Below are common options and considerations to guide your decision:
1. LED Light Bars vs. Spotlights
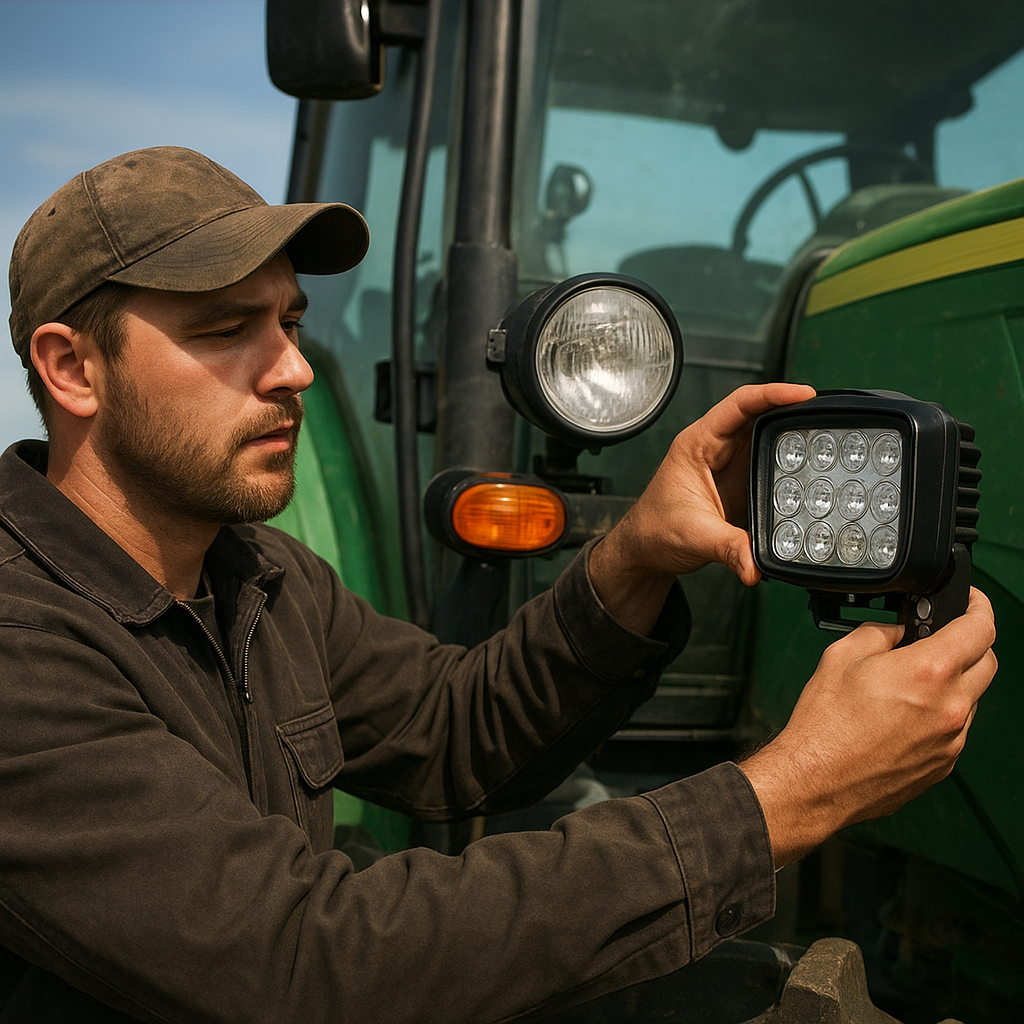
- LED light bars offer broad, powerful coverage ideal for floodlighting large areas when you’re maneuvering or harvesting. They’re often mounted on the roof or front grill.
- Spotlights concentrate the beam into a narrow pattern, perfect for illuminating distant objects or specific work zones like fence lines or bale stacks.
2. Auxiliary Work Lights
Small yet robust, auxiliary work lights can attach to the rear or sides of your tractor, providing targeted illumination for implements such as plows, seeders, or sprayers. Look for models with swivel mounts that let you adjust the angle quickly.
3. Beacons and Warning Lights
For road travel and safety, install rotating or strobe beacons. Ensure they comply with local traffic regulations. A high-intensity amber beam pattern enhances your visibility to other vehicles.
4. Wiring Harnesses and Switch Panels
Don’t underestimate the importance of a quality wiring harness. A pre-built harness with inline fuses, relays, and connectors simplifies the process, reduces potential errors during installation, and safeguards against overloads.
When selecting components, verify that all parts share compatible voltage (12V or 24V) and that mounting brackets fit your tractor’s frame. Integrating brand-matched components can streamline setup and minimize fitment issues.
Step-by-Step Installation Guide
Proper installation ensures you get the most from your lighting investment. Follow these general steps, adjusting to your tractor’s make and model:
- Disconnect the battery: Always start by isolating the power source to prevent shorts.
- Mounting preparation: Determine the best locations — roof, grill, fenders, or rear panel. Clean and degrease mounting surfaces, then position brackets temporarily to mark drill points.
- Drilling and mounting: Drill holes carefully, use anti-corrosion washers, and secure brackets. Ensure lights are level and correctly angled to avoid glare toward the cab or oncoming traffic.
- Wiring layout: Route wires along secure paths, avoiding hot components like the exhaust manifold. Use grommets when passing through metal panels.
- Connect switches and relays: Wire the harness to a fused power source, relay, switch, and ground. Label each circuit to simplify future troubleshooting.
- Test and adjust: Reconnect the battery, activate each light circuit, and confirm proper function. Fine-tune aim and beam width for optimal coverage.
By adhering to these guidelines, you’ll achieve a neat, dependable wiring arrangement that minimizes electrical issues and maximizes performance in challenging conditions.
Ensuring Longevity and Reliability
Even the toughest LED units require routine care. Follow these maintenance and safety tips to extend the life of your upgraded system:
- Regularly clean lenses and gaskets to remove dust, mud, and sap that can degrade light output.
- Inspect wiring connections seasonally for corrosion or loose terminals. Apply dielectric grease to prevent moisture intrusion.
- Check mounting brackets and bolts: vibration is an enemy of tight fasteners. Re-torque as needed.
- Monitor voltage levels: excessive voltage can overheat LEDs, while under-voltage may cause flickering. Use a stable power supply or voltage regulator if fluctuations occur.
- Replace damaged lenses or seals immediately to maintain IP ratings and prevent internal contamination.
Routine inspections and preventative care ensure your lighting remains a dependable workhorse. By focusing on durability and proactive upkeep, you’ll minimize downtime and costly repairs.
Safety and Regulatory Considerations
Upgrading to powerful lights carries responsibility. Ensure your setup aligns with local statutes and promotes safe operation:
- Check maximum lumen output and beam color restrictions for on-road use.
- Install shields or cutoff beams when necessary to avoid blinding other drivers.
- Use amber or red side markers on public roads to flag your tractor’s width.
- Keep emergency switches within reach for quick deactivation if a light fails or causes glare.
Adhering to these guidelines not only safeguards you and your team but also upholds professional standards in agricultural operations.