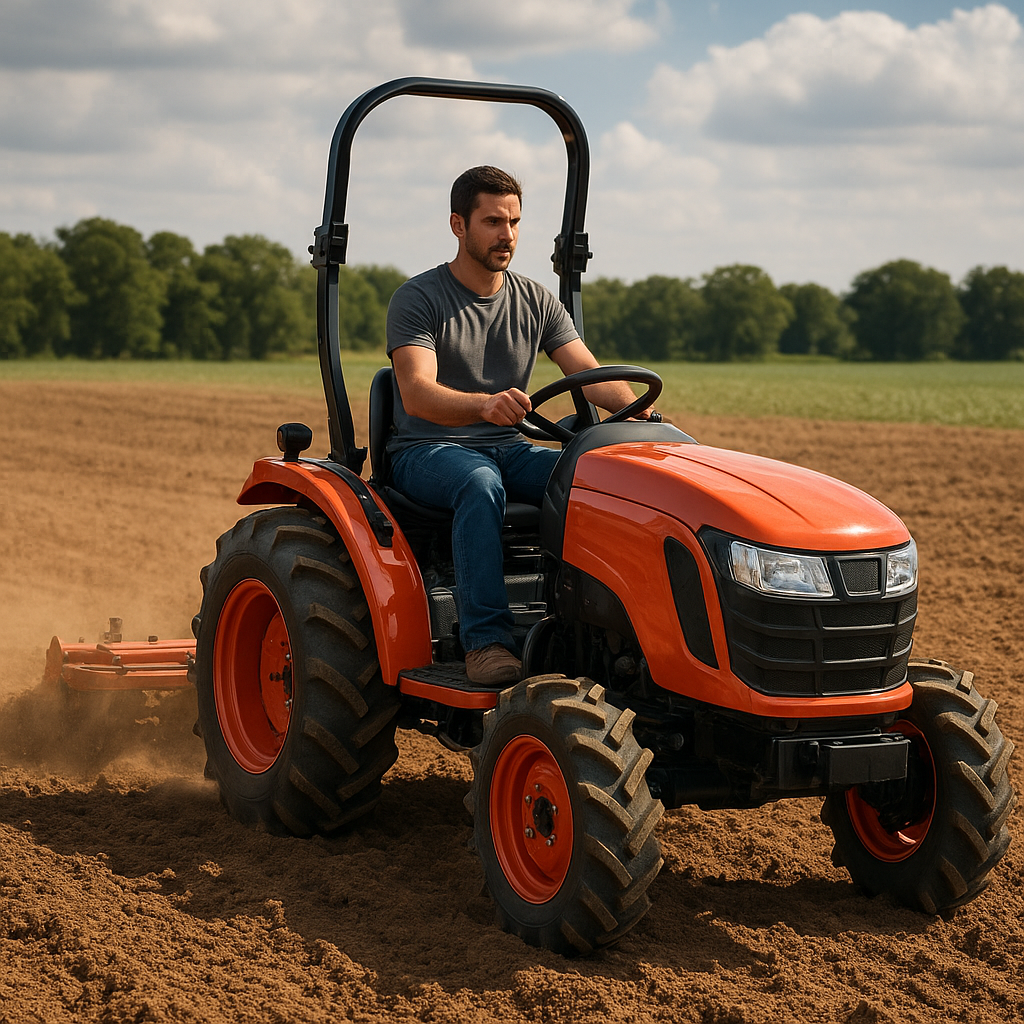
Calibrating your tractor sprayer is a critical task that ensures optimal application of chemicals across your fields. Proper calibration prevents waste, reduces environmental impact, and enhances overall crop protection. By establishing precise settings, you can maximize the performance of your equipment and deliver consistent results season after season.
Importance of Proper Calibration
Effective calibration offers numerous advantages to any farmer or agronomist. Without accurate settings, you risk under-applying chemicals—leading to poor pest control—or over-applying, which wastes product, harms beneficial organisms, and raises input costs. Emphasizing accuracy in your sprayer setup helps achieve uniform coverage and meets regulatory standards for chemical usage. Regular calibration also supports equipment longevity through consistent operating conditions and highlights potential maintenance issues before they become costly breakdowns.
- Improved crop health and yield through precise chemical delivery
- Reduced input costs by preventing over-application
- Minimized environmental impact and runoff risks
- Enhanced safety for operators and the surrounding ecosystem
- Compliance with agricultural regulations and best practices
Tools and Equipment Required
Before beginning calibration, gather the necessary tools to measure and adjust your sprayer’s components. Having a well-organized calibration kit saves time and avoids interruptions during the process. Below is a checklist of essential items:
- Graduated container or calibrated tank for measuring output volumes
- Stopwatch or timer to record flow rates over specific intervals
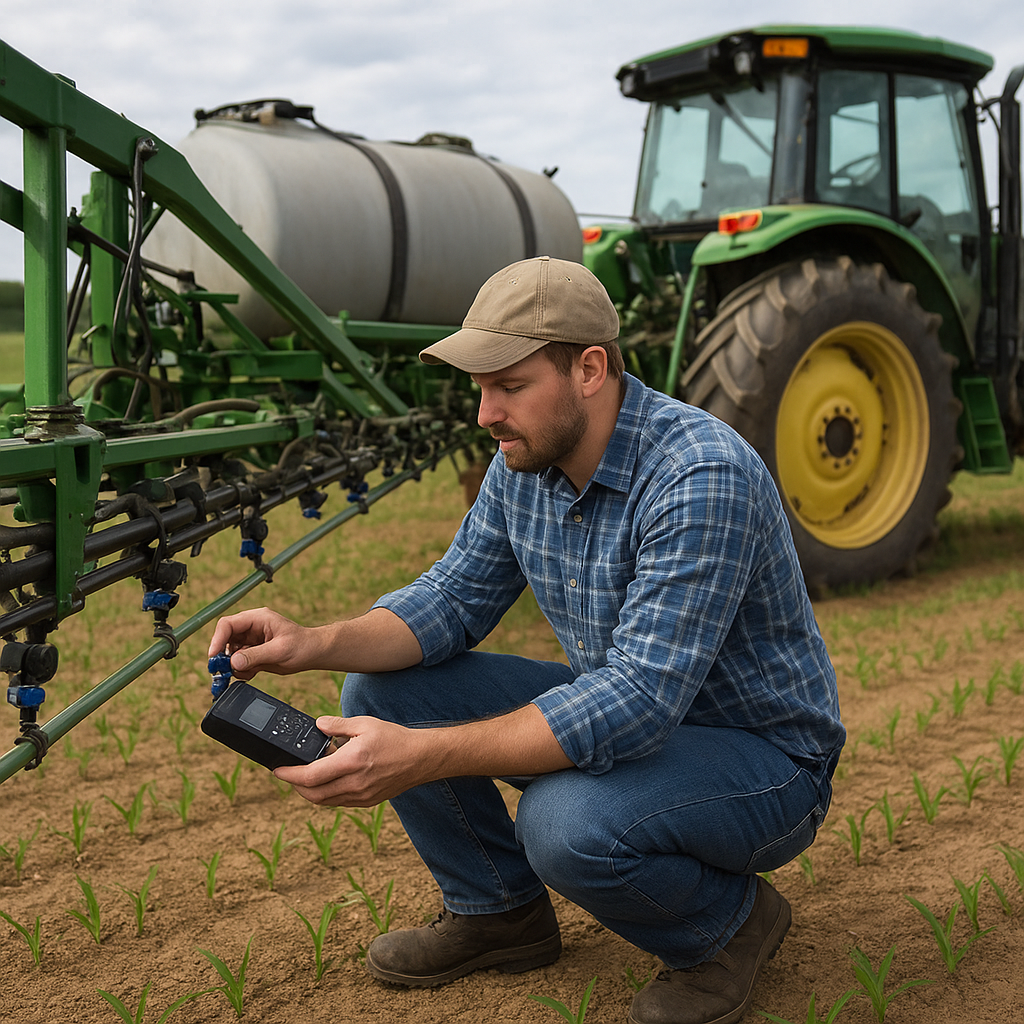
- Pressure gauge rated for your sprayer’s operating range
- Sprayer nozzle charts or manufacturer specifications
- Wrenches and hand tools for adjusting fittings and pressure regulators
- Notebook and pen for logging measurements and calculations
- Measuring wheel or markers to determine field distances
Ensure all instruments are clean, undamaged, and properly zeroed. A faulty gauge or mislabeled container can introduce errors that undermine the entire calibration exercise.
Step-by-Step Calibration Process
Determining Sprayer Output
Start by measuring the amount of liquid each nozzle emits at a predefined pressure setting. Follow these steps:
- Fill the sprayer tank with clean water.
- Pressurize the system to the manufacturer-recommended level (e.g., 30–40 psi).
- Collect the output from one nozzle in a graduated container over a 1-minute interval.
- Record the volume in milliliters or liters.
- Repeat for all nozzles to identify variations in flow rate.
Average the readings to determine the mean output per nozzle. If any nozzles deviate by more than 10% from the average, they should be cleaned, replaced, or rechecked to ensure consistency across the boom.
Measuring Tractor Speed and Distance
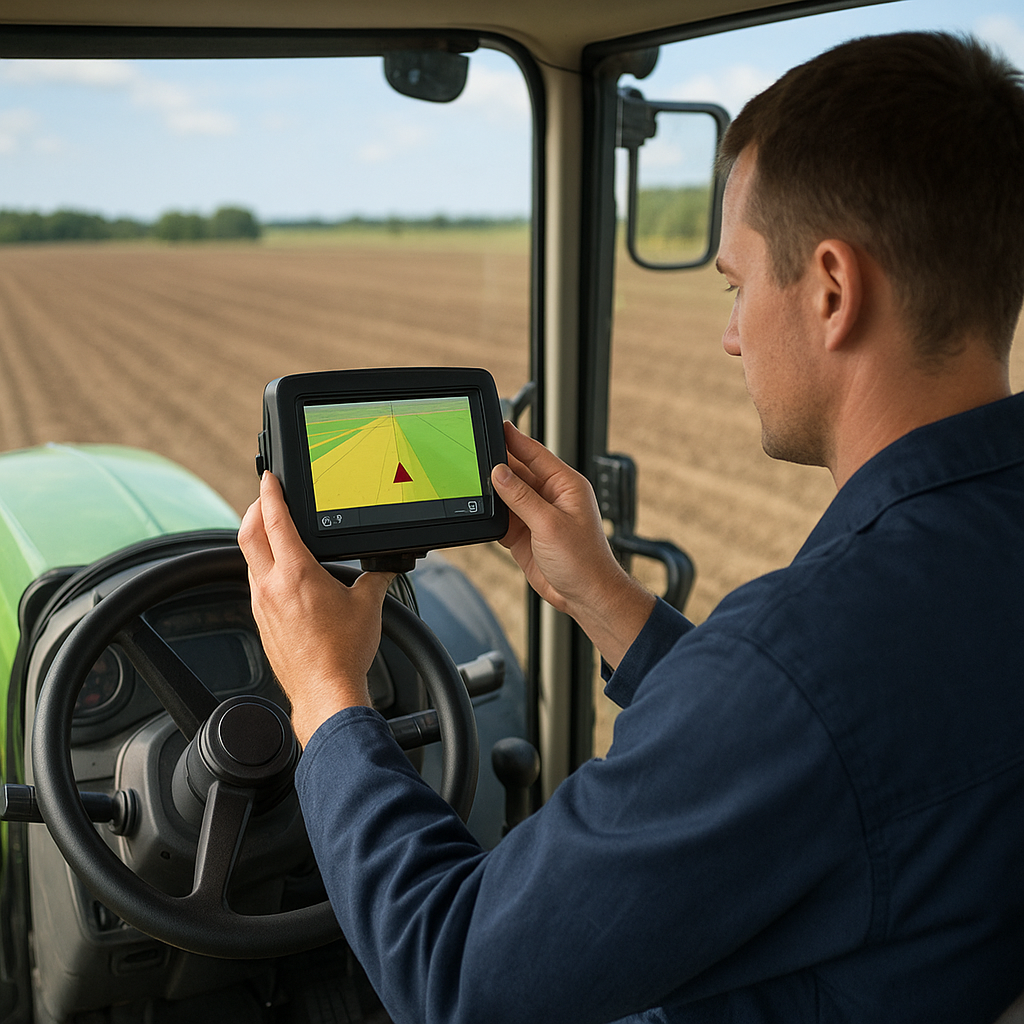
Knowing the exact travel speed is crucial to calculate the application rate per hectare or acre. Use a measuring wheel or GPS to mark out a known distance—typically 100 meters:
- Accelerate the tractor to the desired operating speed in the field.
- Time how long it takes to cover the measured distance.
- Calculate speed: Speed (km/h) = (Distance in meters ÷ Time in seconds) × 3.6.
Document the speed under typical load conditions, as engine load from the sprayer pump can slightly alter forward velocity compared to an unloaded run.
Calculating Application Rate
With average nozzle output and tractor speed known, determine the application rate (liters per hectare or gallons per acre):
- Calculate total boom output: Nozzle output (L/min) × Number of nozzles.
- Compute area covered per minute: Speed (m/min) × Boom width (m).
- Application rate (L/ha) = [Total output (L/min) ÷ Area (ha/min)].
For example, if your sprayer delivers 10 L/min across a 20-meter boom at 8 km/h (133.3 m/min), the area covered is 20 m × 133.3 m/min = 2,666 m²/min (0.2666 ha/min). The rate equals 10 L ÷ 0.2666 ha = 37.5 L/ha.
Adjusting Nozzles and Pressure
Once the calculated rate differs from the target, adjustments are necessary:
- To increase application rate, raise the pressure or install higher-capacity nozzles.
- To decrease rate, lower pressure or switch to drift-reducing nozzles with smaller orifices.
- Retest the output after each change to verify the new flow rates and recompute the application rate.
Maintaining pump integrity and gaskets is also vital; leaks can cause inaccuracy and reduced performance over time. Always install an inline pressure gauge near the boom for real-time monitoring during field operations.
Common Calibration Mistakes and How to Avoid Them
Even experienced operators can fall prey to calibration errors. Watch for these pitfalls:
- Failing to account for changes in viscosity when using different chemicals.
- Ignoring temperature effects on flow rate—cold liquids flow slower than warm ones.
- Assuming all nozzles on the boom are identical; wear and clogging create variation.
- Neglecting tractor load; always calibrate under actual working conditions.
- Skipping periodic checks during long spraying runs; regulation drift can occur as the pump warms up.
Implement a routine calibration schedule—at least at the start of each season or whenever tank mixtures change. This proactive approach safeguards against costly mistakes and upholds treatment efficacy.
Enhancing Efficiency with Advanced Techniques
Beyond basic calibration, integrating technology can further refine your sprayer’s performance. Consider the following enhancements:
- GPS-based section control to avoid overlap and headland double-spraying.
- Automated pressure regulation valves that adjust on the fly for constant output.
- Smart nozzles with individual flow sensors for real-time diagnostics.
- Data logging systems to record application rates, field boundaries, and weather conditions.
These innovations can deliver remarkable gains in efficiency and resource conservation. They also generate rich datasets for analysis, allowing you to refine application maps, tailor treatment rates to variable field zones, and enhance overall sprayer consistency.