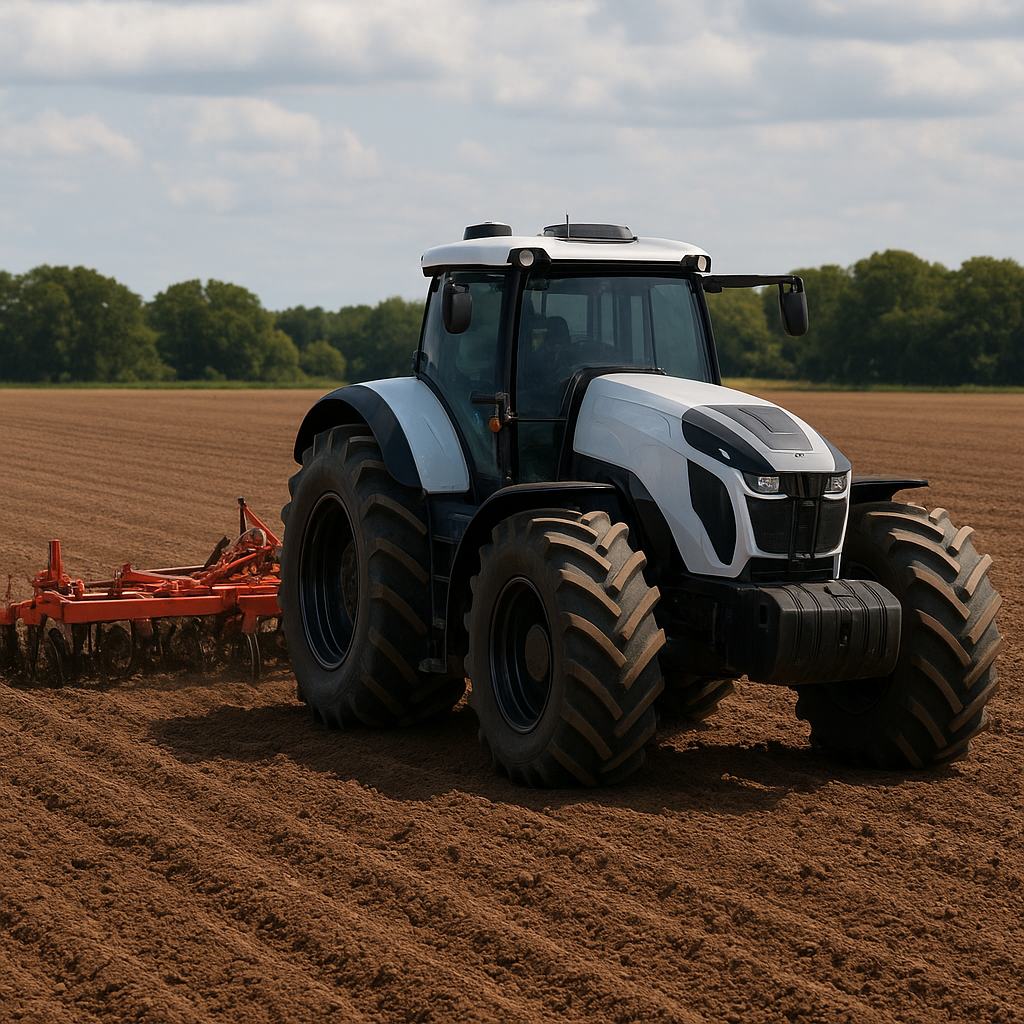
Landscaping with a tractor transforms large outdoor areas into meticulously crafted outdoor environments. By combining the right equipment, proper **maintenance**, and effective techniques, you can enhance efficiency, reduce labor, and achieve professional-grade results. This guide outlines essential steps for utilizing a tractor in various landscaping projects, from basic soil preparation to advanced grading tasks.
Selecting the Right Tractor for Landscaping
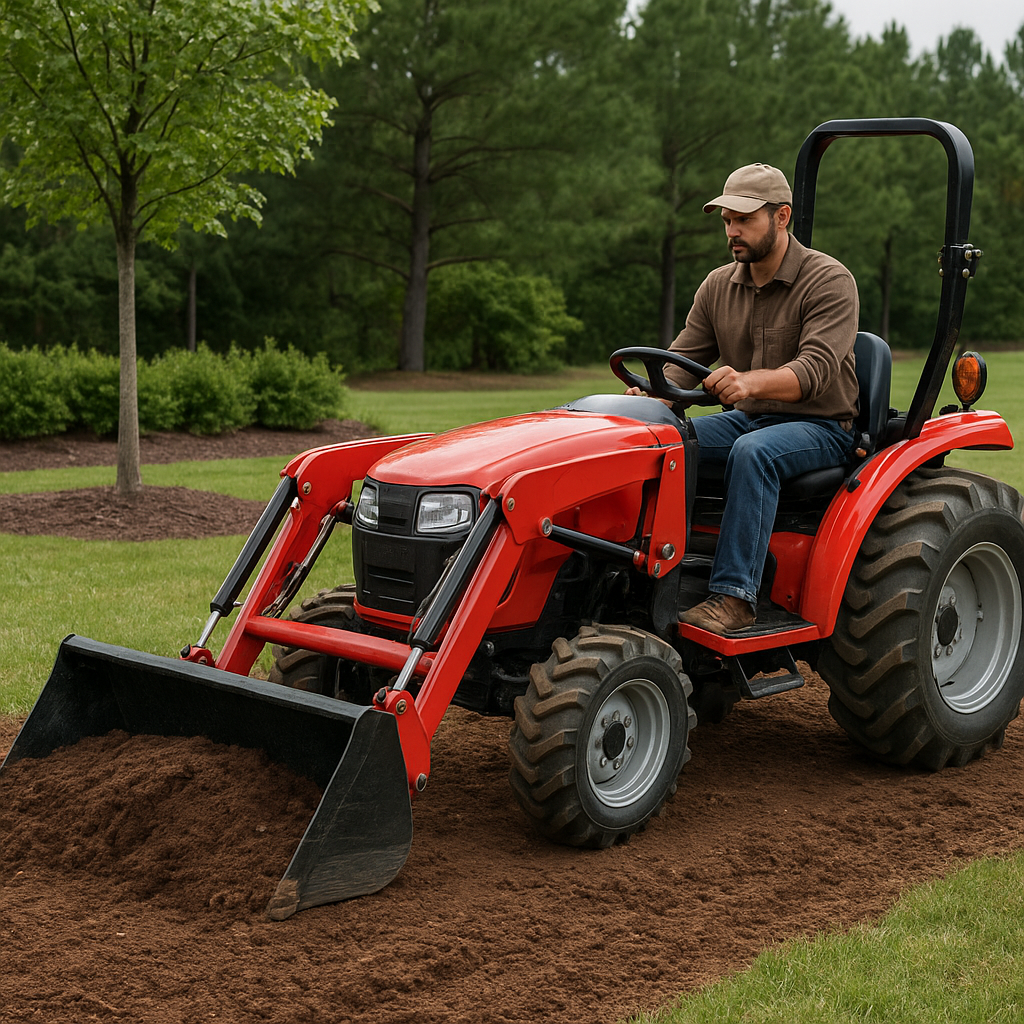
Choosing an appropriate tractor is the first step toward successful landscaping. Consider factors such as engine size, weight, drive type, and available attachments. Smaller tractors (25–50 HP) work well for residential properties and lighter tasks, while larger models (50–100+ HP) excel in commercial and large-scale jobs. Always match the tractor’s capabilities to the scope of your project:
- Horsepower: More HP delivers greater pull and faster operation, especially important when working with heavy implements.
- Traction: Four-wheel drive (4WD) tractors offer superior grip on uneven or wet terrain compared to two-wheel drive models.
- Size and weight: Larger machines provide enhanced stability but may struggle in tight spaces or delicate lawns.
- Operator comfort: Look for ergonomic seats, adjustable steering, and easy-to-read controls to reduce fatigue.
Key Considerations
Before investing, evaluate ground conditions, slope angles, and typical weather patterns. Clay soils or steep inclines demand models with robust weight distribution and superior traction. Additionally, confirm that service networks and parts availability are reliable in your region.
Essential Attachments and Implements
Attachments expand the versatility of your tractor, allowing you to tackle diverse landscaping tasks with a single power unit. Below are the most valuable implements for comprehensive landscaping:
- Front Loader Bucket: Ideal for moving soil, mulch, and rocks; available in various capacities.
- Box Blade: Excellent for grading, leveling, and backfilling trenches; adjustable scarifier teeth handle compacted soil.
- Rotary Tiller: Breaks up compacted ground and integrates organic materials; ensures uniform soil preparation.
- Landscape Rake: Clears debris, rocks, and roots; smooths soil for seeding or sod installation.
- Hydraulic Tilt Blade: Offers precise angle control for fine grading and shaping.
- Auger: Creates holes for fence posts, small trees, or signposts with minimal manual effort.
Implement Selection Tips
Select attachments based on the project phase. For initial clearing and rough grading, use the front loader and landscape rake. Transition to box blades and tilt blades for final grading. Always follow manufacturer guidelines to ensure proper hydraulic pressures and mounting procedures.
Preparing the Site and Safety Measures
Before any tractor operation, assess and prepare the site thoroughly. Proper preparation reduces accidents and improves final outcomes. Key steps include:
- Clear obstacles: Remove stumps, large rocks, and debris that could damage implements or cause rollovers.
- Mark utilities: Contact local utility companies to avoid hitting buried lines and cables.
- Evaluate slopes: Identify steep areas that require special safety protocols or equipment.
- Establish boundaries: Use flags or stakes to mark edges for precise grading and to protect sensitive zones.
- Wear protective gear: Operators should don high-visibility vests, hard hats, gloves, and safety glasses.
Minimizing Risks
Never operate a tractor under the influence of alcohol or medication. Always engage the parking brake, lower implements to the ground when stationary, and use rollover protective structures (ROPS). Inspect tires for proper inflation and check hydraulic lines for leaks before starting work.
Operating Techniques for Optimal Results
Mastering proper driving and implement-handling techniques is crucial for achieving a polished landscape. Follow these best practices:
- Maintain steady speed: Avoid sudden accelerations or stops to prevent soil rutting and implement bounce.
- Overlap passes: Ensure uniform coverage by overlapping each pass by 10–20% with grading and tilling implements.
- Adjust depth settings: For tillers and box blades, set working depth in small increments to avoid overloading the tractor.
- Use weight distribution: Add front or rear ballast when lifting heavy loads to maintain stability.
- Leverage hydraulic controls: Fine-tune blade angles and bucket heights for precise material placement.
Soil Management
Work soil when moisture levels are optimal—too wet leads to compaction, too dry causes dust and uneven tilling. Incorporate organic matter or fertilizers as recommended by soil tests. Rotate implements, starting with deep loosening tools followed by smoothing attachments for a refined finish.
Maintenance and Troubleshooting
Regular upkeep extends the life of both tractor and implements. Establish a maintenance schedule that covers daily, weekly, and seasonal tasks:
- Daily: Check engine oil, coolant levels, and grease fittings on loader arms and pivot points.
- Weekly: Inspect air filters, tighten loose bolts, and monitor hydraulic fluid.
- Monthly: Service fuel filters, lubricate PTO shafts, and examine belts for wear.
- Seasonal: Change engine oil, flush cooling system, and store attachments in a dry environment to prevent rust.
Common Issues and Solutions
Hydraulic leaks can stem from worn seals—replace them promptly to avoid system failure. If the bucket or blade becomes uneven, recalibrate the hydraulic controls and check the linkage. Excessive vibration may indicate imbalanced implements or worn bearings; inspect and replace these components as necessary.
By combining the right tractor, strategic implements, thorough site preparation, and consistent maintenance, you can maximize productivity and deliver professional landscaping outcomes. Embrace these guidelines to leverage your tractor as a multifunctional powerhouse, capable of transforming any outdoor space into a beautifully sculpted environment.