Tractor implements are essential tools that transform a standard tractor into a multifunctional workhorse on farms, construction sites, and landscaping projects. Mastering the correct setup and usage of these attachments not only enhances productivity but also prolongs the life of both tractor and implement. This guide will walk you through the critical steps of selecting, installing, operating, and maintaining various tractor implements, with an emphasis on achieving maximum efficiency and safety.
Selecting the Right Implement
Choosing the proper implement is the foundation of successful tractor operation. Each task—from tilling soil to lifting heavy loads—demands an attachment designed for that specific purpose. Consider the following factors:
- Compatibility: Ensure that the implement’s hitch type, horsepower rating, and hydraulic requirements match your tractor’s specifications.
- Task requirements: Identify whether you need a plow, mower, loader, backhoe, or specialized attachment like a post-hole digger.
- Soil and terrain: For rocky or uneven fields, opt for durable, heavy-duty implements with reinforced frames.
- Balance: Check the implement’s weight distribution to avoid overloading the front or rear axles, which can compromise stability.
- Budget and availability: While genuine OEM attachments often guarantee quality, aftermarket options can offer cost-effective alternatives—just verify build standards.
Attachment Procedures
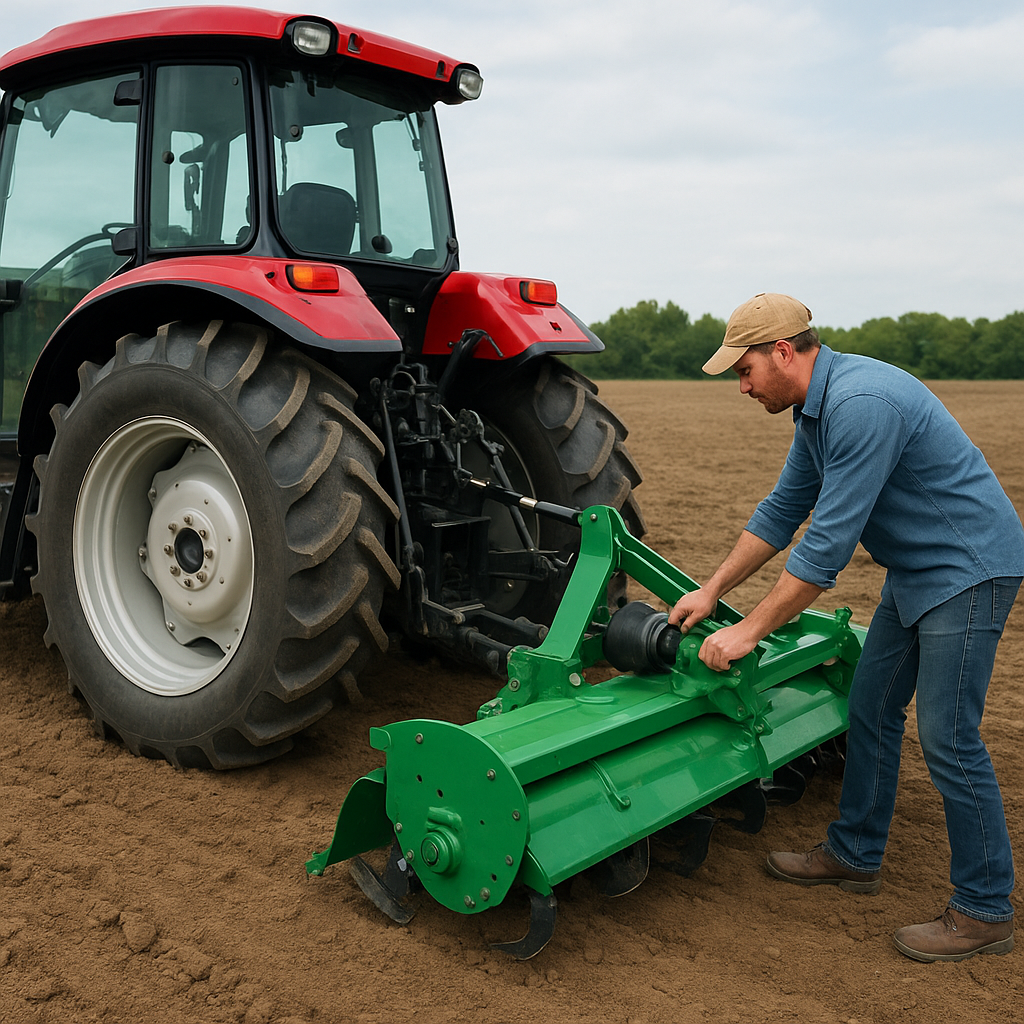
Proper installation is critical to ensure the implement operates as intended. Follow these general steps for three-point hitches, Quick-Tach systems, and hydraulic hook-ups.
Three-Point Hitch Installation
Most agricultural implements utilize the Category I or II three-point hitch system. The procedure involves:
- Align the tractor with the implement: Position the lower link arms directly in line with the implement’s hitch points.
- Secure lower links: Insert lynch pins or locking clips to fasten the implement’s lower hitch pins to the tractor’s arms.
- Attach top link: Adjust the length of the telescoping top link to ensure the implement sits level when lifted.
- Connect stabilizers or sway chains: Prevent excessive side-to-side movement during transport and operation.
Quick-Tach and Other Systems
Quick-Tach mechanisms greatly reduce hookup time. To use:
- Back the tractor slowly towards the implement’s coupling hooks.
- Engage the lower hooks and lock them in place, often via a latch lever.
- Raise the lift arms to tilt the implement slightly until the top coupling pin aligns, then lock it.
- Test the connection by lifting and lowering the implement a few inches above the ground.
Hydraulic Connections and Hydraulics Setup
Most modern implements require hydraulic power for functions like blade tilt, arm movement, or auger rotation. Always:
- Match pressure ratings: The tractor’s hydraulic system must supply adequate volume (GPM) and pressure (PSI).
- Attach hoses to the correct couplers: Color-coded or keyed couplings prevent cross-connection.
- Bleed air: Operate hydraulic controls with the implement unloaded to purge trapped air and avoid jerky motion.
Operational Techniques and Calibration
Once the implement is securely attached, fine-tuning its settings ensures optimal performance. Misadjustment can lead to uneven work quality and excessive wear.
Initial Test Run
Before tackling a full field or project:
- Operate at low speed: Observe the implement’s movement, listening for unusual noises.
- Check ground contact: For tillage tools, ensure tines engage soil evenly.
- Monitor hydraulic response: Controls should feel smooth without lag or spiking.
Depth and Angle Adjustments
Field implements like plows and discs require precise depth settings to maintain consistent working results. Adjust as follows:
- Use the hydraulic top link or manual turnbuckle to set angle and depth.
- Reference manufacturer’s scale readings: Many implements feature numbered adjustment holes.
- Maintain a slight forward tilt on blades for proper soil penetration without excessive draft force.
Achieving Precision in Fieldwork
GPS guidance and auto-steer systems can elevate your accuracy to within inches. Integrate these technologies with:
- Implement-specific sensors that track ground engagement and adjust in real time.
- Section control for planters and sprayers to eliminate overlap and reduce input costs.
Maintenance and Longevity
Regular maintenance prevents downtime and extends the life of your implements. Implement a routine schedule that covers inspections, lubrication, and minor repairs.
Daily and Weekly Checks
- Inspect for loose bolts and pins: Tighten the hitch hardware and replace worn fasteners.
- Grease all fittings: Follow the lubrication chart in the operator’s manual.
- Examine hydraulic hoses for leaks or abrasions.
- Clean debris buildup: Soil and plant matter can trap moisture and accelerate corrosion.
Seasonal Overhaul
- Disassemble moving parts: Check bearings, bushings, and pivot points for wear.
- Repaint chipped surfaces: Protect metal components against rust.
- Recalibrate depth stops and gauge wheels after heavy use.
- Replace cutting edges or blades when they become dull to maintain efficiency and reduce tractor stress.
Ensuring Safety During Maintenance
Always follow lockout/tagout procedures when servicing hydraulic implements or bladed attachments. Relieve hydraulic pressure before disconnecting hoses, and chock tractor wheels to prevent movement. Wear protective gloves and eye protection when handling sharp or heavy parts.
Troubleshooting Common Issues
Even with careful setup, issues can arise. Here are solutions to frequent problems:
- Poor soil penetration: Increase front ballast or adjust implement down pressure if available.
- Unusual vibrations: Inspect for bent shafts or damaged gearboxes.
- Hydraulic drift: Replace worn seals in control valves.
- Uneven wear on blades: Check for misalignment in the hitch and recalibrate cutting angles.
Advanced Tips for Professional Operators
Experienced users can push performance further with these strategies:
- Balance front and rear weights: Optimize traction and minimize wheel slip on power-hungry implements.
- Monitor fuel consumption: Implement counter-balanced equipment to reduce draft and boost fuel efficiency.
- Invest in real-time diagnostic tools: Early detection of hydraulic leaks or mechanical slippage can save thousands in repairs.
- Train operators: Consistent techniques across different drivers maintain implement life and field quality.
Conclusion of Operational Best Practices
Mastering the setup and use of tractor implements involves meticulous selection, precise installation, careful calibration, and diligent maintenance. By following the steps outlined here, you’ll achieve consistent performance, extend equipment service life, and uphold safety standards on every job site or farm operation.