Dealing with a slipping clutch on your tractor can bring field work to a halt, but understanding the root causes and following a systematic approach will get your machine back in action. This guide covers the diagnostic steps, necessary tools, and repair techniques to restore full clutch performance, ensuring efficient power transfer from the engine to the transmission.
Identifying a Slipping Clutch
Before rushing into repairs, confirm that the clutch is indeed slipping and not suffering from other drivetrain issues. A slipping clutch typically manifests as:
- Engine RPM increase without corresponding speed gain under load
- Foul odor from overheated friction surfaces
- Poor response when engaging gears, especially in higher ranges
- Difficulty maintaining traction when pulling attachments
Start by conducting a simple field test. With the tractor on a flat surface and no implements attached, depress the pedal fully, shift into a mid-range gear, and slowly engage. If the engine revs climb significantly while the tractor barely moves, the clutch is slipping. Conversely, if motion is delayed but consistent, look at transmission or hydraulic issues.
Essential Tools and Safety Precautions
Working on a clutch assembly requires careful preparation. Assemble the following tools and equipment before you begin:
- Socket set with metric and imperial sizes
- Torque wrench for precise bolt tightening
- Jack stands or a heavy-duty floor jack
- Feeler gauges for measurement
- Clutch alignment tool
- Clean rags and brake cleaner
- High-temperature grease and anti-seize compound
Safety first: Always block wheels to prevent rolling, disconnect the battery, and wear gloves and eye protection. Ensure the engine is cool before disassembly to avoid burns from hot components.
Step-by-Step Adjustment Process
Many slipping issues can be resolved by proper adjustment of the clutch linkage or hydraulic system. Follow these steps before considering component replacement:
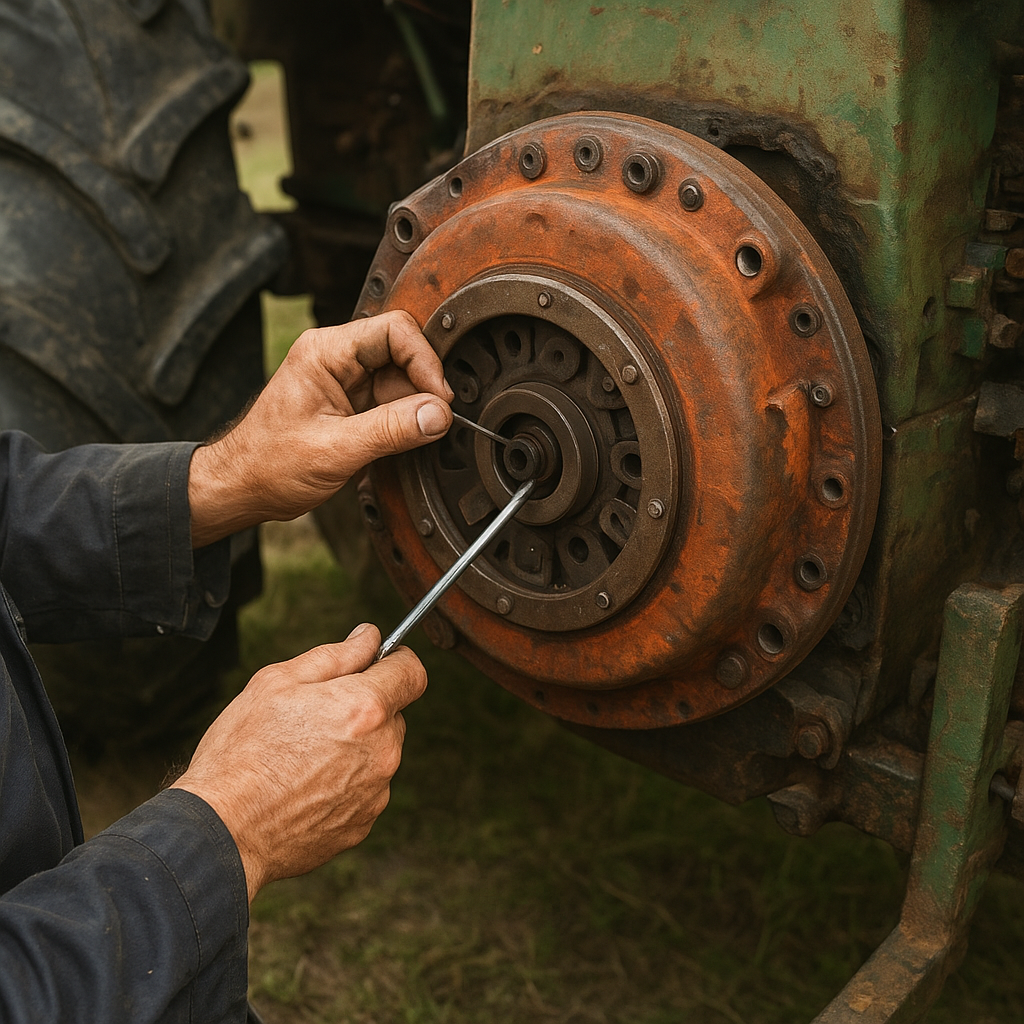
1. Inspect Clutch Linkage
Begin by tracing the pedal assembly to the clutch fork. Look for worn bushings, bent rods, or loose nuts. Adjust the free play to the specification in your tractor’s service manual—typically around 10–20 mm at the pedal. Use the adjusting nut on the push rod to achieve correct travel.
2. Check Hydraulic Slave Cylinder
If your tractor uses a hydraulic clutch, inspect the slave cylinder for leaks or air in the line. Bleed the system by opening the bleed screw while pumping the pedal until all air is expelled. Replace seals if leaks persist.
3. Measure Clutch Disc Clearance
Remove the transmission cover to access the pressure plate and disc. Use a feeler gauge to verify clearance between the pressure plate fingers and the clutch disc hub. If the clearance is out of tolerance, use the adjustment bolts on the pressure plate to correct it.
4. Test Before Reassembly
After adjustments, reassemble the bell housing and reconnect linkages. Start the engine and test engagement in neutral—listen for chatter or unusual noises. Conduct another field test under light load to confirm the slipping issue has been resolved.
Replacing Worn Components
If adjustment fails to cure the slipping, inspect internal components for wear. Key parts to examine include:
- Friction plate: Look for glazing, cracking, or uneven wear.
- Pressure plate springs: Weak or broken springs reduce clamping force.
- Flywheel surface: Heat spots or scoring can prevent proper contact.
- Release bearing: Worn bearings cause uneven pressure and chatter.
Disassembly
1. Support the tractor securely and remove rear wheels if needed for access.
2. Detach the driveshaft or PTO shaft.
3. Drop the transmission housing carefully on jack stands.
4. Unbolt the pressure plate evenly in a star pattern to avoid warping.
Component Replacement
Clean all mating surfaces with brake cleaner. Resurface or replace the flywheel if necessary. Install the new friction plate using the alignment tool to center it perfectly. Torque the pressure plate bolts to factory specifications, ensuring even clamping force.
Reassembly and Final Checks
Reinstall the transmission, reconnect linkages or hydraulic lines, and bleed the clutch if required. Adjust the pedal free play once more. Perform a final functional test, paying attention to engagement smoothness and power delivery.
Maintenance Tips to Prevent Future Slippage
Regular maintenance can extend clutch life and prevent slipping:
- Keep clutch linkage lubricated and properly adjusted.
- Monitor hydraulic fluid levels and quality.
- Avoid riding the clutch pedal during fieldwork.
- Inspect the flywheel and pressure plate when changing engine oil or filters.
- Store the tractor in a dry environment to prevent corrosion of brackets and linkage components.
By following these guidelines and performing timely inspections, you can maintain optimal tractor performance and minimize downtime caused by clutch slipping.