Repairing a tractor demands a blend of technical skill, a structured approach, and unwavering attention to detail. A single oversight can lead to costly downtime or even safety hazards. By understanding the most common missteps, you can streamline your repair process and enhance equipment reliability. This guide explores key areas where mistakes often occur and offers practical advice to ensure your tractor remains operational and safe.
Understanding the Tractor’s Complex Systems
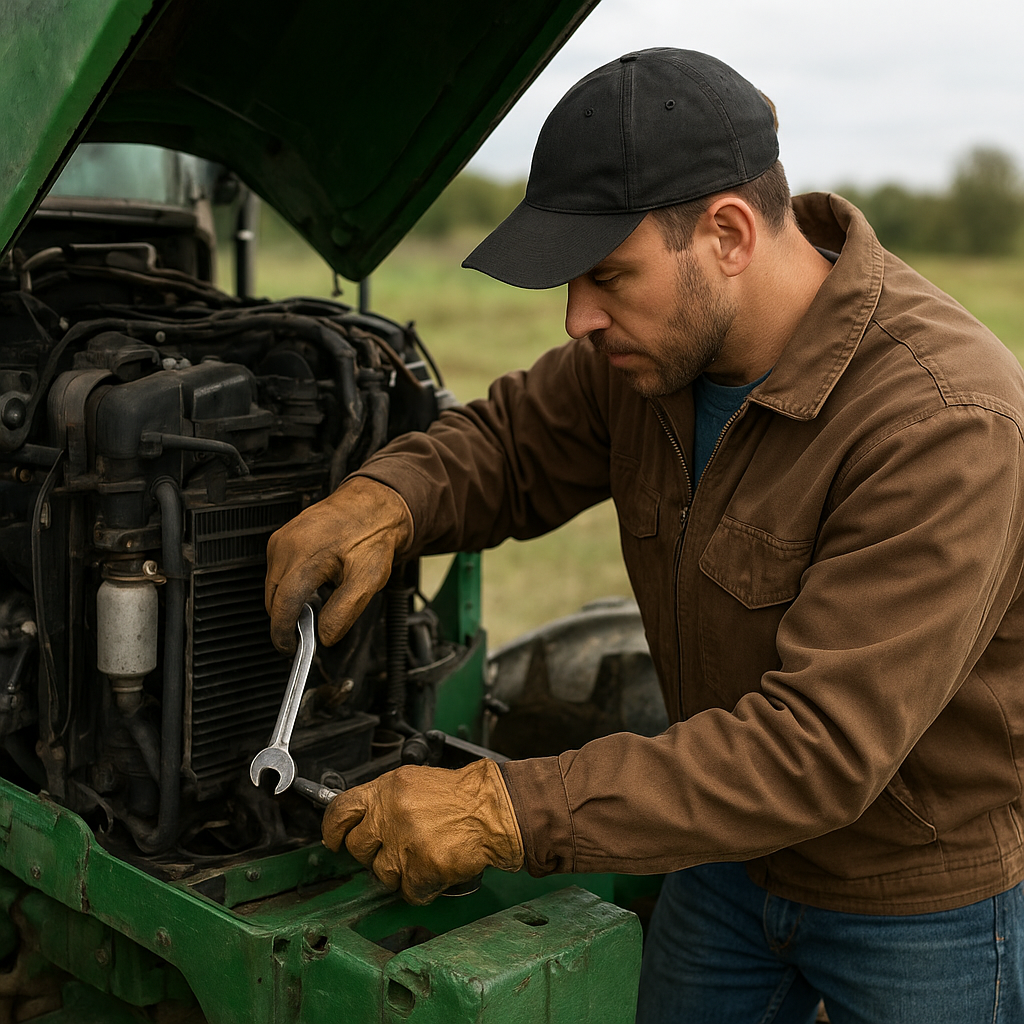
Modern tractors integrate hydraulic, electrical, and mechanical subsystems that must work in harmony. Failing to appreciate this complexity often results in unnecessary disassembly or incorrect repairs. When you encounter a malfunction, start with a systematic overview:
- Inspect hydraulic lines and fittings for leaks or kinks before dismantling major components.
- Check all electrical connectors, fuses, and relays to rule out simple electrical faults.
- Review service manuals and OEM specifications to ensure you know the exact torque settings and tolerances.
Jumping directly to component replacement without a clear diagnostic path can lead to wasted parts and extended downtime. Make it a habit to document each step, noting any unusual noises, vibrations, or pressure readings. This record will not only help you pinpoint the root cause but also serve as a reference for future maintenance.
Avoiding Diagnostic Errors
Misinterpreting Symptoms vs. Root Cause
Diagnosing a fault based solely on symptoms can send you down the wrong path. For example, low hydraulic pressure might stem from a failing pump, a clogged filter, or an unrestricted return line. Verify pressure at multiple points and compare readings against the manufacturer’s data.
Overlooking Simple Checks
Technicians sometimes bypass basic inspections in a rush to tackle what appears to be a major issue. Before assuming an internal failure:
- Ensure fluid levels are within the recommended range—both overfilling and underfilling can cause erratic behavior.
- Examine filter elements for clogging; a blocked filter can mimic pump wear.
- Test battery voltage and ground connections; low voltage can create intermittent performance problems that mimic mechanical faults.
By incorporating these routine checks into your diagnostic workflow, you avoid unnecessary component swaps and shorten repair time.
Using the Right Tools and Equipment
Investing in proper tools not only improves repair quality but also protects components from damage. Common mistakes include using inferior wrenches, neglecting torque wrenches, and skipping specialized test equipment. Consider the following guidelines:
- Always use calibrated torque wrenches to tighten fasteners to OEM specifications.
- Employ digital pressure gauges and multimeters when troubleshooting hydraulic and electrical circuits.
- Use protective sleeves or covers to prevent scratches on critical seals, pistons, and cylinder bores.
- Keep a clean workspace free of metal shavings, dirt, or debris that could compromise moving parts.
Failure to adhere to proper tool usage often results in stripped threads, warped components, or hidden leaks that manifest after the repair is complete.
Implementing Effective Preventive Maintenance
Neglecting regular maintenance is a leading cause of unplanned breakdowns. Establishing a robust preventive maintenance schedule can drastically reduce repair frequency and costs. Key actions include:
- Replace hydraulic and engine oils at intervals recommended in the service manual to avoid accelerated wear.
- Change air and fuel filters before they reach critical clogging levels.
- Inspect drive belts, hoses, and hoses for signs of cracking or abrasion during every service.
- Verify wheel lug torque and tire pressure to prevent undue stress on axles and transmission.
- Record all maintenance tasks in a logbook or digital system for easy tracking and compliance.
By staying proactive, you can catch minor issues—such as seal degradation or bearing fatigue—before they escalate into costly failures.
Prioritizing Safety Throughout Repairs
Safety should never be an afterthought. Tractor repairs often involve high pressures, heavy components, and hazardous chemicals. Adhering to safety protocols not only protects you but also ensures a more efficient workflow. Follow these precautions:
- Always depressurize hydraulic circuits and drain fluids before disconnecting lines.
- Support raised implements and frames with certified stands or blocks.
- Wear appropriate personal protective equipment (PPE)—gloves, goggles, and flame-resistant clothing when welding or grinding.
- Isolate the battery and electrical system to prevent accidental shorts or arc flashes.
- Handle used oil and filters in compliance with environmental regulations to avoid contamination.
Skipping these steps risks injury and damage. A safe, well-lit workspace also helps you spot potential hazards before they become serious problems.
Documenting Repairs and Parts
Accurate record-keeping is often overlooked but remains a vital component of professional tractor maintenance. Keeping track of replaced parts, adjustments made, and observed abnormalities can greatly simplify future diagnostics. Implement these practices:
- Create a digital folder for each tractor, storing invoices, scanned manuals, and diagnostic reports.
- Label hoses and wires when disassembling complex assemblies to ensure correct reassembly.
- Maintain an inventory of critical spare parts—seals, filters, belts, and gaskets—to minimize downtime.
- Use OEM or high-quality aftermarket components for consistent performance and warranty compliance.
Well-documented repairs establish accountability and help technicians identify patterns that may indicate systemic issues with specific models or components.