Restoring an old tractor can be a deeply satisfying endeavor that combines mechanical skill, historical appreciation, and creative problem-solving. Whether you’re reviving a family heirloom or rescuing a barn find, each step toward bringing a piece of agricultural history back to life is an adventure. This guide covers key phases of the project, from initial planning to the finishing touches.
Preparing for Restoration
Before you roll up your sleeves, spend time on thorough inspection and research. Identifying the make, model, and year helps you source correct parts and maintain historical authenticity. Establish a clean, well-lit workspace with sturdy benches, shelving, and a parts-cleaning station. Assemble a basic set of tools—including wrenches, sockets, and pullers—and consider safety equipment like gloves, goggles, and a respirator for fuel- and paint-related tasks.
- Document the tractor’s current condition with photos and notes.
- List missing or damaged components you’ll need to replace or rebuild.
- Acquire a factory service manual for torque specs, wiring diagrams, and maintenance intervals.
- Plan for fluid disposal—old oil, coolant, and hydraulic fluid require eco-friendly handling.
With a clear plan and workspace in place, you’ll minimize surprises and stay organized during the intensive mechanical work ahead.
Engine Overhaul and Mechanical Repairs
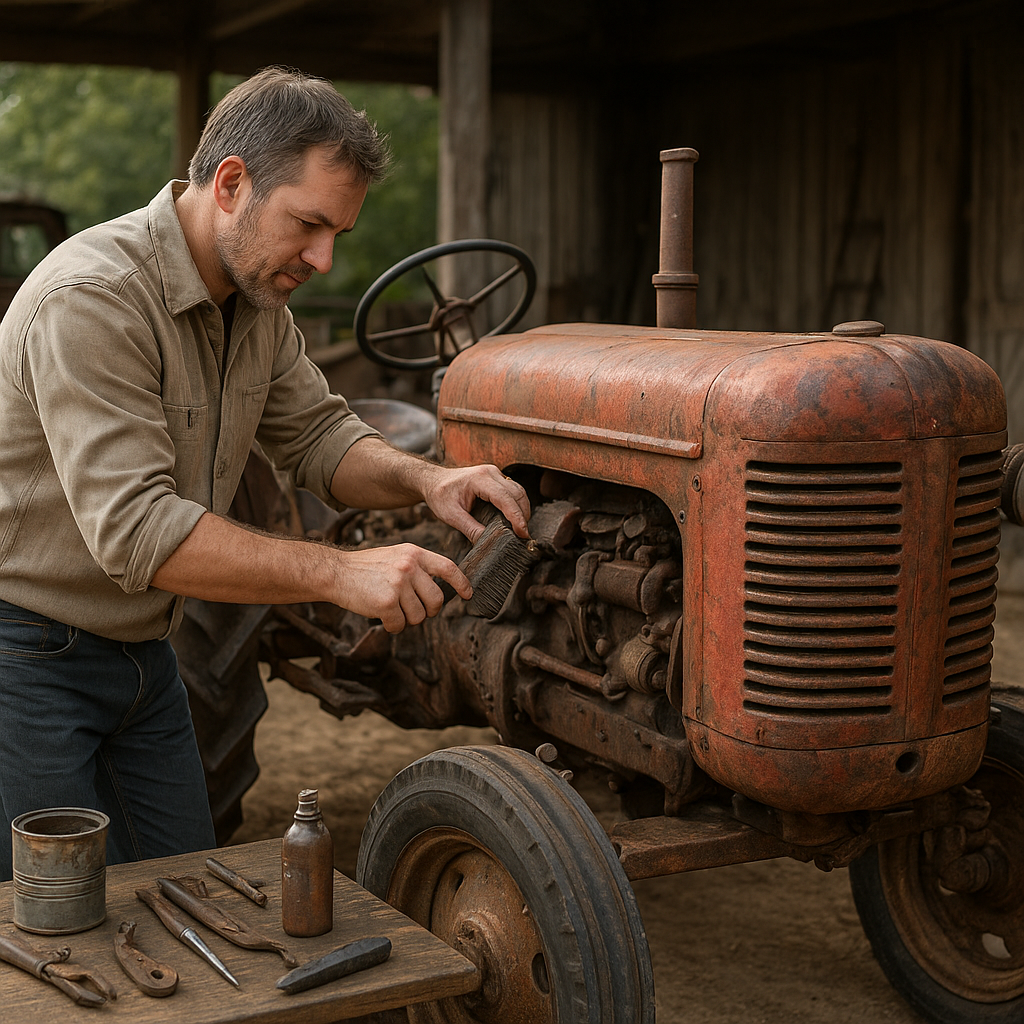
The heart of any tractor is its engine, and a complete overhaul can transform a tired powerplant into a reliable performer. Start by draining old oil and removing peripheral components—air cleaner, fuel pump, radiator, and exhaust manifold. Keep hardware in labeled containers to streamline reassembly.
Disassembly and Cleaning
- Remove the cylinder head and inspect for cracks or warping.
- Extract pistons and rods; check bore dimensions and compare to spec sheets.
- Clean all parts with a parts washer or solvent tank to remove varnish and sludge.
Component Replacement
- Install new gaskets, seals, and bearings to prevent leaks and maximize compression.
- Replace piston rings, and hone the cylinders if necessary.
- Rebuild the fuel system—clean injectors or carburetor jets and replace fuel lines.
Don’t overlook the lubrication system: verify that oil galleries are clear and replace the oil pump if it shows signs of wear. Once reassembled, perform a pre-start pressure test to confirm proper sealing and then prime the oil system before cranking.
Electrical System and Wiring
An aged wiring harness can pose safety hazards and unreliable performance. Start by disconnecting the battery and labeling each wire with masking tape and corresponding functions. Inspect connectors, switches, and gauges for corrosion—clean or replace pieces as needed. Modern upgrades like sealed connectors and shrink tubing help prevent future issues.
Battery, Starter, and Alternator
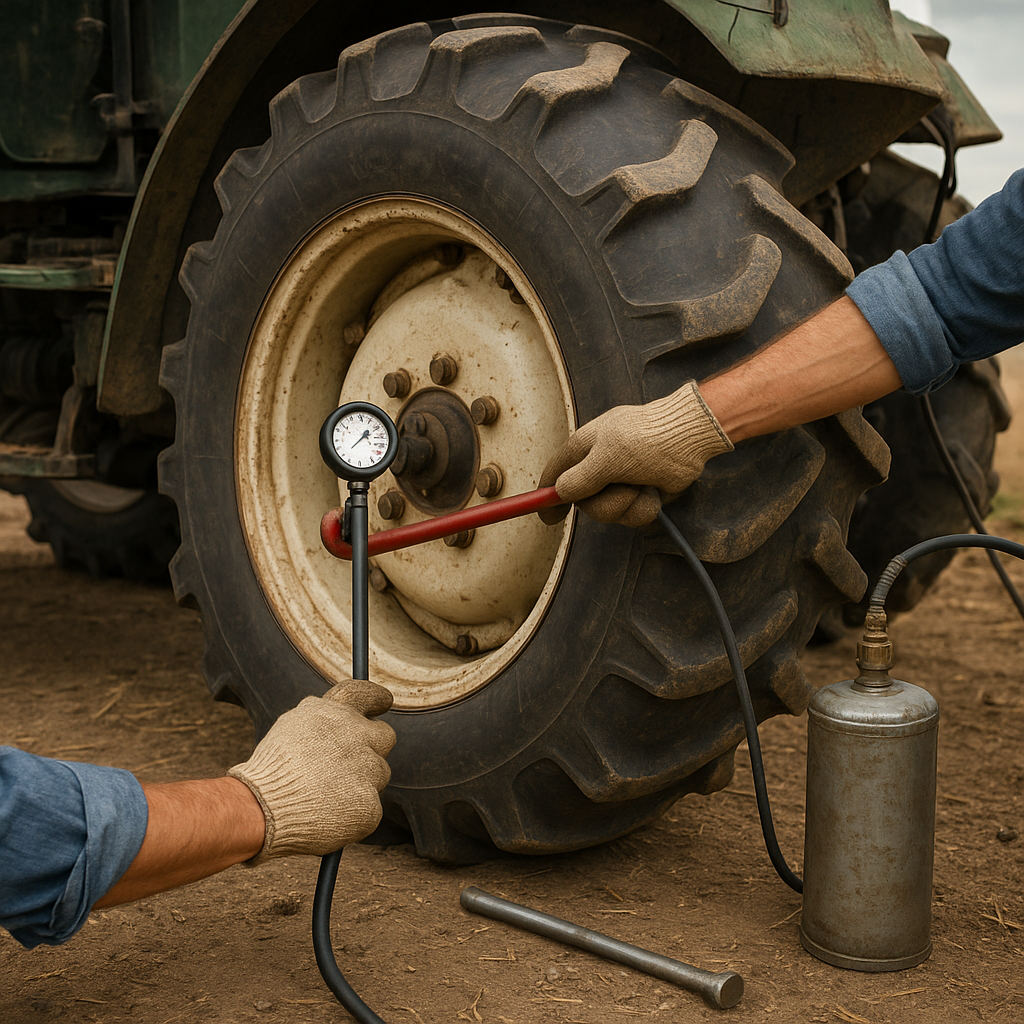
- Test the battery’s state of charge and voltage under load.
- Check the starter motor’s draw with a multimeter; service brushes or rewind if necessary.
- Inspect the alternator for proper output; replace diodes or regulator modules when faulty.
Lighting and Instrumentation
- Upgrade to LED bulbs for better efficiency and longevity.
- Calibrate or replace faulty fuel and temperature gauges.
- Secure wiring away from hot engine parts and moving linkages.
By rebuilding the electrical network, you’ll ensure dependable starts, accurate readings, and safe operation both in the field and on roadways.
Bodywork, Painting, and Finishing
After mechanical and electrical systems are sound, attention turns to the tractor’s appearance. Stripping old paint and surface rust reveals dents, holes, and previous repairs. Invest in quality abrasives, wire wheels, and a sandblaster for the most thorough cleaning. Address structural issues with welding and metal fabrication before moving to cosmetics.
Rust Treatment and Repair
- Apply rust converter or phosphoric acid solution to pitted areas.
- Patch holes with welded steel patches, blending seams for a smooth finish.
- Use body filler sparingly to level minor imperfections.
Priming and Painting
- Choose a high-quality automotive primer compatible with your topcoat.
- Spray multiple thin coats of paint, allowing proper flash time between layers.
- Mask off decals or stencils and apply factory-accurate markings to restore original livery.
Final Assembly and Maintenance
- Reinstall seats, decals, lights, and hydraulic hoses.
- Fill fluids to recommended levels and bleed air from brakes and hydraulics.
- Perform a test drive, listening for abnormal noises and checking for leaks.
Regular maintenance—including fluid changes, filter replacement, and seasonal inspections—will preserve your hard work. A restored tractor stands as a testament to craftsmanship and dedication, ready for field work, parades, or display in a private collection.